
 Tweet
Tweet
The parts that do the work were bought from gsxfjim. I believe he takes a stock neutral sensor and adds extra pins to it. Matches that up with an additional logic board and remote display if that is what you wish to have. Have to say the whole assembly seemed very professional. Definitely feels like a finished product.
-
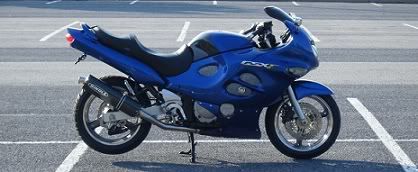
-2000 "750"
-
looking good!Comment
-
Getting pretty close now.
Finally dove into the electrical work. I underestimated this a little bit. Once I started gathering the electrical related pieces together the pile started getting pretty big. Here is the list:
-HID headlights (2 ballasts and two other small boxes)
-Retrofit wiring harness (actually the biggest item to have to hide)
-Headlight timer relay
-CCFL ballasts (total of 2)
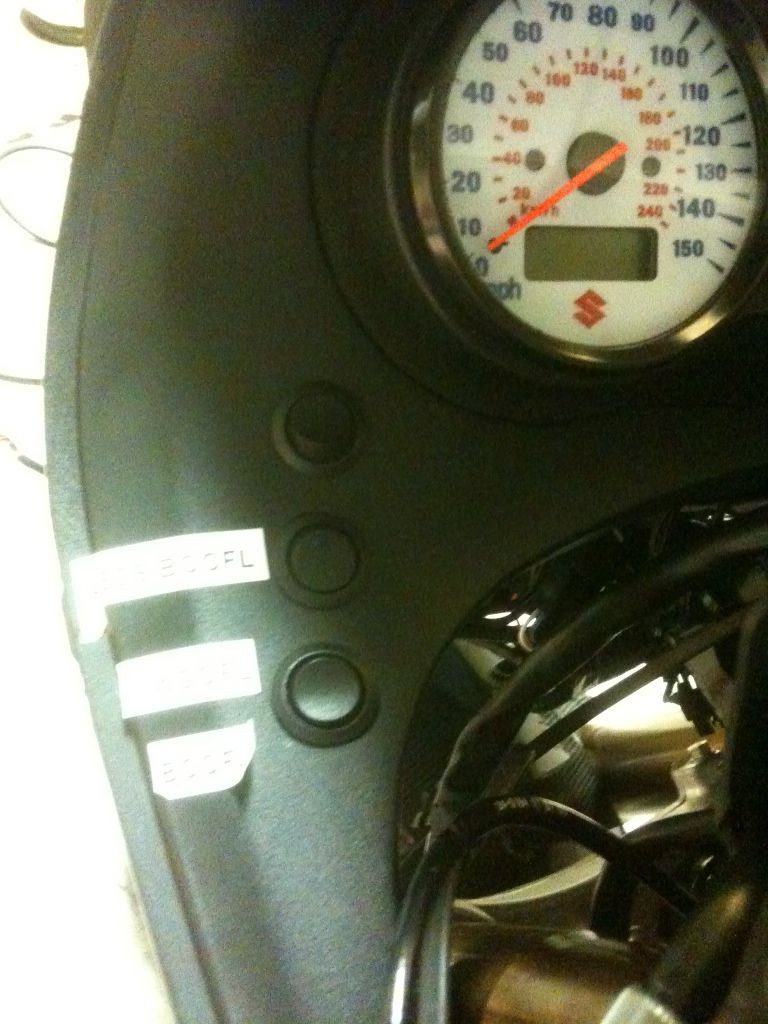
-Gear indicator box
-Grip heaters
-LED bar ends
-LED frame sliders
-180 LED Joe Florida kit
-2 additional power relays (one for heaters, one for accessories that need switched power)
-A/F guage
So here are some pics:
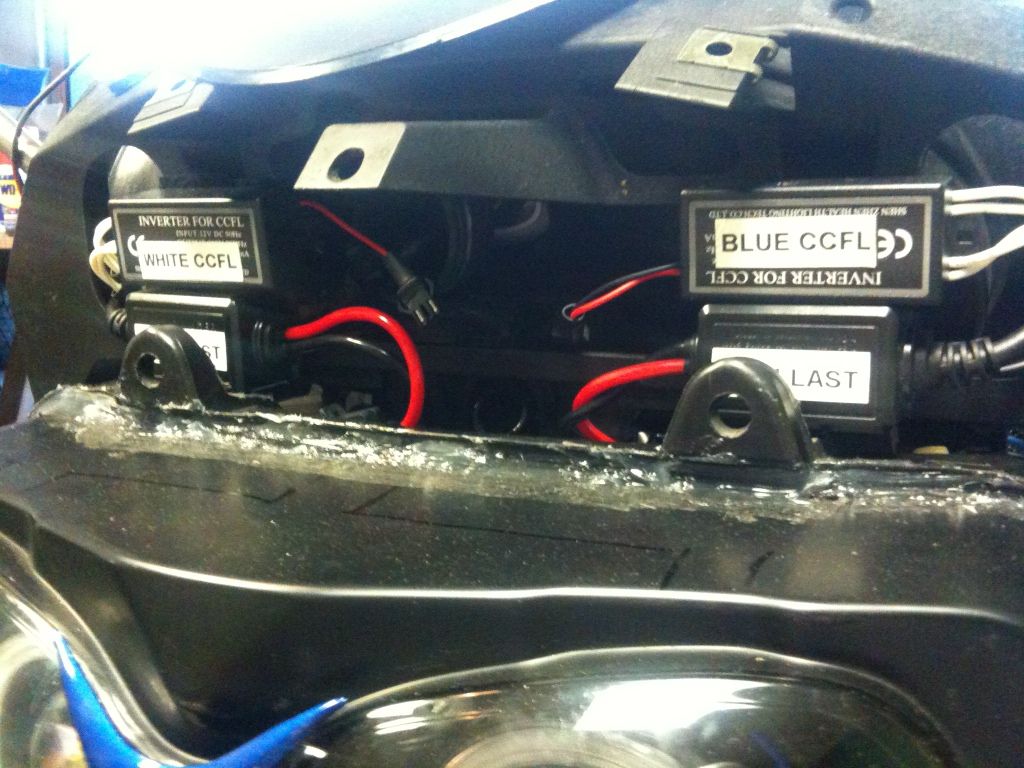
Headlight ballasts and CCFL ballasts
Same area after more added. I marked out on the headlight with a marker where I could not mount anything.
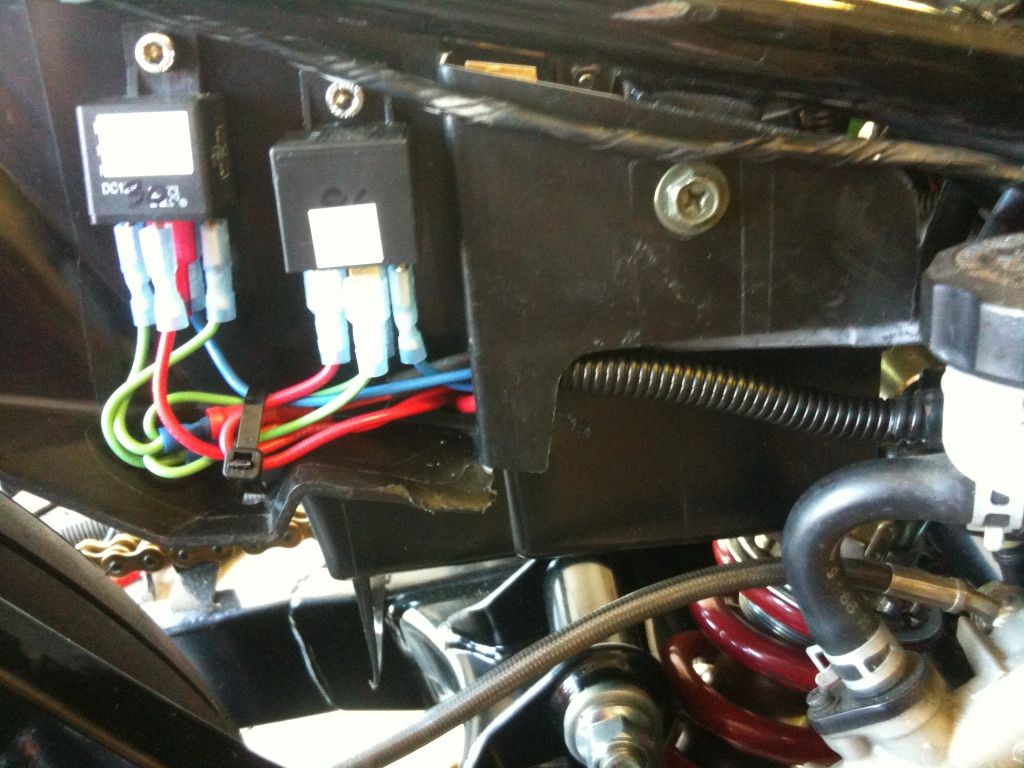
Additional power relays mounted down the rear on the right side.
Good spot for picking up a chassis ground. I dremel sanded off the paint underneath and put a little dielectric grease on.
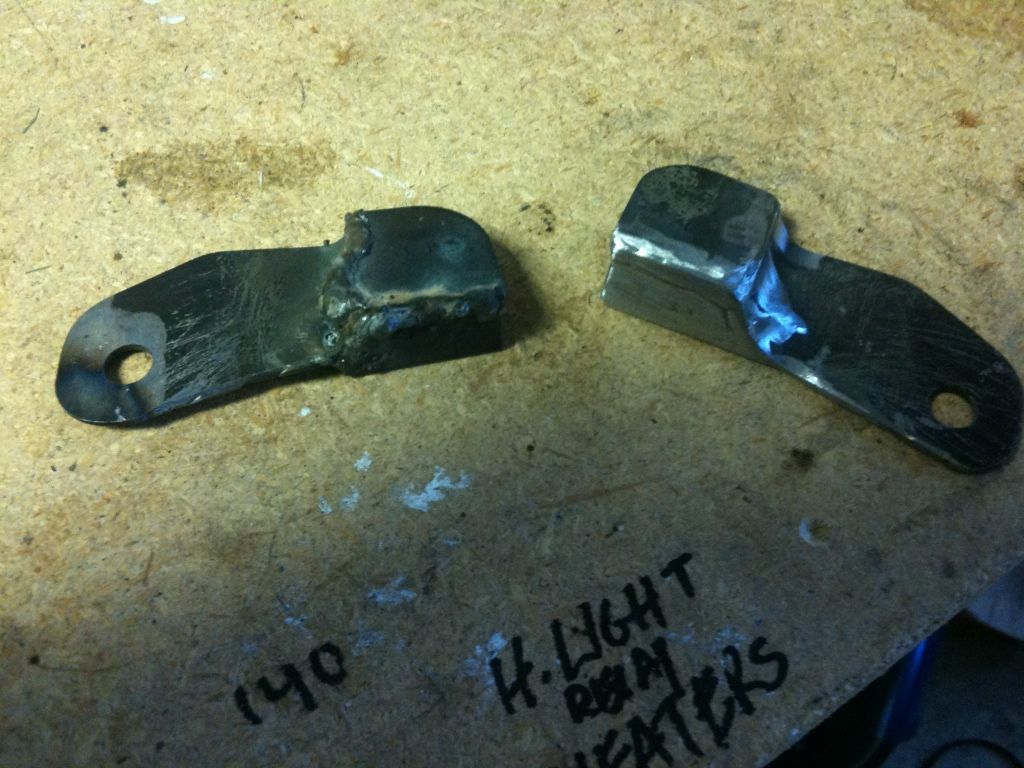
When I put my new awesome Shorai battery in (from GSXFJim) I found that the new battery was taller than the old one. Because of that I needed to come up with a new way to hold the battery in place. Ended up cutting up the old bracket and welding some pieces back together for a low profile way to hold it.
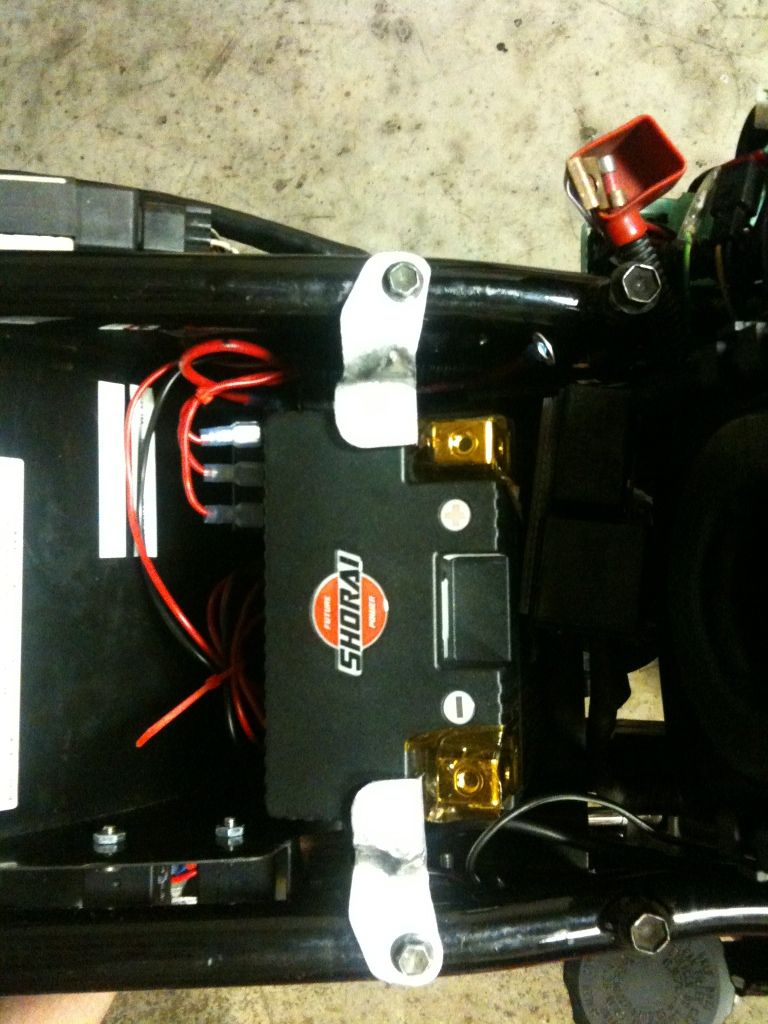
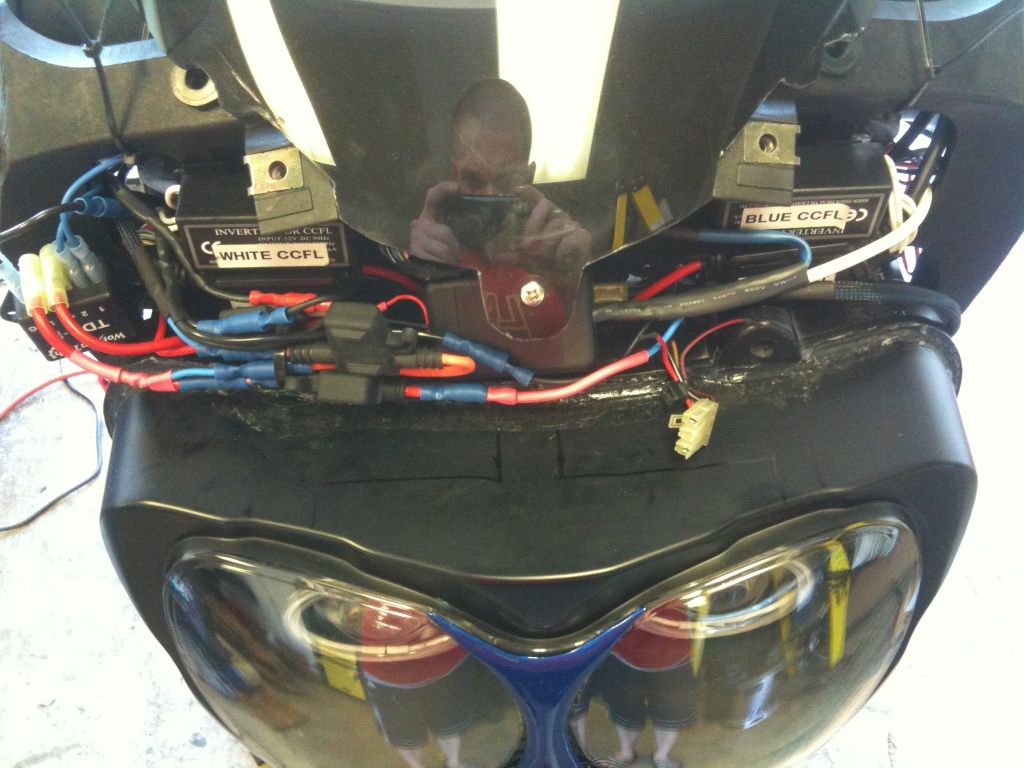
Again here with both in place. Not symetrical enough for my liking but they will work, and once painted black and under the seat it wont be as noticeable.
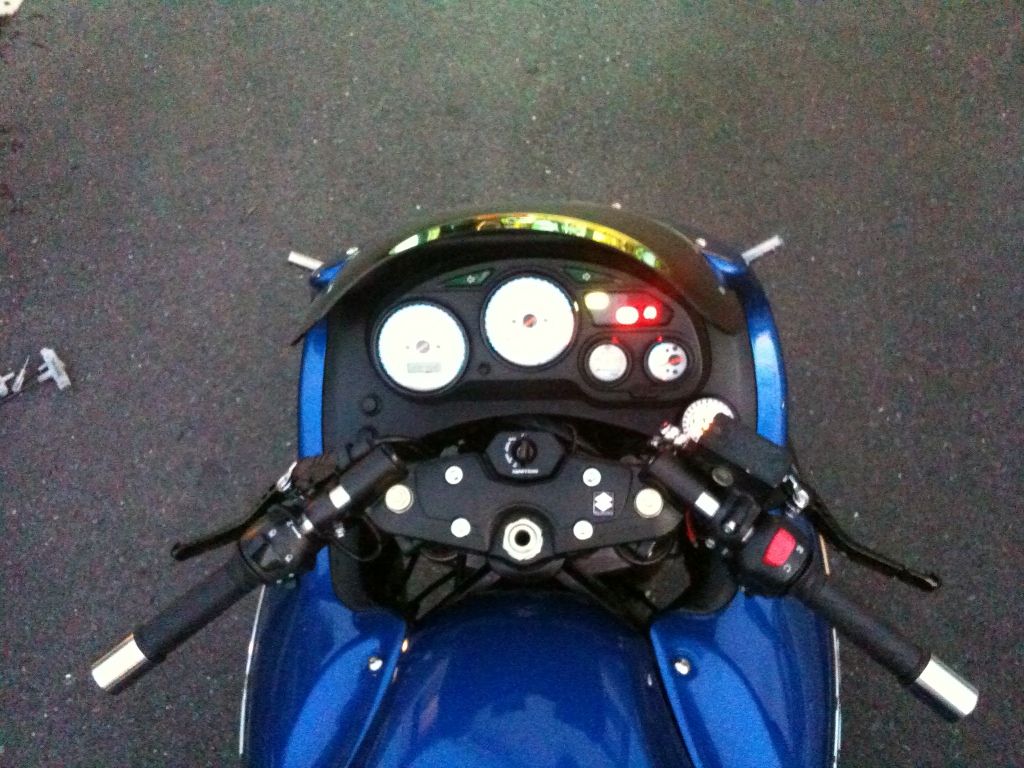
Command center down left side
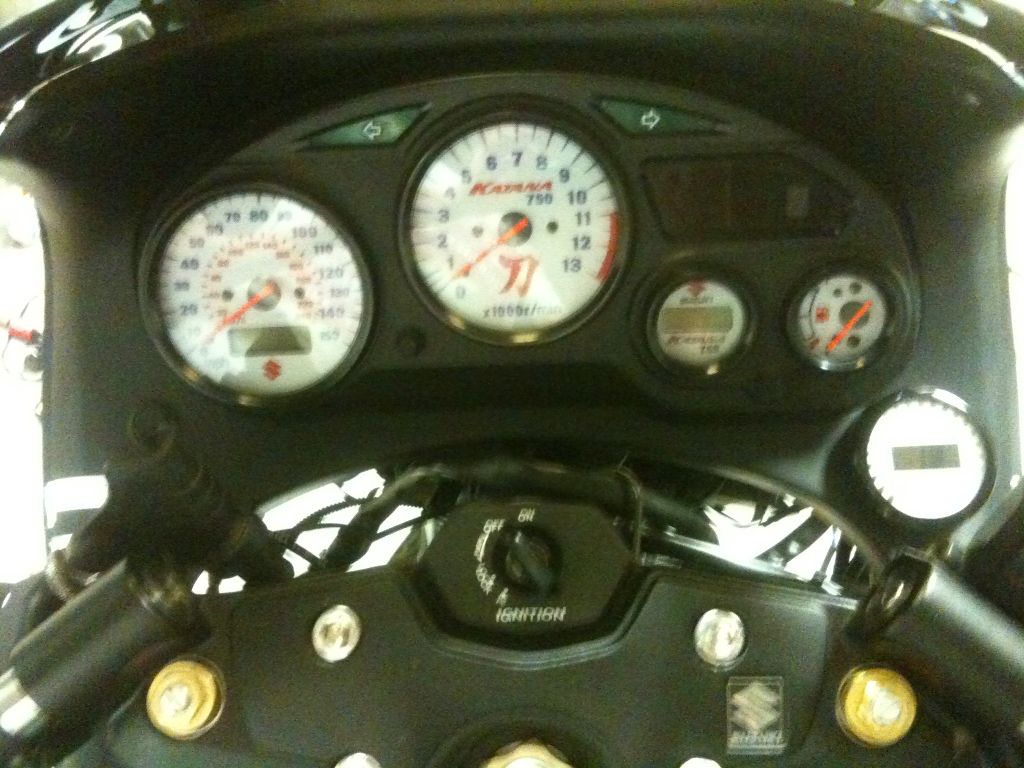
Dash with A/F gauge in place. Might add some light tint to the lens on the face. The brightness stands out a little bit too much for my liking. We shall see if I decide to do it or not.
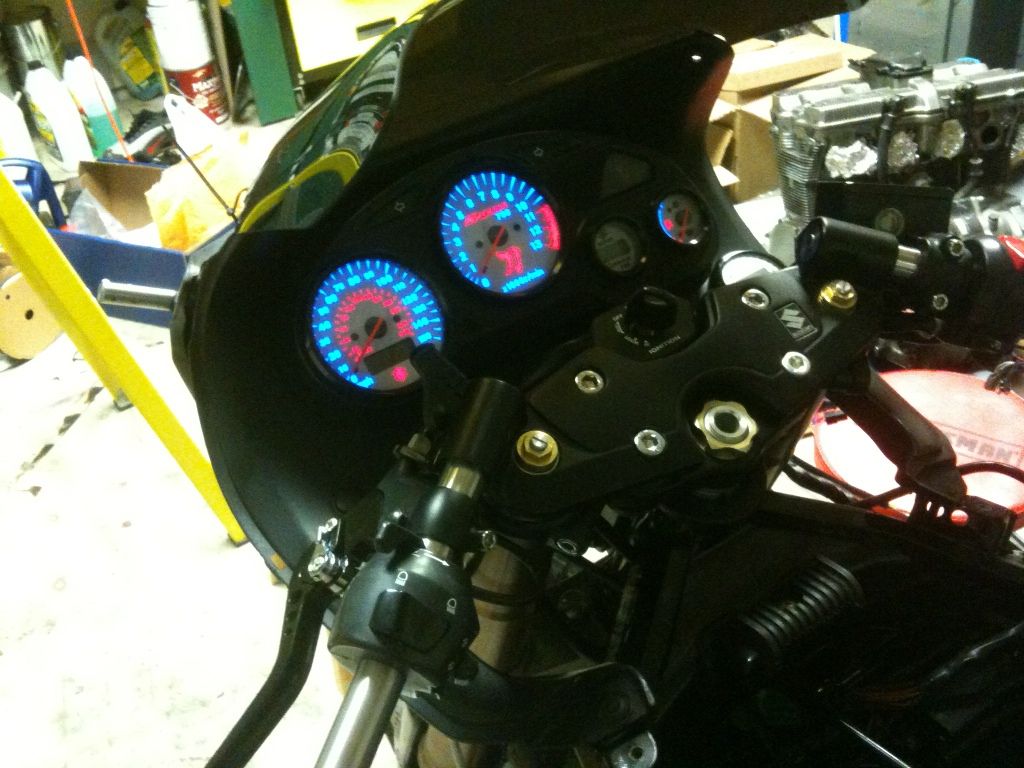
Dash lit up for first time on bike. Similar picture probably exists a couple pages ago, but it was a good moment for me to see this again.
Same thing for the CCFL rings....
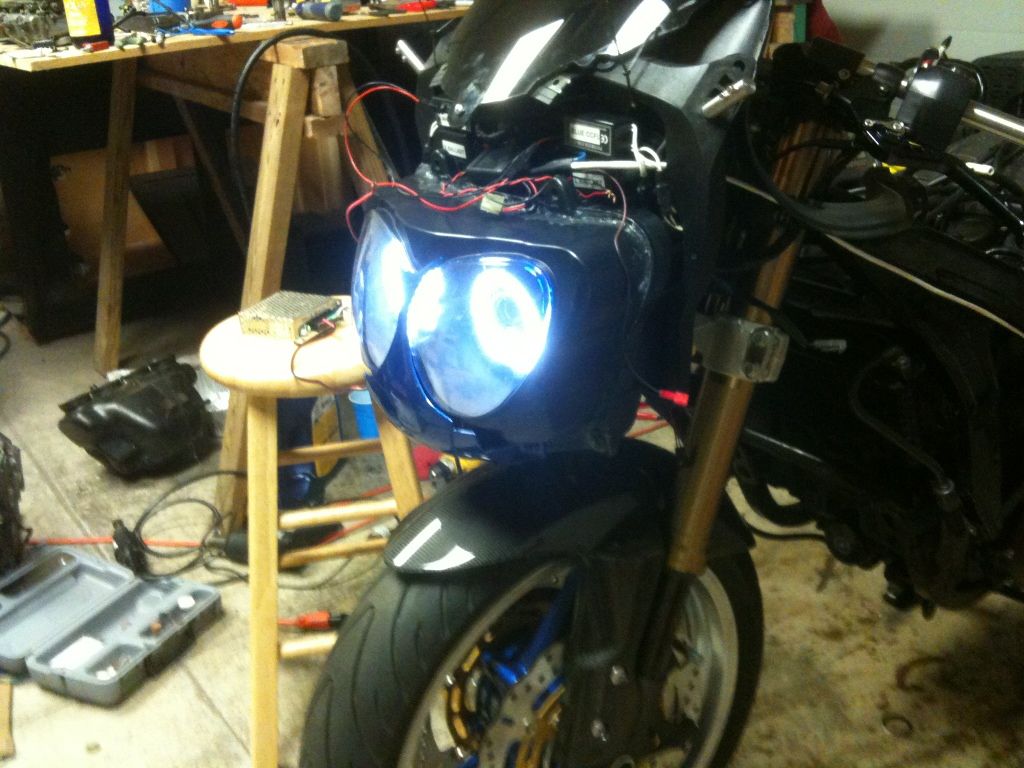
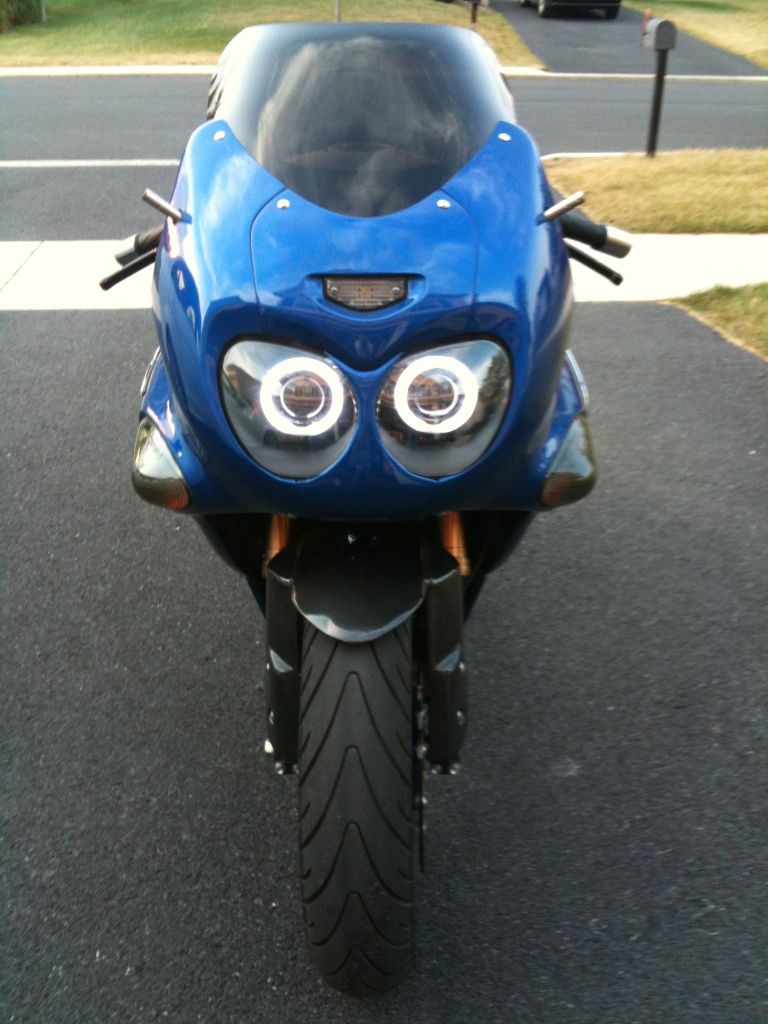
First time seeing some headlight output. Nice to see it flick on after a ~40 second delay after turning the key.
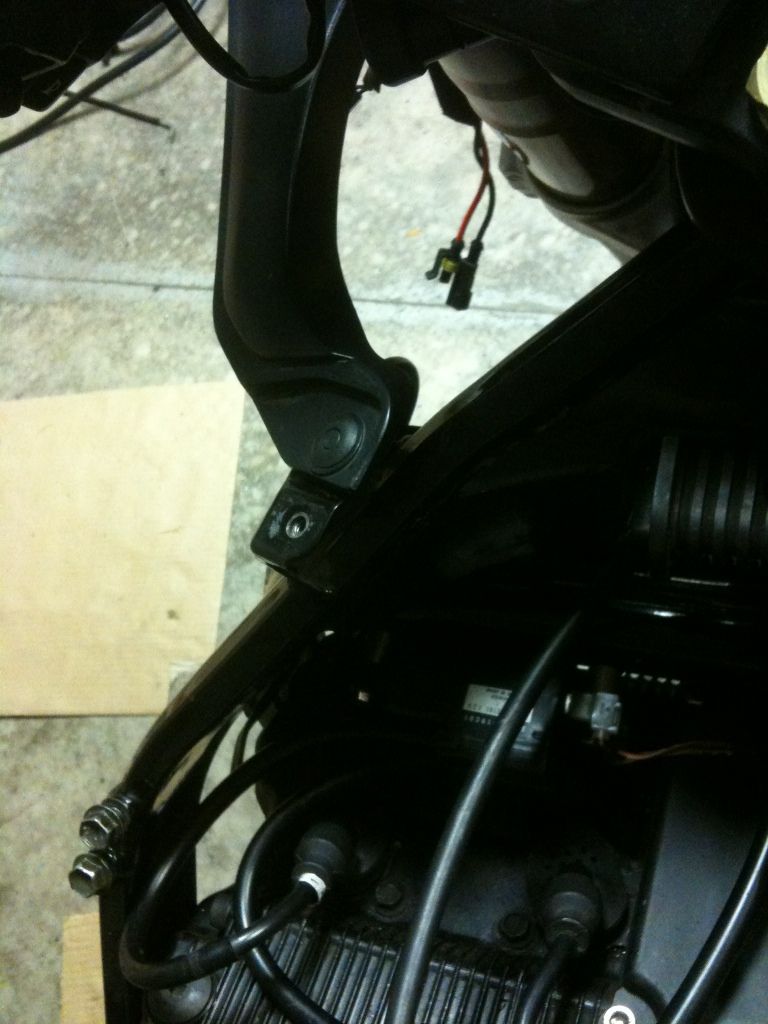
Put some rubber under this connection to help with some creaking of the guage surround when riding.
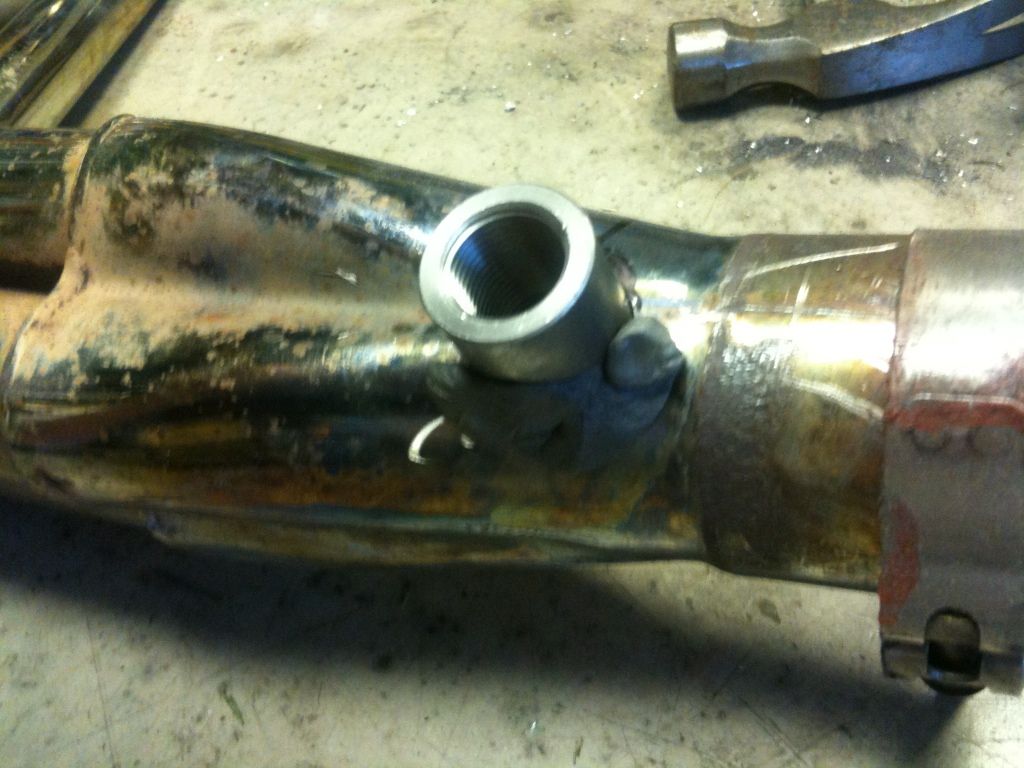
A/F gauge bung tacked into place with some JB weld. Once I had a hole in the header in the right place and of the right size, I held the bung at the proper angles while the JB weld hardened. The guy welding it in welded the top half in place, then removed the JB weld and then welded the bottom half. Much easier than making some templates.
I'm going to lose some time being out of town soon, but all I need to do yet before I can begin some road testing/tuning/shakedown is put the calipers back together and install/bleed the lines. The end seems to be finally near....-2000 "750"
Comment
-
man i am in absolute love with the way your "cockpit" is put together!! totally invieus... sp? VERY nice looking bike man!
Comment
-
After a week of being out of town I was able to work on it some yesterday. Mainly worked on the brakes. I nicked one O-ring and found the double banjo bolt that came with my line kit didnt match the master cylinder so I wasnt able to finish...
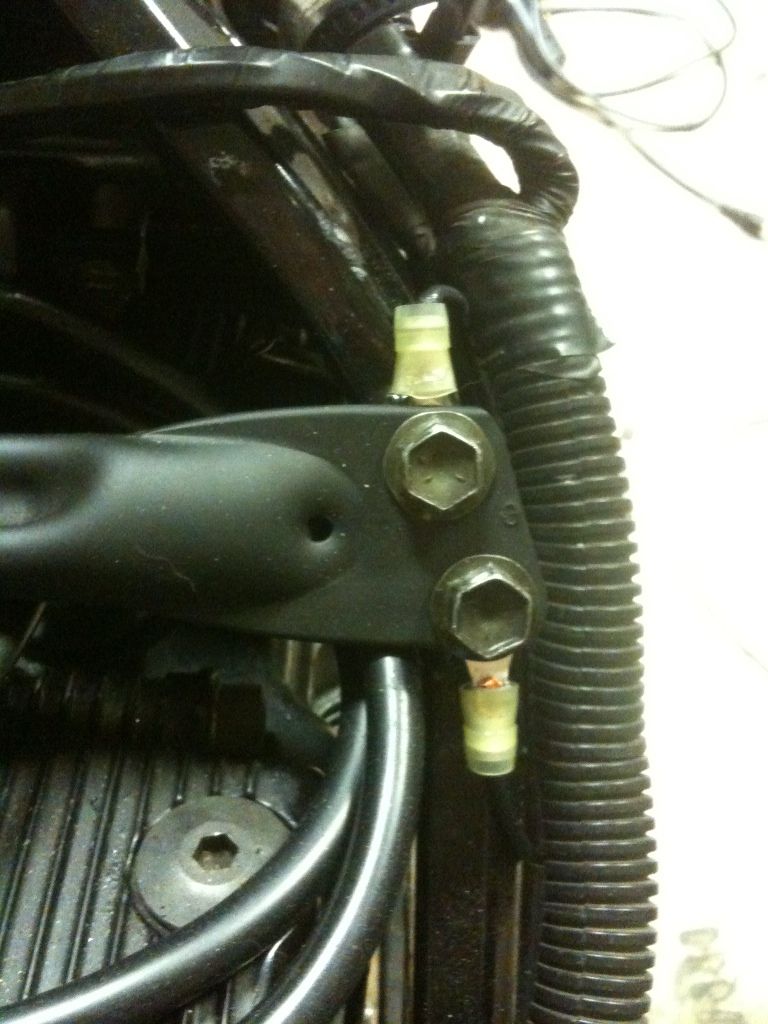
I can't remember if I really addressed this on here or not, but in addition to the extension/chain adjuster upgrade from GSXFJim I deleted the rear brake torque arm by using the new Suzuki bracket found on the newer bikes. It involved welding two small bars on the inside of the swingarm and machining two pieces of ABS that mount over those bars. I went with the ABS to eliminate any rattling that bracket might make.
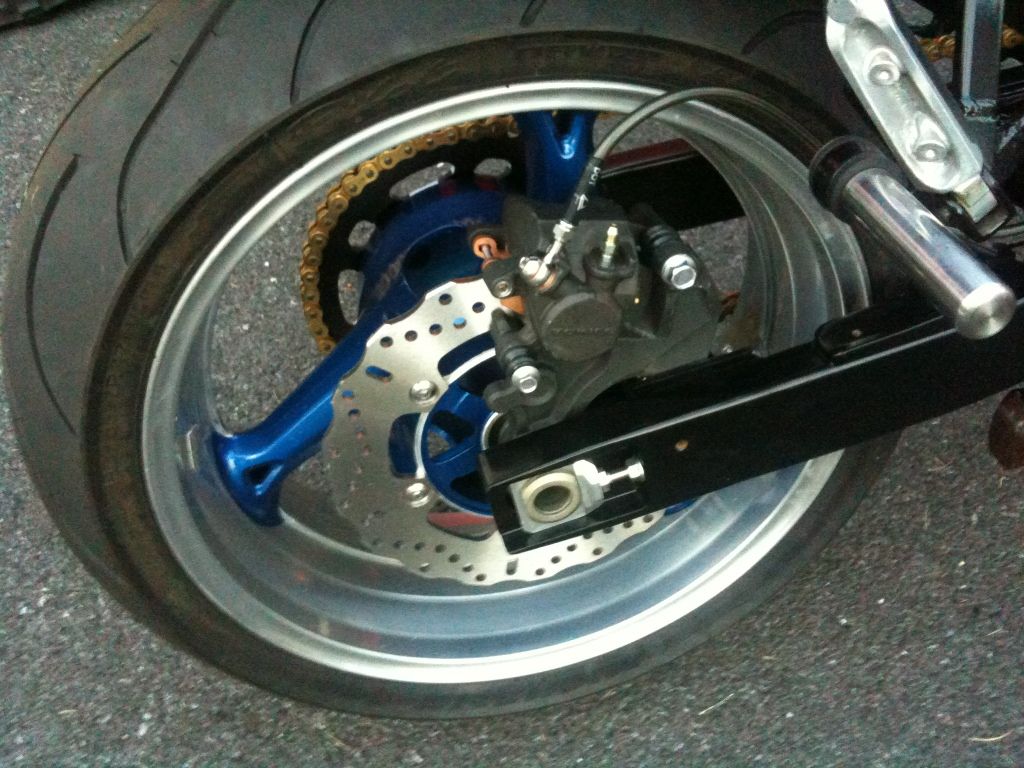
A little closer view:
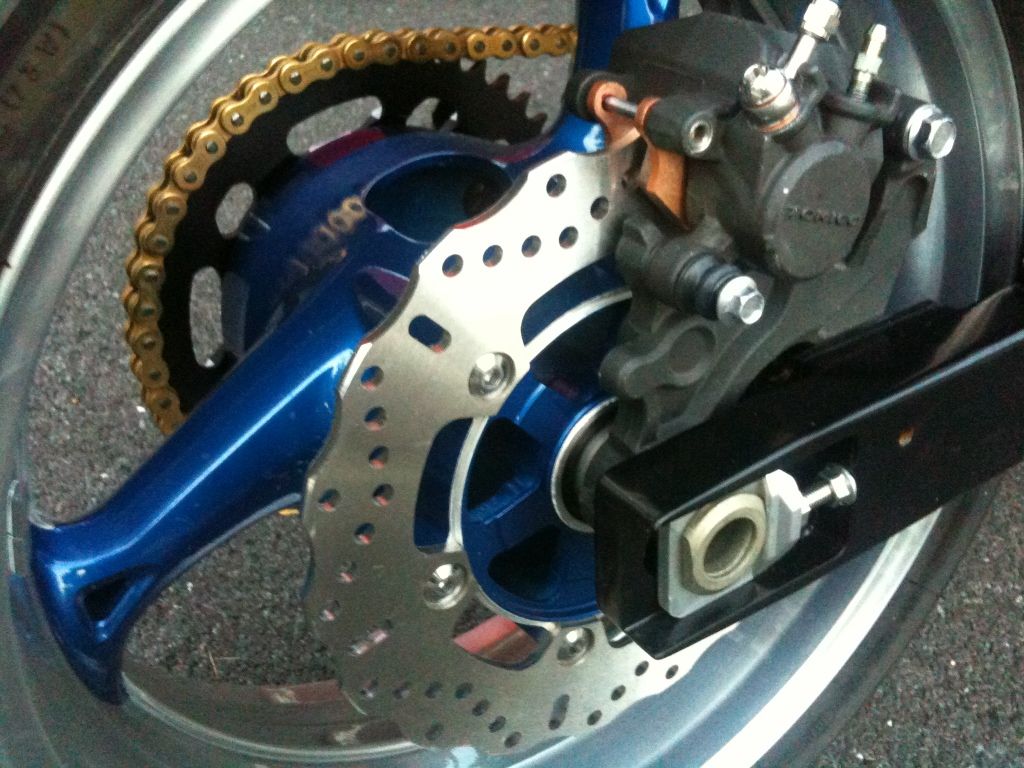
Those are Venhill SS braided brake lines. This is my first time using them and so far I am impressed. The way the hose mounts to the banjo fitting make running the lines very friendly.Last edited by Cheriff; 06-25-2012, 08:10 PM.-2000 "750"
Comment
-
I texted you a question about your gear indicator like...a month ago. You never responded. ハイどーぞバカ外人!
03 Suzuki Intruder Volusia, 95 Kat 750, 06 Kat 750, 01 Yamaha R6, 96 Suzuki Bandit 750 (Jspec), 04 GSXR 1000, 06 Honda CBR1000RR
メイクショップ 神谷 (2013)
チームのパドック松田 (2014)
US Marine veteran
Semper FiComment
-
Hmm.. I responded and you never responded... Aight, will do again right now.Originally posted by Scout View Post-2000 "750"
Comment
-
Comment
-
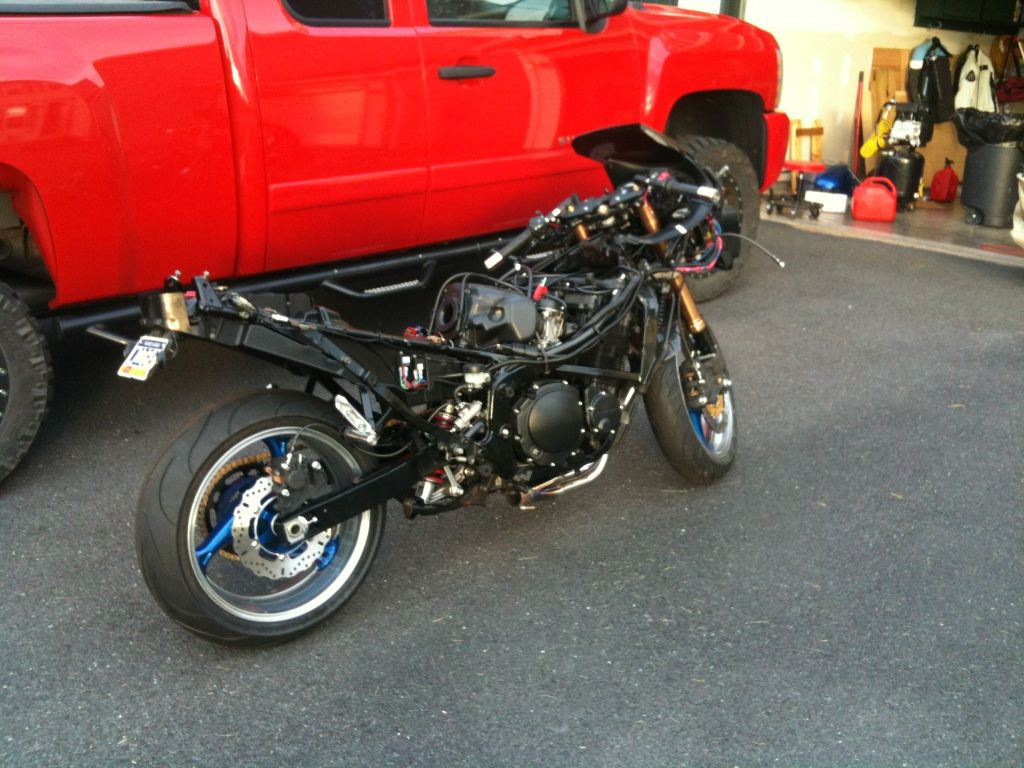
Made some good progress the last week. Here she is 95% complete.
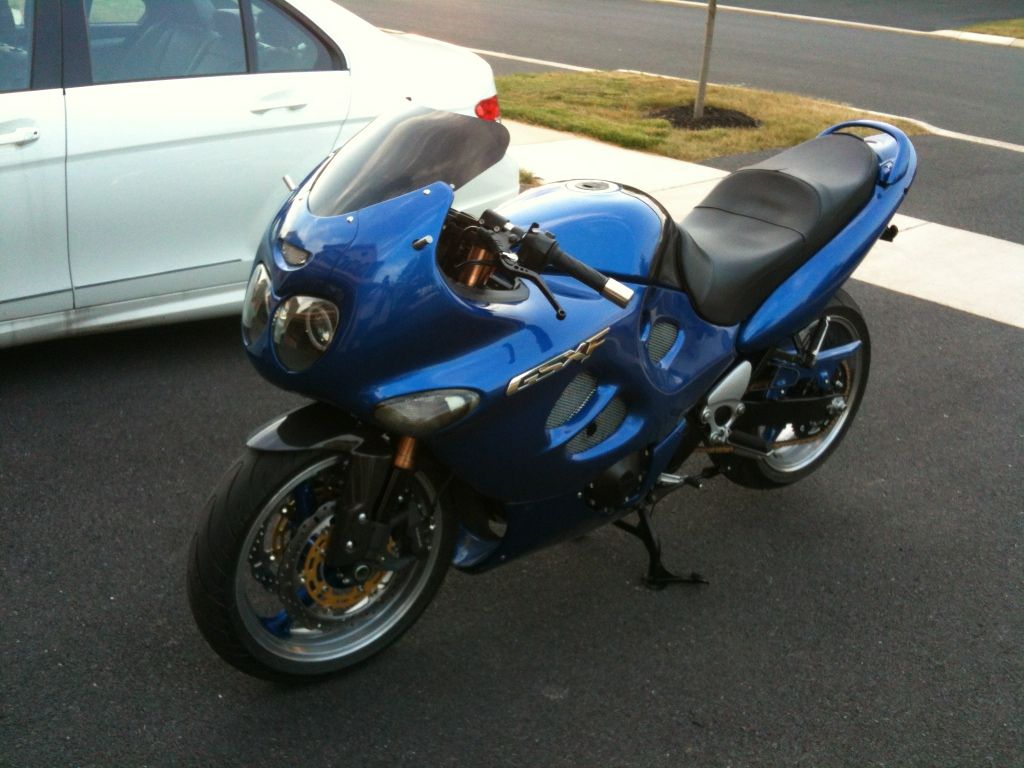
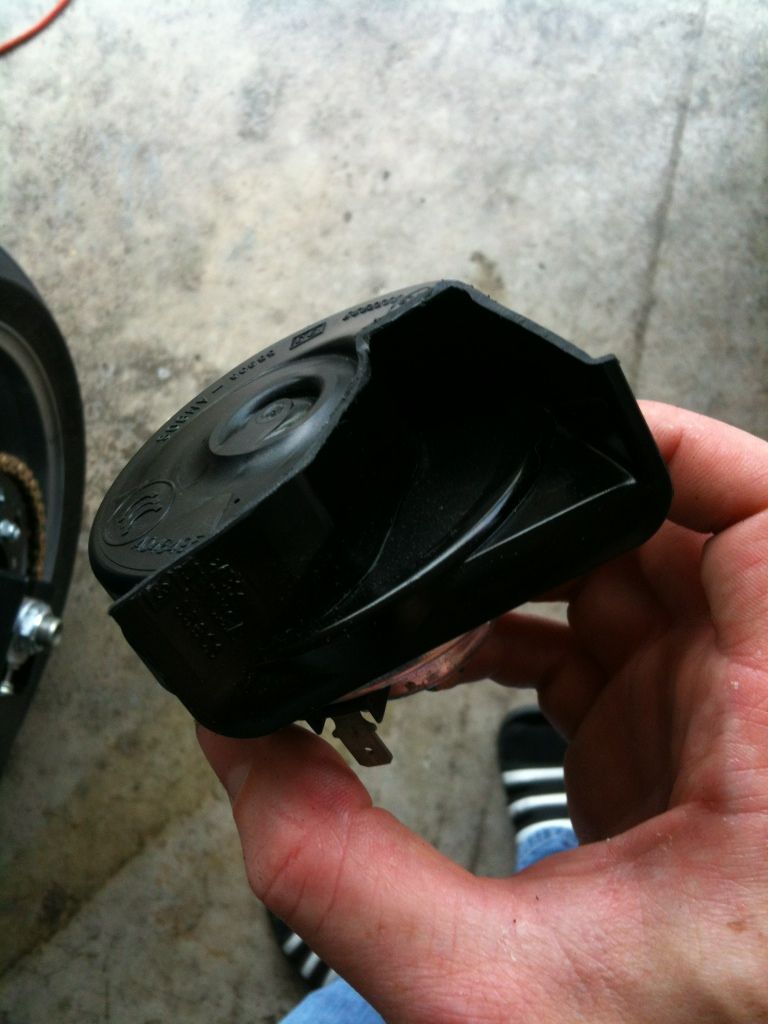
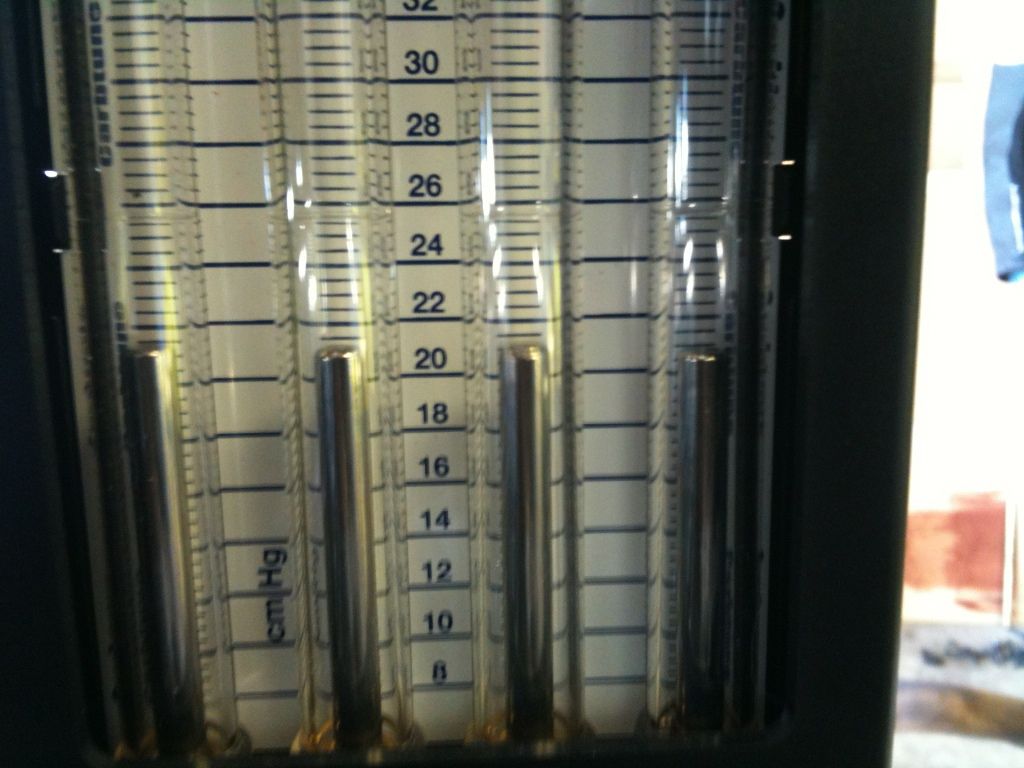
Still have to add my LEDs, rev limiter, and the new frame sliders but I slapped the fairings on and I am riding to work today. In that assembly process I found I needed to modify the horn so it wouldnt hit the front fender, and also am posting a picture of a succesful carb sync just cause its worth it to me to see that..
So far it seems to be running like a champ right now, and I love the new suspension.
I'll get some more pictures over the next couple days. (Still has last year's dirt on in those pictures- washing it this morning)-2000 "750"
Comment
-
wicked2015 BMW S1000R

Comment
-
Do you happen to know the part number for that bracket or where I can get one? I am extending my swingarm and it would save me the headache of trying to redo that brace.Originally posted by Cheriff View PostComment
-
Originally posted by thunderfoot1978 View Post
What bracket? The caliper braket, or the part it slides into?
The part the caliper bracket slides into was custom machined. Same as the new ends put on for the larger axle updated chain adjuster style.
I know GSXFJim did the ends on the swingarm. I don't know if he did the slot plate for the bracket.
If you asking about the caliper bracket, you need to pick a part that is going to match your axle size. What size alxe are you going to use?
The RFs use a caliper braket sorta like that on some models with a 20 mm axle for example
Krey93 750 Kat


Modified Swingarm, 5.5 GSXR Rear with 180/55 and 520 Chain, 750 to 600 Tail conversion, more to come. Long Term Project build thread http://katriders.com/vb/showthread.php?t=96736
"I've done this a thousand times before. What could possibly go wron.... Ooops!"Comment
-
i like the front suspension top caps. id like to add those to my scooter. very nice .im an american proud and free , a son of the south dont tread on me.
Comment
-
The rear caliper bracket came off of a 2008+ Hayabusa. However as Krey mentioned, you would need to find one that fits the axle diameter you plan on using.
GSXFJim did do the extensions, but the caliper bracket support pieces were installed by me. I machined two plates and had them welded in place. Then I machined two Delrin pieces that mounted to these brackets with some flat head socket cap screws so that if the bracket rolls a little when the brakes are applied it will hit the delrin and I wont have to hear a "dink" sound.-2000 "750"
Comment


Comment