
 Tweet
Tweet
For the people who bought my lowering kit.A interesting situation came about yesterday on the install for Dumlucks bike.I have never installed these personally or seen a set installed, so i was exited to be involved this time.Well every thing went as expected until Dumbluck started to torque everything down, the links would not pivot??? So i asked the question where's the factory spacer? What spacer was the reply, apparently this was not installed. I assumed that everyone knew to install this, i assumed wrong.As no one had ever questioned the why the hole for the 12mm hole was so big? YOU MUST INSTALL THE FACTORY BUSHING, THAT IS IN THE CENTER OF THE BEARING, ON THE SWING ARM END.Otherwise you have nothing to torque to, and have so much slop in the hole that this will cause PREMATURE WEAR OF THE LINK AND BOLT.This brought up another issue, the link was rubbing a little on the small shield that is on the swing arm, so a small amount had to be ground off the radius of the link, no biggy.This brings me to the purpose of this post,You all installed the factory spacer, right.Please let me know if there is any clearance problems, however small.This can easily be fixed on the next batch, i will just make the radius smaller, but i do need to know.
-
Ok, no more mister nice guy, i've met the guy in the street, and he's a wanker.


-
I made this a sticky so as not to get lost. -
Thanks, i appreciate it.Originally posted by HS2020 View PostOk, no more mister nice guy, i've met the guy in the street, and he's a wanker.
Comment
-
Spacer eh?
Number 23? Well at least I won't have to mess with the exhaust to put that guy in there. Thanks for the heads up!Last edited by ATOMonkey; 08-25-2008, 11:33 AM.Comment
-
My thanks to NeOuble for the help yesterday installing my lowering links. I found it simpler to just pull the swing arm to do the swap. Much simpler than fighting the dogbone to swing arm bolts (the ones that NEED the stock bushings) past the frame, and SOOOOOOOOOOOOOOO much easier to torque up correctly. beats the heck outta removing the exhaust when ya dont know if the PO used anti-sieze. Gave me a chance to get that thick layer of flung off chain lube crud scrubbed off of Zacks pretty paint too. I have a couple of pics of the grinding i had to do, but it was only about 1/8" around the radius of the swing arm end. I'll post them up after my ()*$%)(*$#@(* cell phone recharges. Hope the pics turned out as it's a crappy camera. Again, thanks to everyone for the help.99% of the questions asked here can be answered by a 2 minute search in the service manual. Get a service manual, USE IT.
1990 Suzuki GSX750F Katana
'53 Ford F250 pickumuptruck
Lookin for a new Enduro projectComment
-
Yeah, that's the one.If you have not installed this please do so, and make sure the link is not rubbing on the guard thing.Originally posted by ATOMonkey View PostOk, no more mister nice guy, i've met the guy in the street, and he's a wanker.
Comment
-
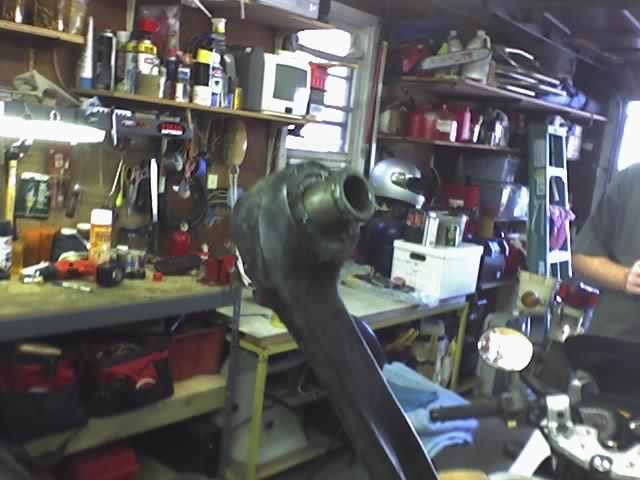
The Promised Pics
Basicly getting the links ready to install after we realized i'd not put the stock bushings into the new link setup.
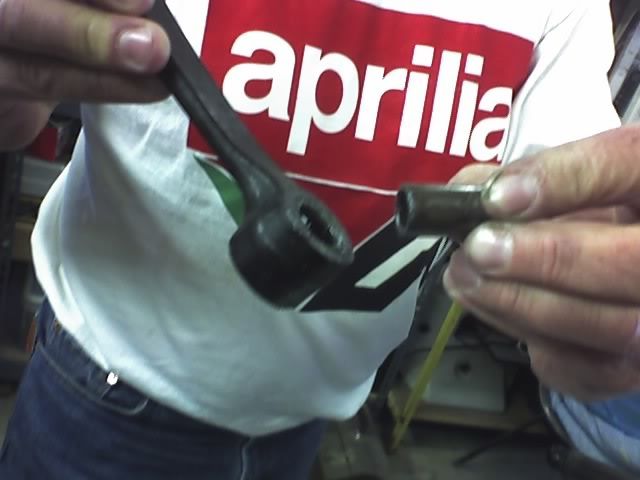
the needed stock bushing
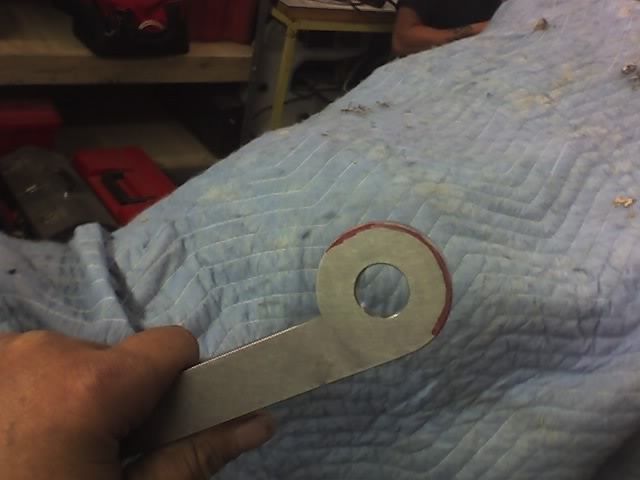
The red is the area i needed to grind off to get the clearance under the link to swing arm mounting tab. Roughly an eigth of an inch
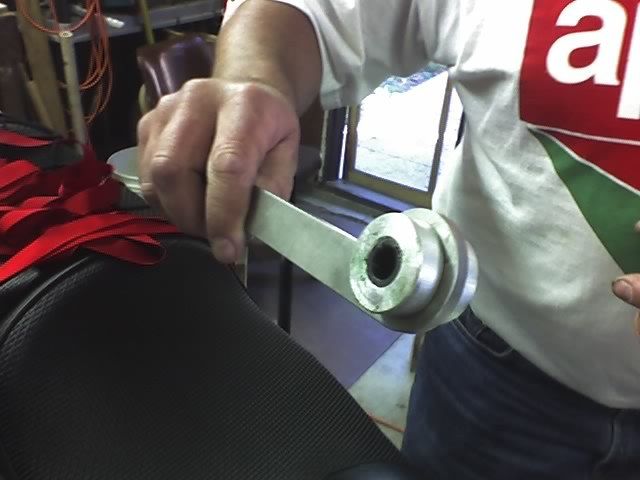
The Link Assembly before installation onto the swingarm. note the stock bushing inside the spacers and link
my thanks again to NeOublie and everyone else for the help with the install99% of the questions asked here can be answered by a 2 minute search in the service manual. Get a service manual, USE IT.
1990 Suzuki GSX750F Katana
'53 Ford F250 pickumuptruck
Lookin for a new Enduro projectComment
-
ne-ublie check your PM.Comment
-
So are these lowering kits still available?Comment
-
Originally posted by 737 View Post
Yes, just finished making up a new batch.Let me know.Ok, no more mister nice guy, i've met the guy in the street, and he's a wanker.
Comment
-
You should post that pic I sent of what happens when idiots don't put those spacers in Whew, that's all I got to say!
Comment
-
I think it's time to move this thread to the mechanic's section or unsticky it from The Lounge...
Cheers,
=-= The CyberPoet
______________________
 CyberPoet's KR Maint Supplies & Upgrade Specials
Suzuki Stratosphere - 6 Cylinders, the new Katana?
The Best Motorcycle Metal Billet Tire Valves in the World, plus lots of motorcycle & Katana (GSX600F / GSX750F) specific help files.
Comment
-
yes move it to mechanics part=) i just found it by "accident". I am waiting for the lowering links so this was much helpfull=) tanx=) and more pictures of the assembly would be great=)Suzuki GSX600F 92'Comment
-
Hi, im asking here because there might be someone else wondering about the same issue; Is the problem solved on the new kits? I got mine in the mail today, and there are some bushings following. should i still use the factory ones? And do i have to grind of a bit that was explained in the beginning?Suzuki GSX600F 92'Comment
-
Moved to "all about brakes and suspension" and stuck it..Comment


Comment