
 Tweet
Tweet
This should work typical on 98+ Katanas
All work done on the left side of the bike.
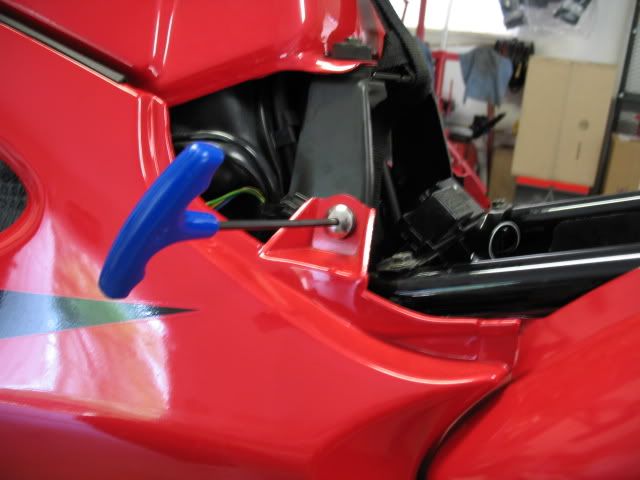
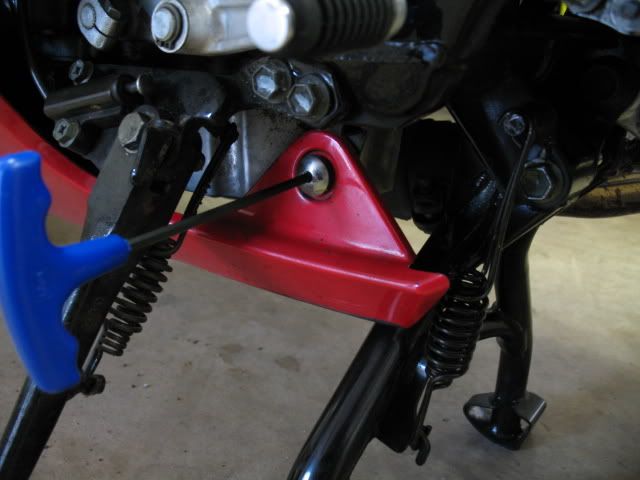
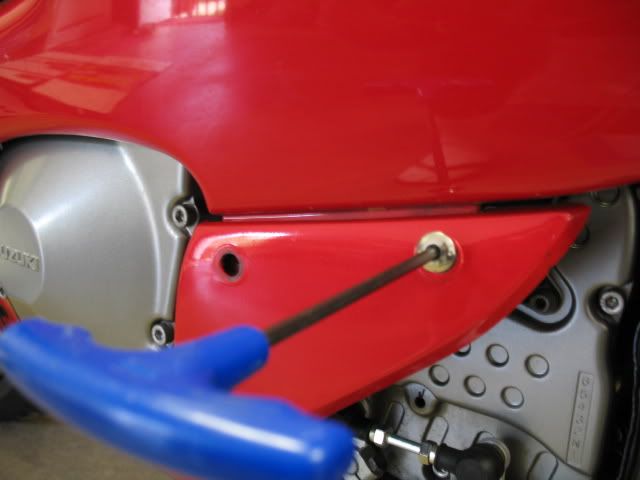
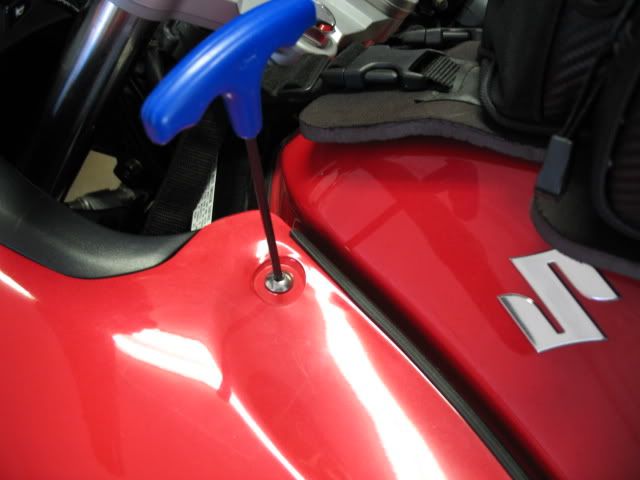
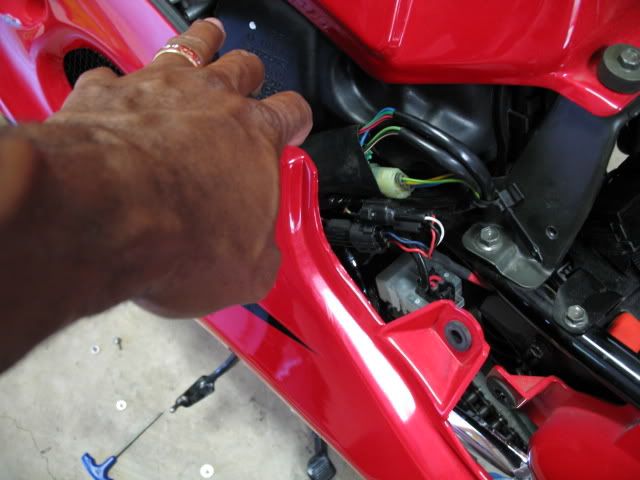
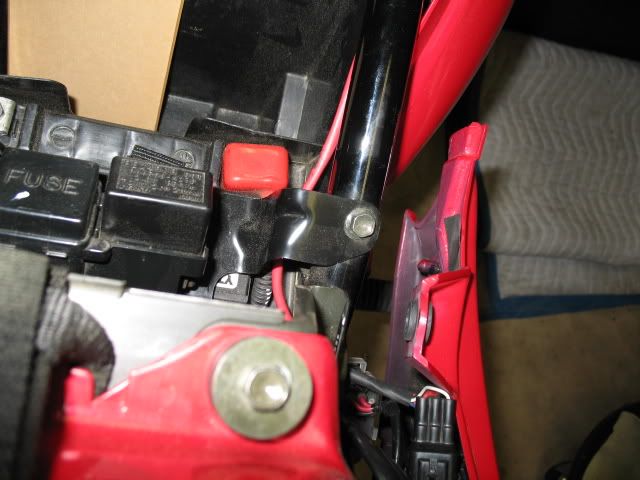
Remove the shown screws to gain access to the speedometer sensor plug.

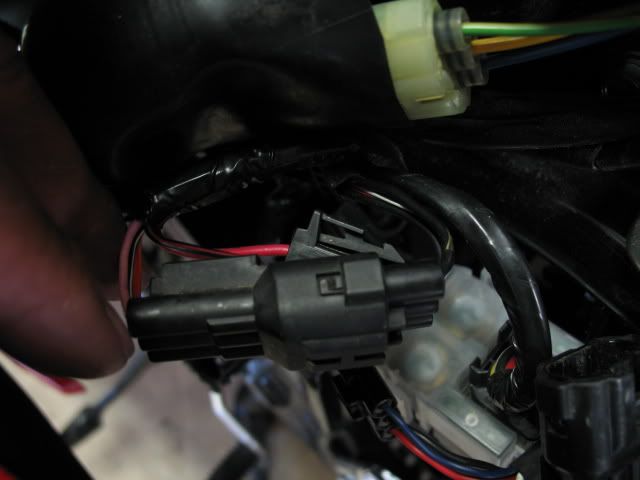
This is the OE plug (black, not tan) that the SH will adapt into.
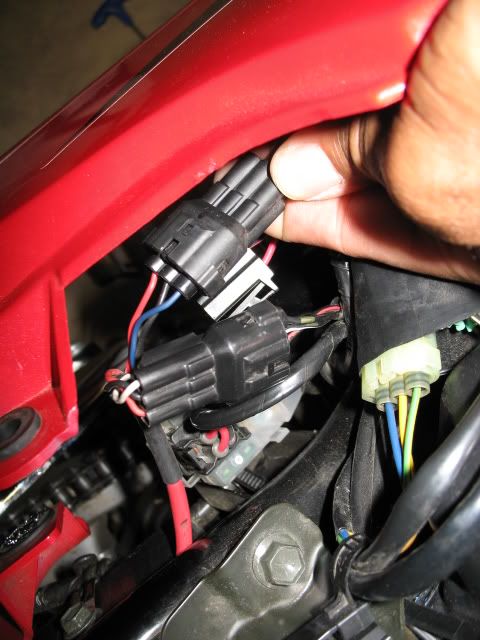
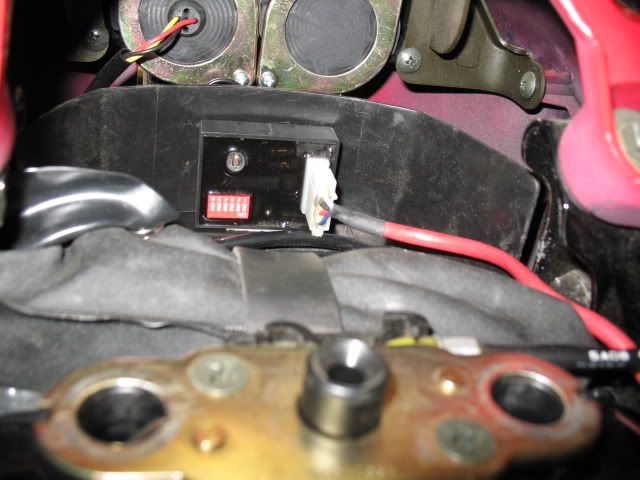
This is what it looks like with the SH adapted-in.
Follow the SH instructions on how to program the unit, THEN continue on to mount.
Route the wire harness along the frame rail. Use two zip ties if desired.
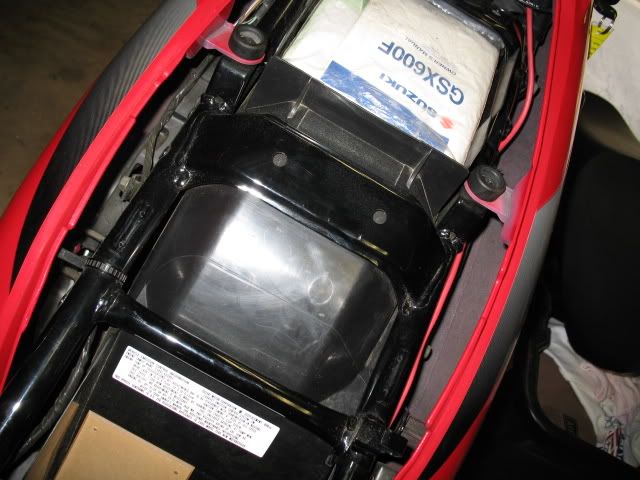
The SH unit mounts neatly in the rear tail simply held down by two-way tape.
Reverse screw procedure to remount the fairing.
Total time 25-30 minutes.
All work done on the left side of the bike.
Remove the shown screws to gain access to the speedometer sensor plug.
This is the OE plug (black, not tan) that the SH will adapt into.
This is what it looks like with the SH adapted-in.
Follow the SH instructions on how to program the unit, THEN continue on to mount.
Route the wire harness along the frame rail. Use two zip ties if desired.
The SH unit mounts neatly in the rear tail simply held down by two-way tape.
Reverse screw procedure to remount the fairing.
Total time 25-30 minutes.


Comment