Ad Widget

Collapse

Announcement

Collapse
No announcement yet.
X

Headlight Lens Clarity

Collapse
  • Filter
  • Time
  • Show
Clear All
new posts

  • Headlight Lens Clarity

    So as I'm doing my headlight mod for some HID's, I figured I'd tackle the issue of the clarity of my headlight lens.

    Since I've got the headlight apart, it's real easy to see what's all going on. It looks like the P.O. of my Kat parked it under a tree or something that gives off sap because the headlight had all of these little speckles on it. Almost like it was sprayed with hairspray or had left-over engine grease on it.

    I've polished and polished and polished until my fingers were bloody, and no dice...

    So here's what I did.
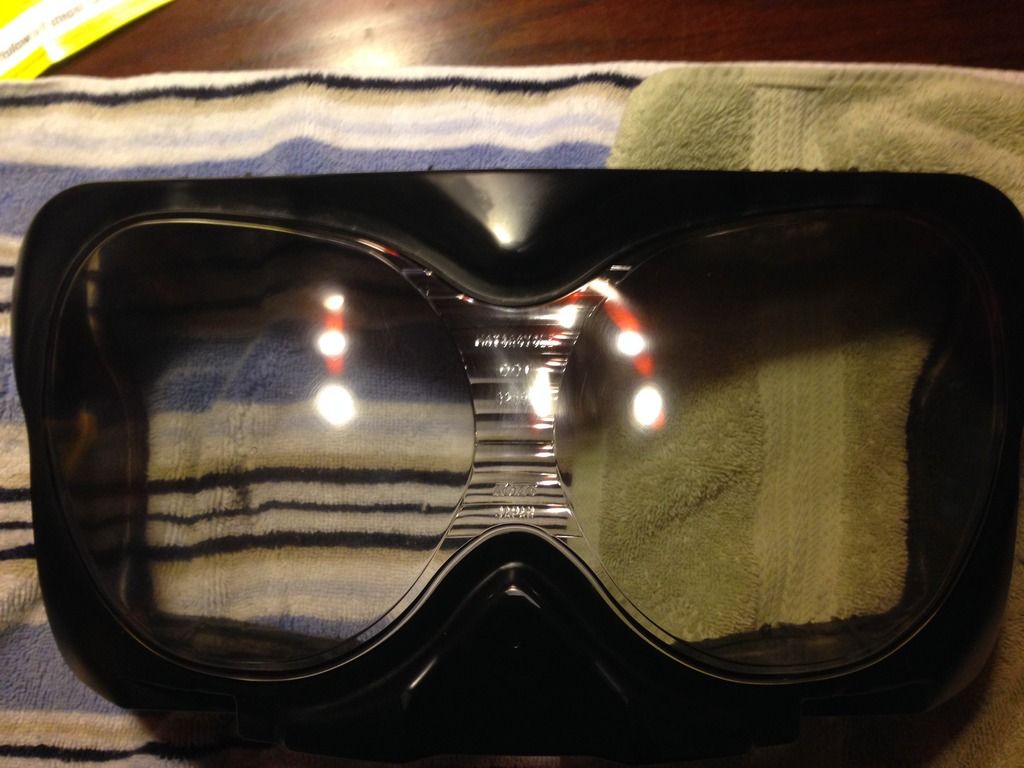
    Before:


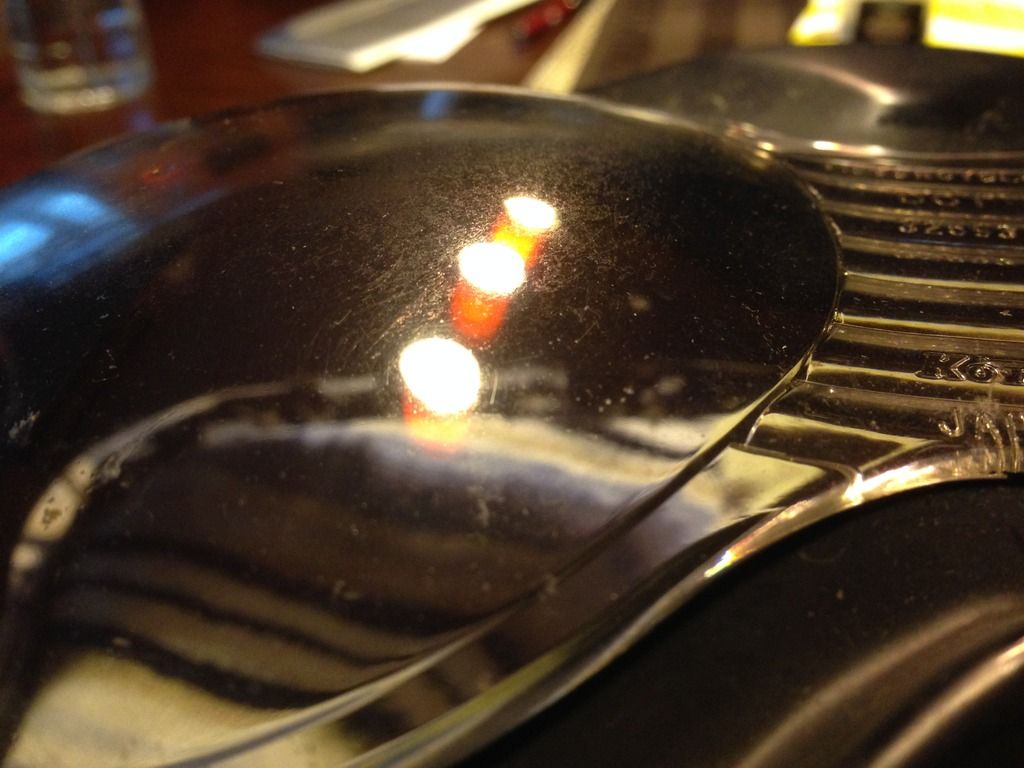
    Start with wetsanding. 800 grit (yes, I know it's a bit much... but that tree sap looked awful. Bare with me.)

    I sanded down the lens very gently as to not take off too much plastic.


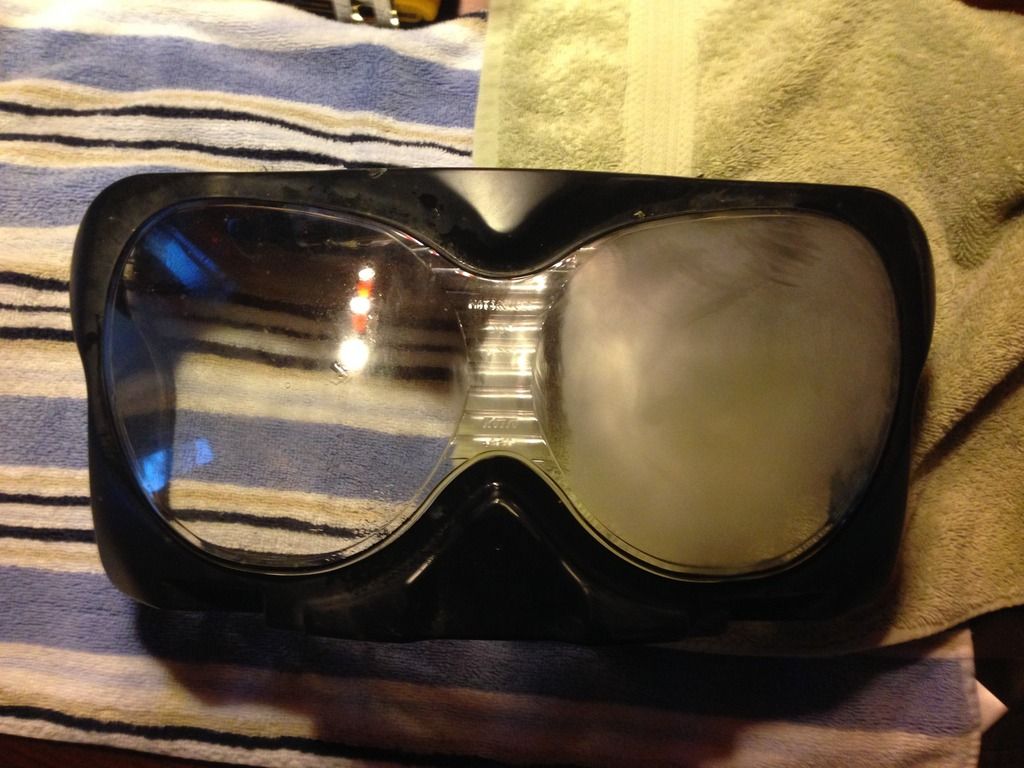
    From 800 wetsanding (left) onto 1500 wetsanding (right).


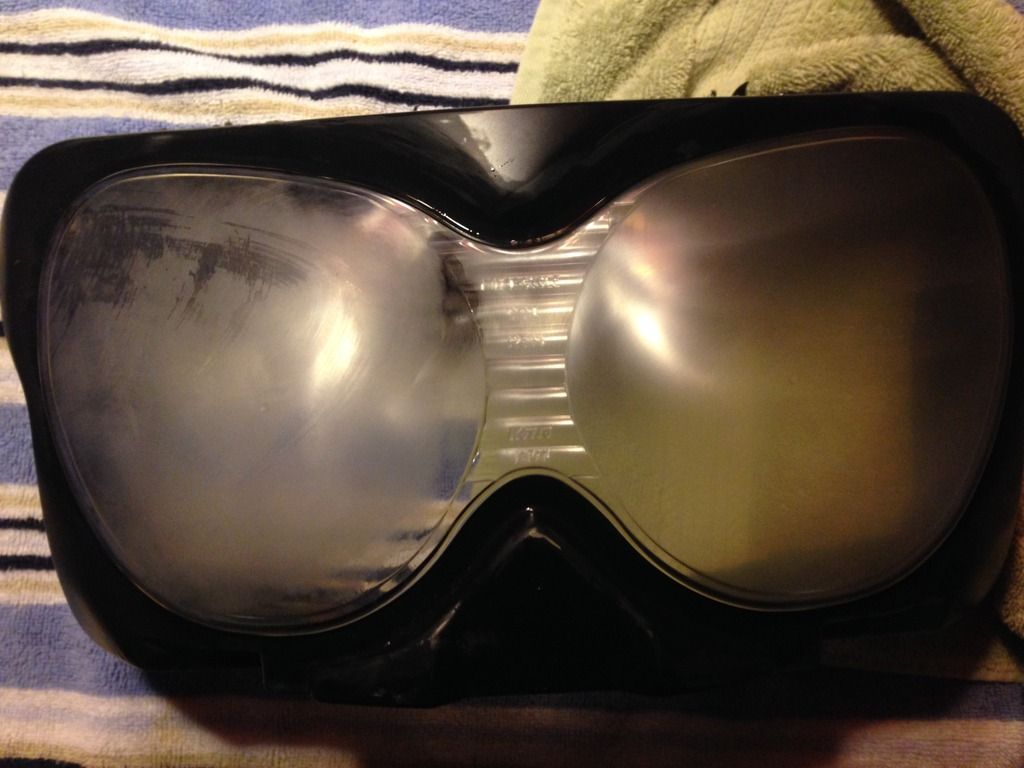
    From 1500 wetsanding (left) to 2000 wetsanding (right). The both sides were hit 2X in this photo to increase the clarity.


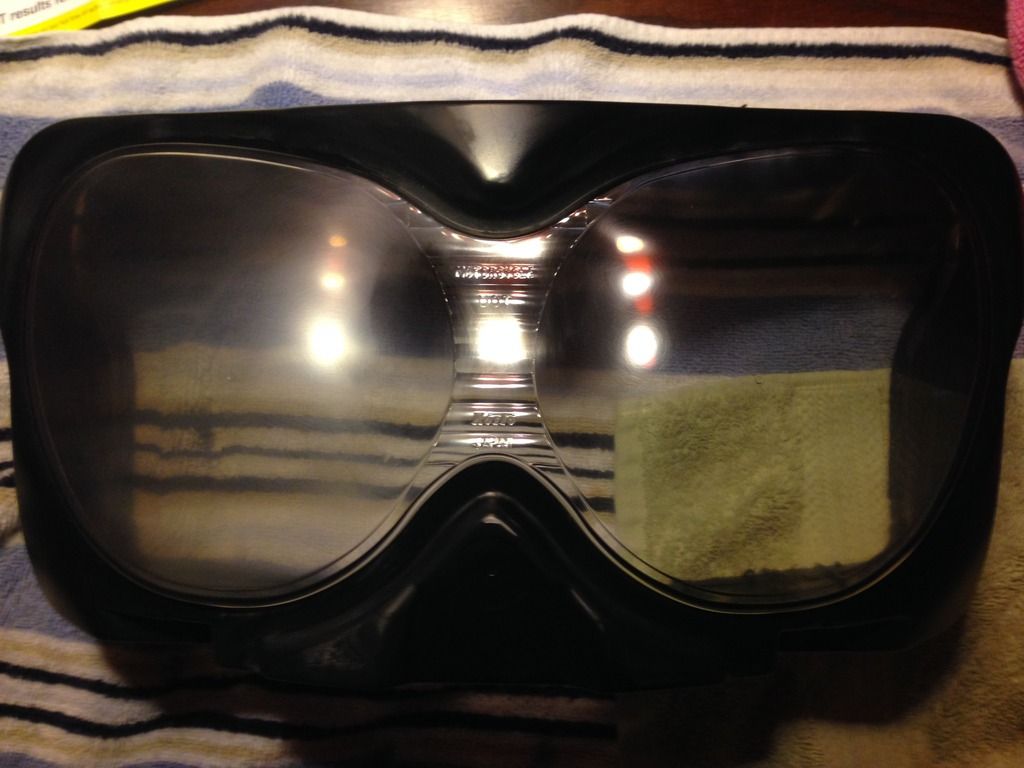
    From 2000 wetsanding to buffing/polishing with some polishing compound and basically a foam pad. Buffed with microfibre cloth afterwards to remove the polish and keep it from staining the plastic.


    In the last pic, both sides have been hit 3X with polish, and the inside once as well. I wanted to make sure I got most of the scratches out and had a decently clear lens.

    Now I don't have that annoying tree sap anymore! Clear headlights FTW.
    Last edited by Aaron-71; 04-15-2015, 08:41 AM.
    2005 Suzuki Katana GSX 600
    - Aaron

  • #2
    Looks great, nice job. I may have to do the same next year because of sun bleaching from p.o.

    Comment


    • #3
      Looks great.

      Help Support Katriders.com via Motorcyclegear.com

      Comment


      • #4
        You're going to be doing that again in a few months if you don't seal the plastic. They make special products which sell for USD $70-$80/6 oz bottle or you can make your own with a 50/50 mix of spar varnish and mineral spirits. Apply with the edge of a folded paper towel. Watch for runs and bubbles. The paper towel seems to work pretty well to avoid them. There's a REALLY long thread about this on the autogeek forum.
        Wherever you go... There you are!

        17 Inch Wheel Conversion
        HID Projector Retrofit

        Comment


        • #5
          Originally posted by Wild-Bill View Post
          You're going to be doing that again in a few months if you don't seal the plastic. They make special products which sell for USD $70-$80/6 oz bottle or you can make your own with a 50/50 mix of spar varnish and mineral spirits. Apply with the edge of a folded paper towel. Watch for runs and bubbles. The paper towel seems to work pretty well to avoid them. There's a REALLY long thread about this on the autogeek forum.
          Hmmm good info Wild-Bill. I thought about this when I first started sanding down with 800 grit "Bet I'll be doing this again in the future".

          Guess that's the one problem with going this route.
          2005 Suzuki Katana GSX 600
          - Aaron

          Comment


          • #6
            Want to pull the headlight apart. What the best way to do that? I tried using a heat gun and a flat head screw driver but just ended up deforming the plastic edge for the two halves.

            Comment


            • #7
              Oven at 200 deg, turn it off place light inside for 5 min-give or take, remove and pull the lens off. The glue will be sticky so, do it quickly before it cools again.
              "I'm sorry, I didn't mean to upset you when I called you stupid. I thought you already knew..."
              spammer police
              USAF veteran
              If your a veteran, join the KR veterans group

              Comment


              • #8
                Originally posted by 92xjunker View Post
                Oven at 200 deg, turn it off place light inside for 5 min-give or take, remove and pull the lens off. The glue will be sticky so, do it quickly before it cools again.
                Reattach it in the same manner? ie. heat up adhesive in the oven and press the two halves together again?

                Comment


                • #9
                  Yes, follow up with windshield adhesive, just in case you get a portion that doesn't quite seal.
                  "I'm sorry, I didn't mean to upset you when I called you stupid. I thought you already knew..."
                  spammer police
                  USAF veteran
                  If your a veteran, join the KR veterans group

                  Comment


                  • #10
                    Originally posted by 92xjunker View Post
                    Yes, follow up with windshield adhesive, just in case you get a portion that doesn't quite seal.


                    Thanks man. Going to slightly modify the inside to make it look a little more aggressive and updated. I will start a photo log of the project which will commence soon

                    Comment

                    Working...
                    X