
 Tweet
Tweet
This is my first big post.
I bought my 1999 Katana 750 in 2003. I had the bike for three days and a woman with driving a green Honda station wagon with Idaho plates ran a stop sign coming at me had on while I was making a left turn at a four way stop. I whacked the gas trying not to become a hood ornament and spun the back tire on a manhole cover and low sided. She was kind enough to gas her grocery getter and speed away. My Katana suffered worse than I did. I got a few nice bruises down my left side. The bike slid up over the curb. The left turn signal lense shattered, my chrome Katana logo was ground almost to nothing, the foot peg and shifter sheared off, my left side plastics got all gouged up and the rib in the cutout was cracked vertically and horizontally over most of its length.
Since I was recently divorced and the ex CRUCIFIED me financially, I could only do the bare minimum repairs to get my machine back on the road. I replaced the turn signal lense, the foot peg and shifter, did some very basic plastic repair with JB Weld and took a bunch of Tylenol. I took some 35mm pics of the bike after I went down, but I can�t find them. Those were a rough couple of years for me and the bike. My machine got damaged further when my roomy�s kid knocked it over on its right side against a work bench in the garage. Another roommate leaned his mountain bike over against my Kat and the brake levers on his pedi-bike scratched the hell out of my tank. Never have I wanted to strangle another human being more� Some very serious �one way� conversations ended the needless violence against my Kat.
I have a better job now and couldn�t stand to let my machine go on looking as poorly as it did. I found a pic of what my bike looked like before and the rest of the pics are the work getting it to what it is now.
Tools and materials I used:
Devilbiss gravity feed HVLP spray gun
Devilbiss gravity feed HVLP mini spray gun
Wet/dry sandpaper (320, 400, 600, 1000, 2000 and 2500 if you really want the mirror shine)
Green painters tape (couple of rolls)
Bulldog wax and grease remover
Bulldog adhesion promoter
Tac rags
Automotive high build epoxy sealer primer with activator
Reducer
Color (I had a custom mix. Black base with deep red metallic pearl)
Clear coat with hardener
Automotive paint safe respirator with filters (you will kill LOTS of brain cells without this!!)
Total cost was about $380, $400 with a couple of pizzas for my friends family for letting me stink up his garage.
So, here is the stock Suzuki pic of my Katana.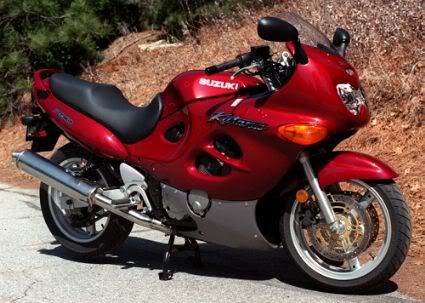
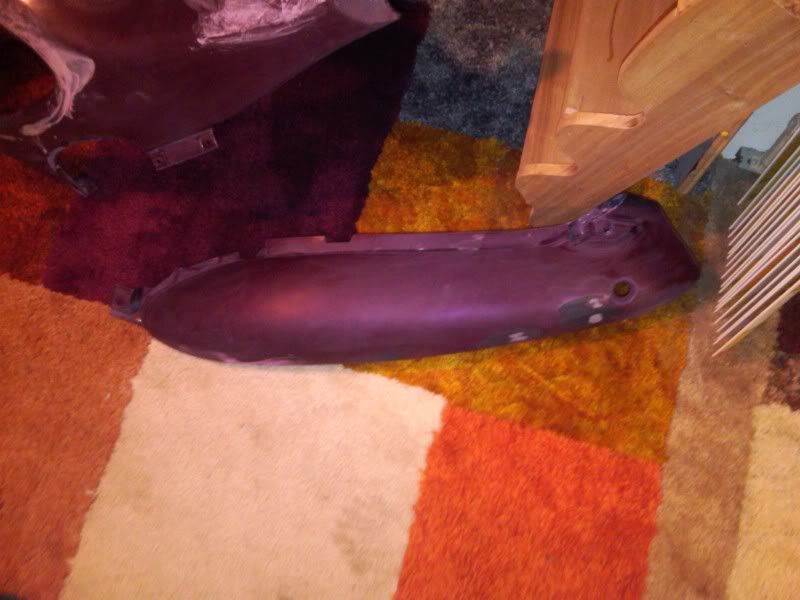
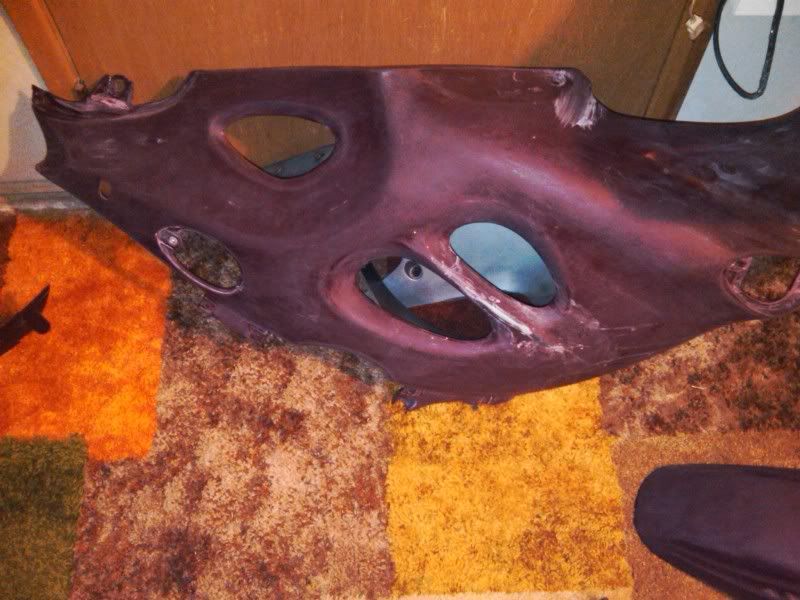
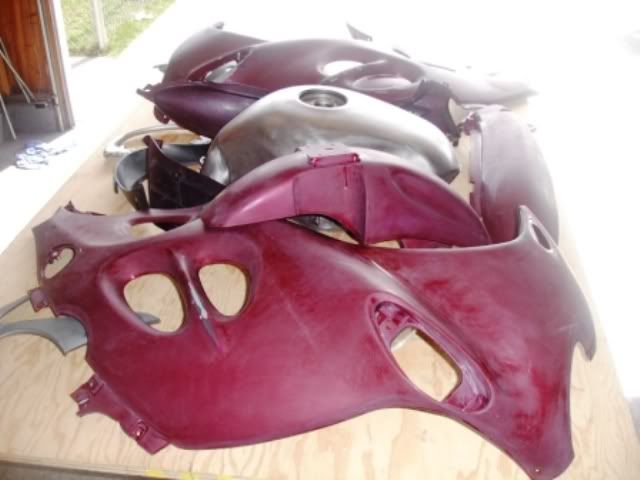
Prep� Prep� Prep� A quality paint job is nothing without solid prep work. I originally repaired the cracked rib and scratches in my plastics with some JB Weld and sandpaper, which worked very well. I used a Dremel to carve out the middle of the crack and then filled the crack on both sides with JB Weld and let it dry. I sanded it back into shape and left it that way for about seven years and it has done very well. After seven years some minor scratches needed to be fixed. I used some flexible plastic bumper repair that I purchased at Napa to fix the little chips and scratches. It dries pretty fast and sands easily. I scuffed all of my parts with 400 grit wet/dry sandpaper and cleaned them with warm soapy water. Rinse and let dry, repeat if necessary.
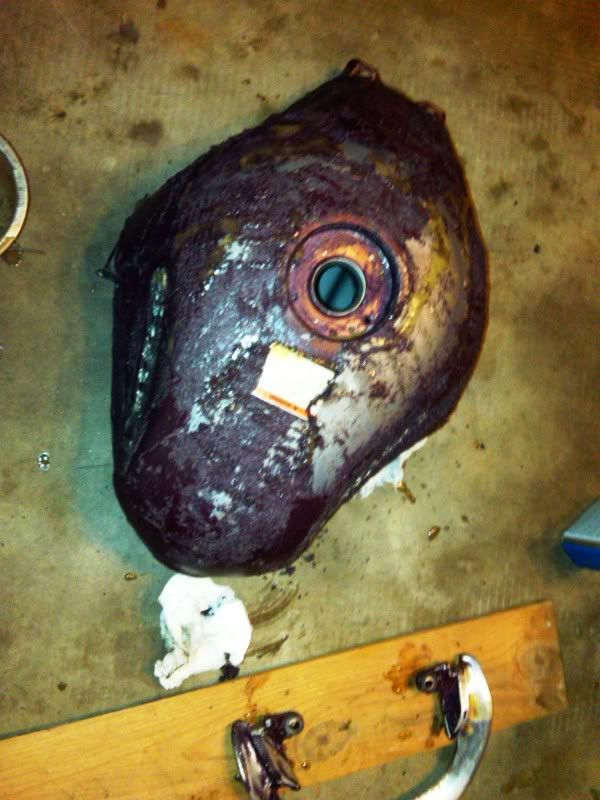
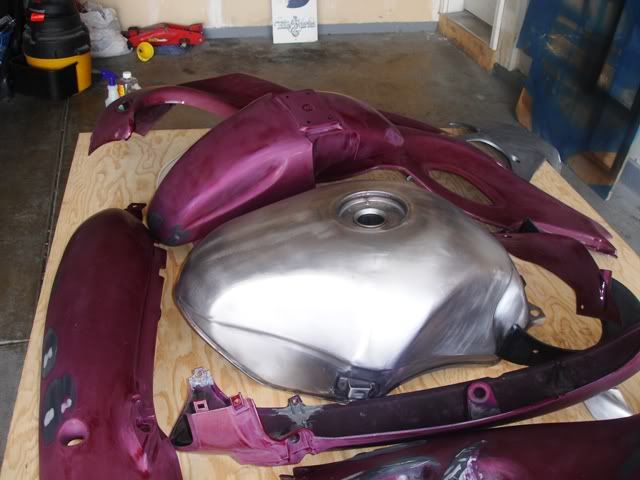
I wanted bare metal for my tank. I used Bulldog aircraft stripper to save time. Apply in a well ventilated area, wait a couple of minutes and you see this� approximately 4-5 minutes after application. Use a scraper or towel and wipe off your old paint. I washed the tank in warm soapy water and dried it off. A hair dryer or heat gun will get all of the moister evaporated from the inside of the tank. Then tape off the holes with green tape. I taped the top half of the screws from the gas cap and tightened them down to the tape to keep paint out of the threads.
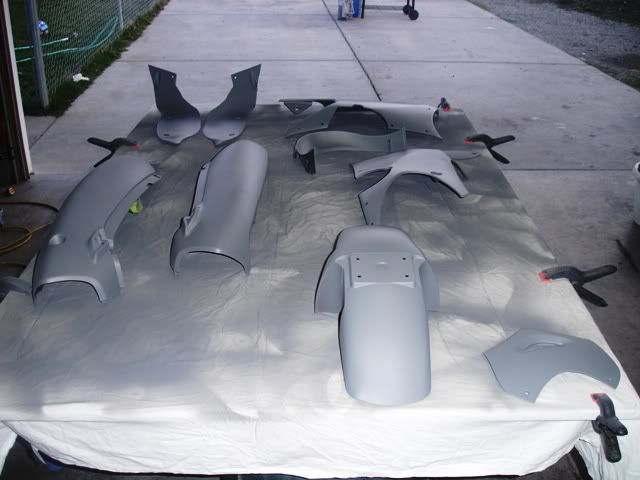
I loaded all of my parts and headed to my friends place to start painting. We used a 4�X8� sheet of plywood over two large garbage cans as a work table. Some old plain white sheets to cover the plywood made a great work surface. Start by gloving up and wiping down all of the parts with wax and grease remover. All of my parts prepped and laid out.
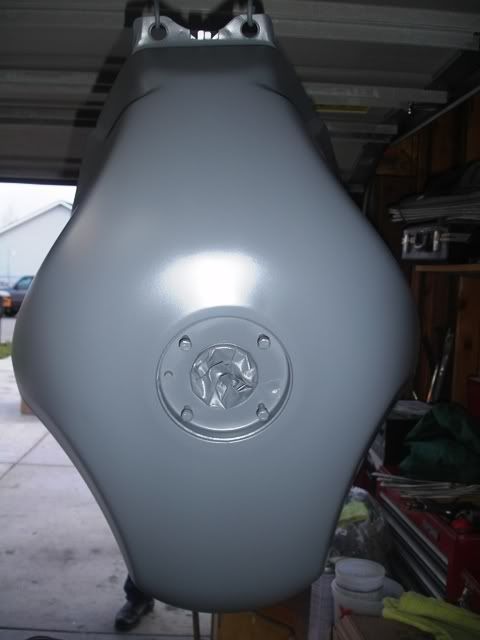
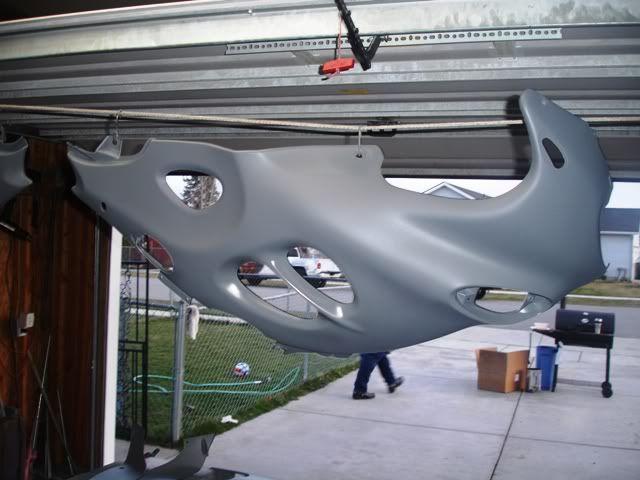
Shooting the primer. Spray a light coat of adhesion promoter on the plastics per the instructions on the can. Next mix the primer per the spec sheets provided for the product. Light coats are key with paint. Too heavy or fast and you get sags and runs. Wipe down all of the parts with the tac rag between coats of primer, paint or clear to get all of the lint or dust off your surfaces. That is my friend spraying. We each did about half the spraying, I took almost all of the pics.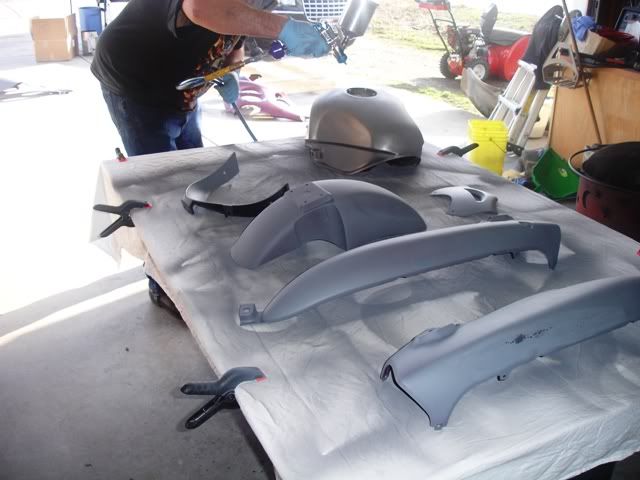
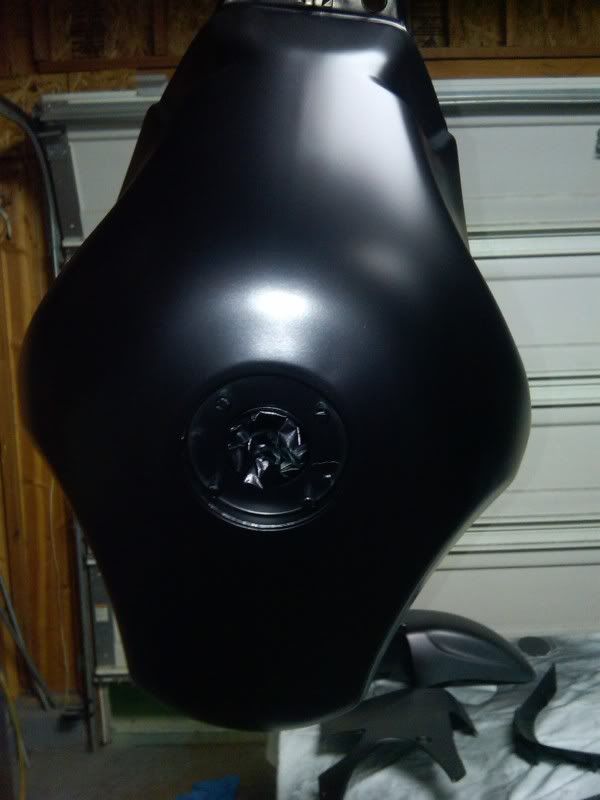
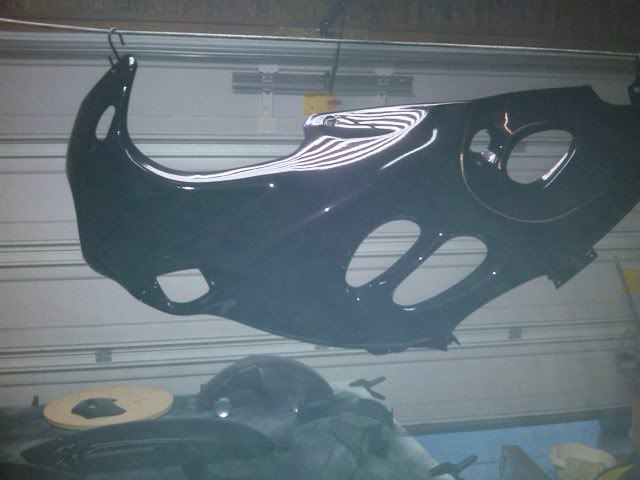
Color without any primer. The paint looks really dull until the clear hits it.
Back to prep work. This can bite you. Any contaminants on the surface to be painted will react with the paint. The primer went down fine on this panel. We laid down layer of color and let it flash. When we came back in for the next layer I looked at the panel and noticed patches of crows foot (paint pulls together up like crows foot wrinkles). STOP IMMEDIATELY!! Any paint shop should be able to answer questions when they come up. We decided to call it a day when this happened and called the paint shop the next morning. I found out that the wax and grease remover had penetrated the old paint and was evaporating through the primer and color. I followed the directions on the can and it still had the issue. We saved a lot of product and time by stopping and calling the paint shop. I resanded the panel and started over with the primer.
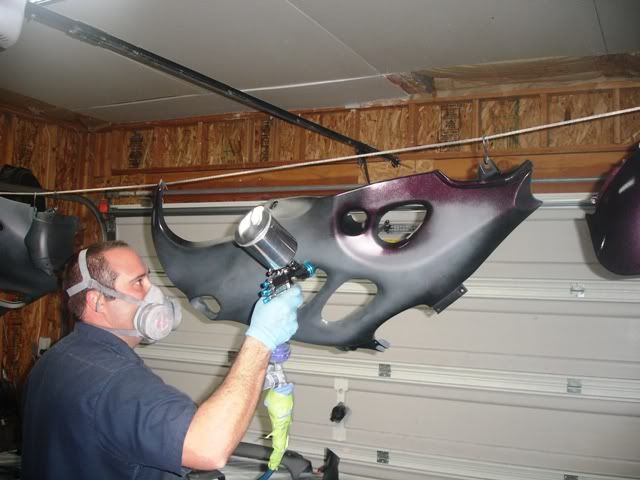
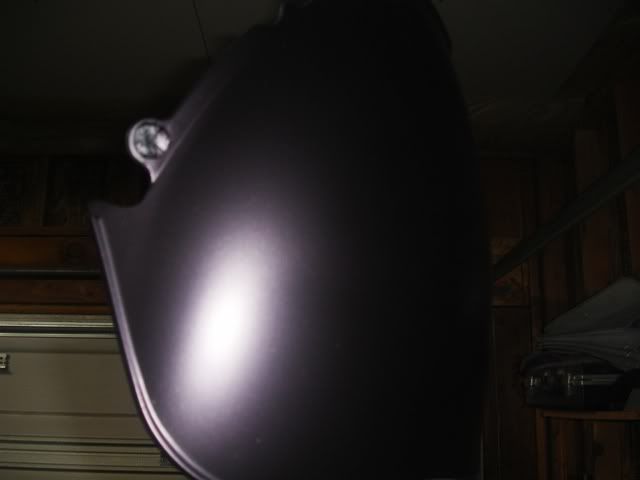
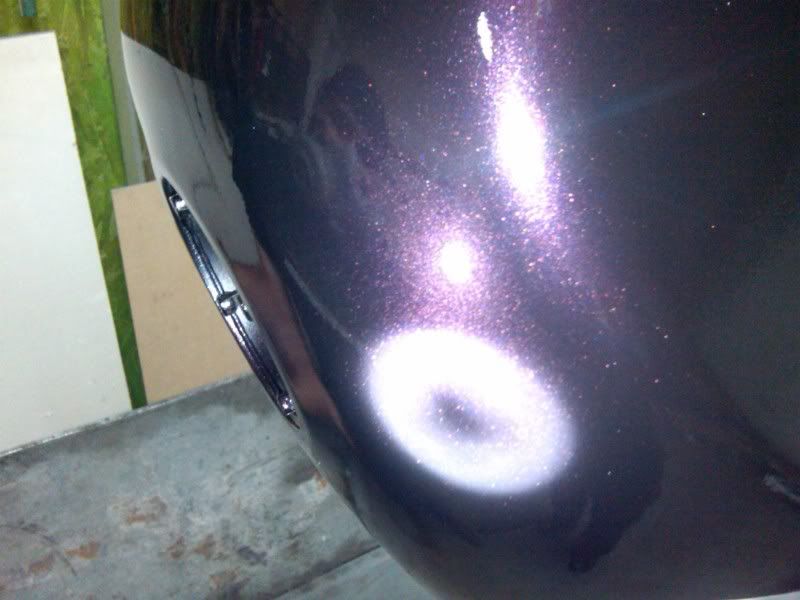
Color with clear coat. Now the paint really starts to look nice. The haze in the air is atomized clear coat. That stuff is really strong. The color has a lot of blue in the mix, so it shifts from red to purple in different light.
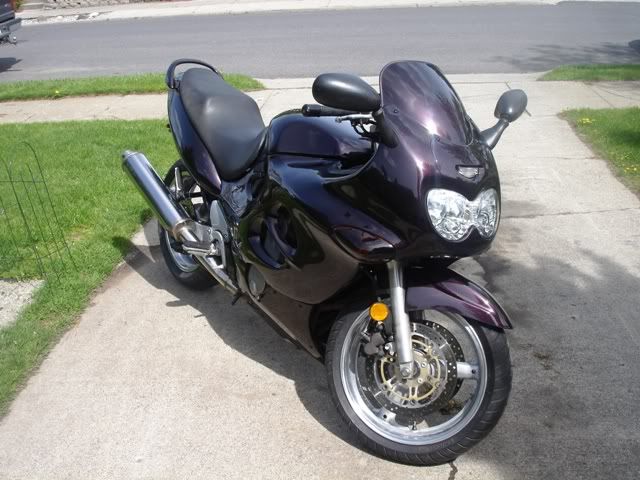
I hand polished both wheels with a power drill, a coarse wire wheel, a fine wire wheel, sand paper and Flitz. I did a 520 conversion with 15/50 Vortex sprockets. I got a black Probolt kit so I didn�t have the stock chrome body screws standing out. Last was a scratch built fender eliminator with some new led signals.
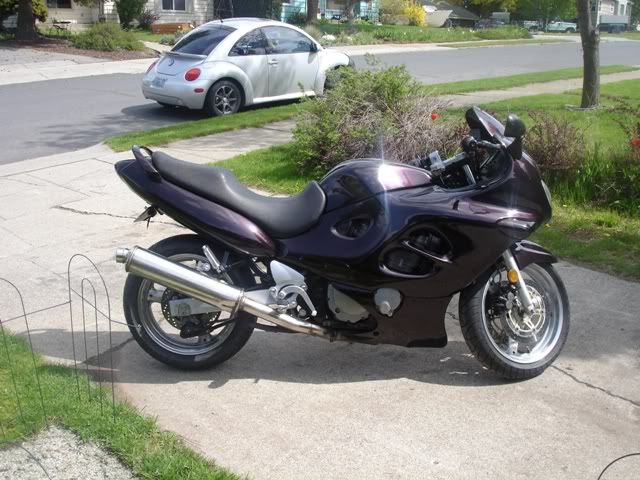
Here is my 750 now. Notice the tinted signals and tail light. I forgot to take pics while we were doing this. We used a mix of clear coat, base black paint, hardener and reducer to thin the mix then sprayed multiple coats until the desired tint was achieved.
I bought my 1999 Katana 750 in 2003. I had the bike for three days and a woman with driving a green Honda station wagon with Idaho plates ran a stop sign coming at me had on while I was making a left turn at a four way stop. I whacked the gas trying not to become a hood ornament and spun the back tire on a manhole cover and low sided. She was kind enough to gas her grocery getter and speed away. My Katana suffered worse than I did. I got a few nice bruises down my left side. The bike slid up over the curb. The left turn signal lense shattered, my chrome Katana logo was ground almost to nothing, the foot peg and shifter sheared off, my left side plastics got all gouged up and the rib in the cutout was cracked vertically and horizontally over most of its length.
Since I was recently divorced and the ex CRUCIFIED me financially, I could only do the bare minimum repairs to get my machine back on the road. I replaced the turn signal lense, the foot peg and shifter, did some very basic plastic repair with JB Weld and took a bunch of Tylenol. I took some 35mm pics of the bike after I went down, but I can�t find them. Those were a rough couple of years for me and the bike. My machine got damaged further when my roomy�s kid knocked it over on its right side against a work bench in the garage. Another roommate leaned his mountain bike over against my Kat and the brake levers on his pedi-bike scratched the hell out of my tank. Never have I wanted to strangle another human being more� Some very serious �one way� conversations ended the needless violence against my Kat.
I have a better job now and couldn�t stand to let my machine go on looking as poorly as it did. I found a pic of what my bike looked like before and the rest of the pics are the work getting it to what it is now.
Tools and materials I used:
Devilbiss gravity feed HVLP spray gun
Devilbiss gravity feed HVLP mini spray gun
Wet/dry sandpaper (320, 400, 600, 1000, 2000 and 2500 if you really want the mirror shine)
Green painters tape (couple of rolls)
Bulldog wax and grease remover
Bulldog adhesion promoter
Tac rags
Automotive high build epoxy sealer primer with activator
Reducer
Color (I had a custom mix. Black base with deep red metallic pearl)
Clear coat with hardener
Automotive paint safe respirator with filters (you will kill LOTS of brain cells without this!!)
Total cost was about $380, $400 with a couple of pizzas for my friends family for letting me stink up his garage.
So, here is the stock Suzuki pic of my Katana.
Prep� Prep� Prep� A quality paint job is nothing without solid prep work. I originally repaired the cracked rib and scratches in my plastics with some JB Weld and sandpaper, which worked very well. I used a Dremel to carve out the middle of the crack and then filled the crack on both sides with JB Weld and let it dry. I sanded it back into shape and left it that way for about seven years and it has done very well. After seven years some minor scratches needed to be fixed. I used some flexible plastic bumper repair that I purchased at Napa to fix the little chips and scratches. It dries pretty fast and sands easily. I scuffed all of my parts with 400 grit wet/dry sandpaper and cleaned them with warm soapy water. Rinse and let dry, repeat if necessary.
I wanted bare metal for my tank. I used Bulldog aircraft stripper to save time. Apply in a well ventilated area, wait a couple of minutes and you see this� approximately 4-5 minutes after application. Use a scraper or towel and wipe off your old paint. I washed the tank in warm soapy water and dried it off. A hair dryer or heat gun will get all of the moister evaporated from the inside of the tank. Then tape off the holes with green tape. I taped the top half of the screws from the gas cap and tightened them down to the tape to keep paint out of the threads.
I loaded all of my parts and headed to my friends place to start painting. We used a 4�X8� sheet of plywood over two large garbage cans as a work table. Some old plain white sheets to cover the plywood made a great work surface. Start by gloving up and wiping down all of the parts with wax and grease remover. All of my parts prepped and laid out.
Shooting the primer. Spray a light coat of adhesion promoter on the plastics per the instructions on the can. Next mix the primer per the spec sheets provided for the product. Light coats are key with paint. Too heavy or fast and you get sags and runs. Wipe down all of the parts with the tac rag between coats of primer, paint or clear to get all of the lint or dust off your surfaces. That is my friend spraying. We each did about half the spraying, I took almost all of the pics.
Color without any primer. The paint looks really dull until the clear hits it.
Back to prep work. This can bite you. Any contaminants on the surface to be painted will react with the paint. The primer went down fine on this panel. We laid down layer of color and let it flash. When we came back in for the next layer I looked at the panel and noticed patches of crows foot (paint pulls together up like crows foot wrinkles). STOP IMMEDIATELY!! Any paint shop should be able to answer questions when they come up. We decided to call it a day when this happened and called the paint shop the next morning. I found out that the wax and grease remover had penetrated the old paint and was evaporating through the primer and color. I followed the directions on the can and it still had the issue. We saved a lot of product and time by stopping and calling the paint shop. I resanded the panel and started over with the primer.
Color with clear coat. Now the paint really starts to look nice. The haze in the air is atomized clear coat. That stuff is really strong. The color has a lot of blue in the mix, so it shifts from red to purple in different light.
I hand polished both wheels with a power drill, a coarse wire wheel, a fine wire wheel, sand paper and Flitz. I did a 520 conversion with 15/50 Vortex sprockets. I got a black Probolt kit so I didn�t have the stock chrome body screws standing out. Last was a scratch built fender eliminator with some new led signals.
Here is my 750 now. Notice the tinted signals and tail light. I forgot to take pics while we were doing this. We used a mix of clear coat, base black paint, hardener and reducer to thin the mix then sprayed multiple coats until the desired tint was achieved.


Comment