Ad Widget

Collapse

Announcement

Collapse
No announcement yet.
X

My build - Uglier Betty

Collapse
  • Filter
  • Time
  • Show
Clear All
new posts

  • My build - Uglier Betty

    Hey,
    I haven't been too active lately, been busy with work, injury and life as usual.

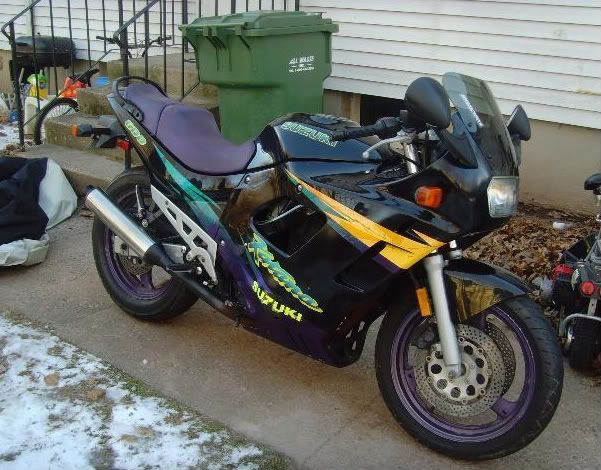
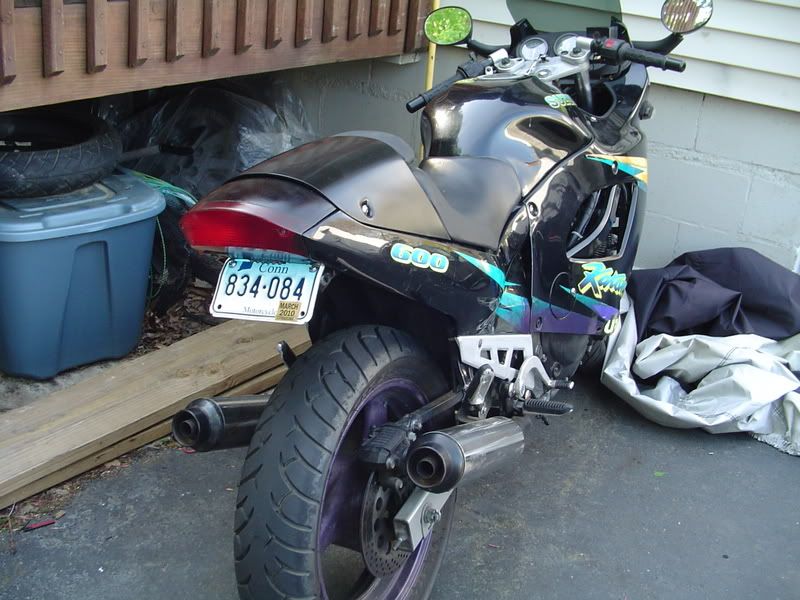
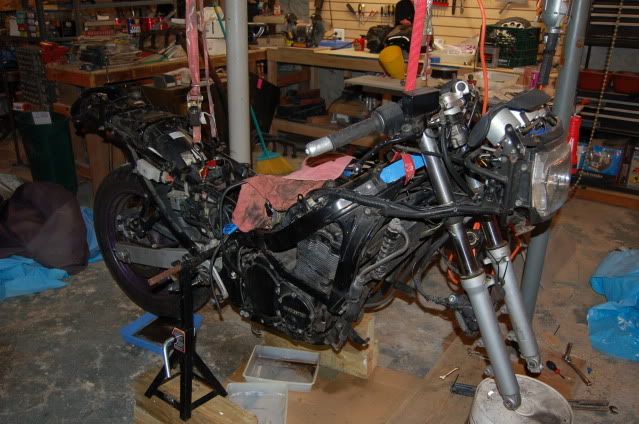
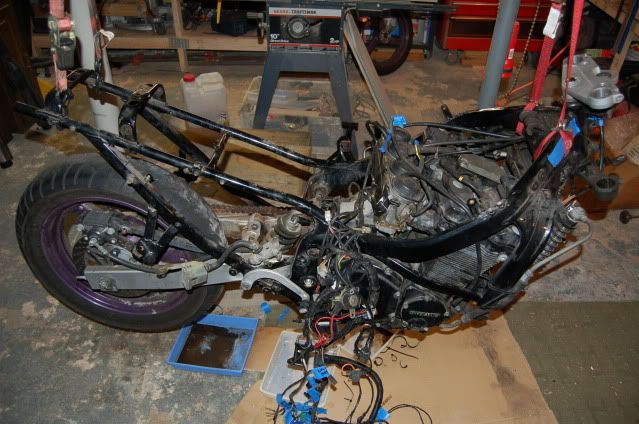
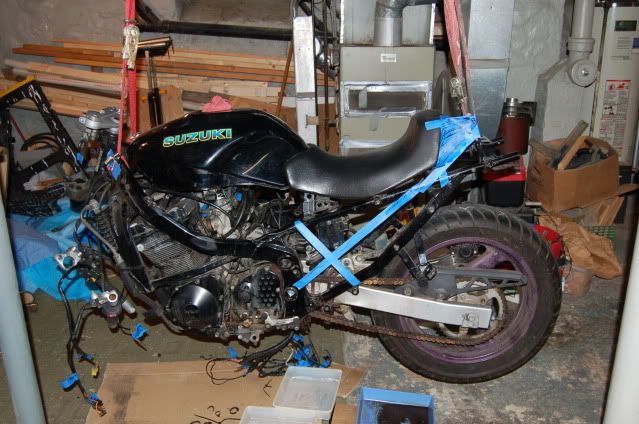
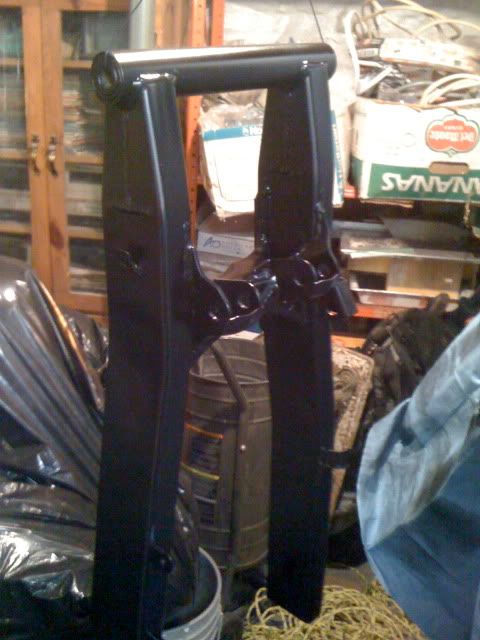
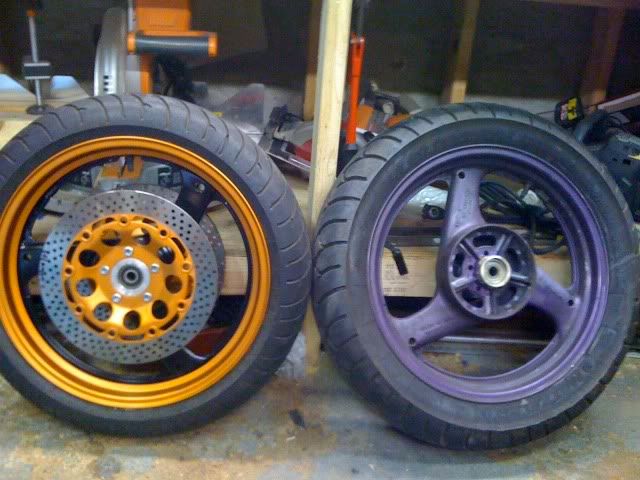
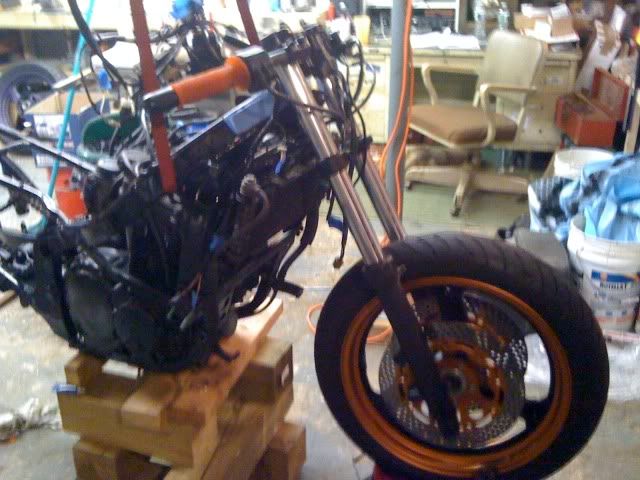
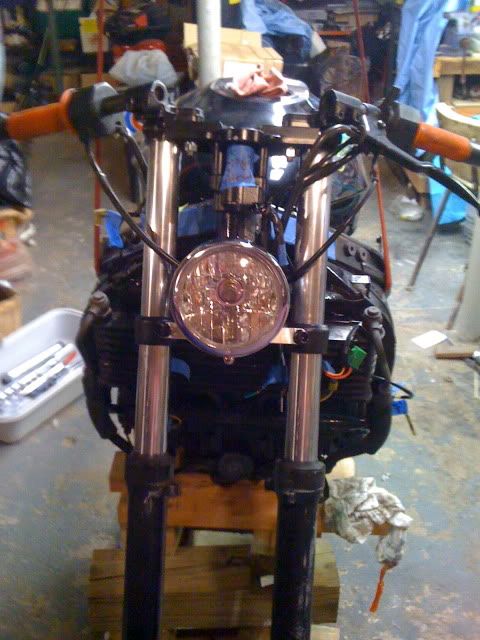
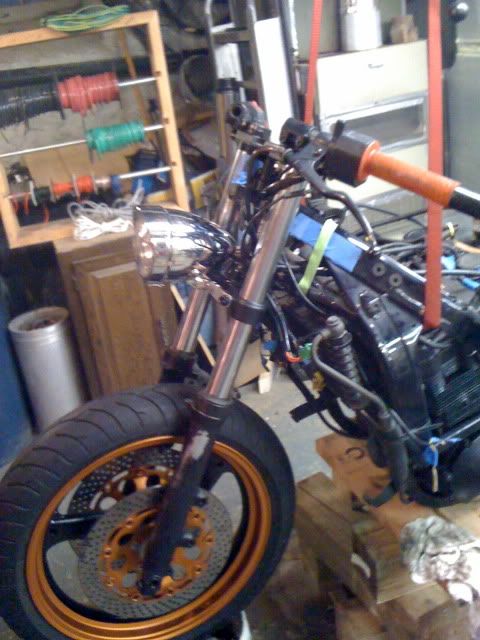
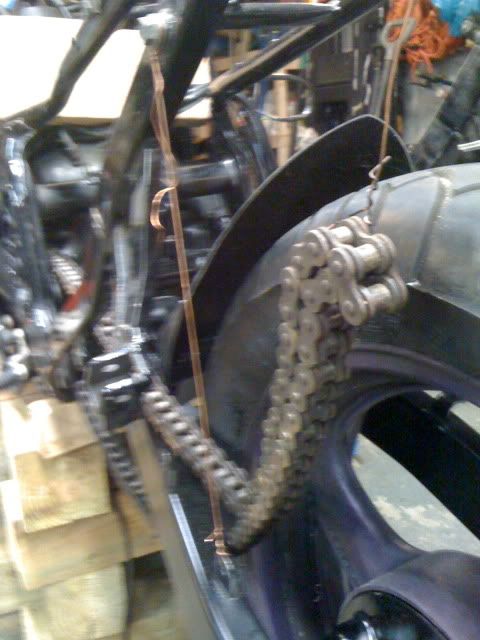
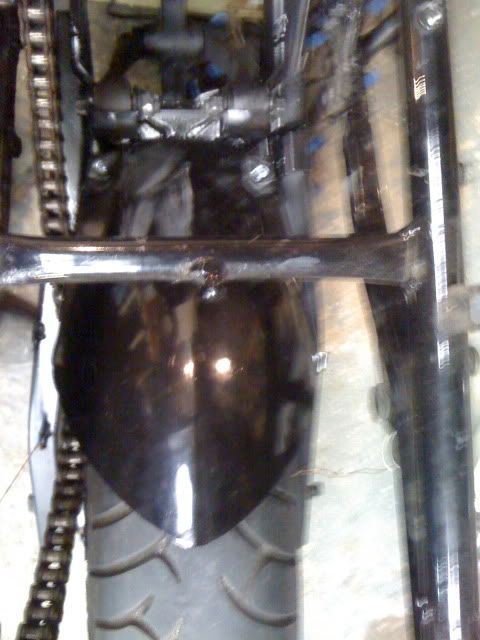
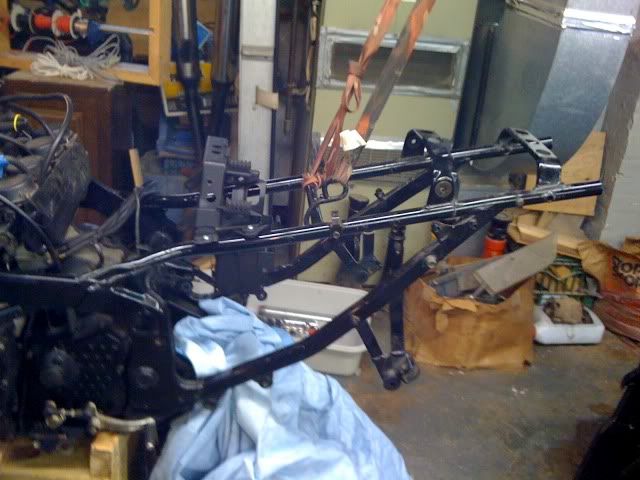
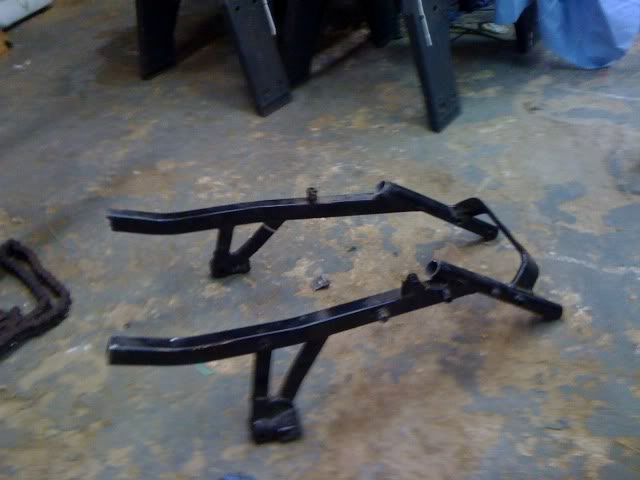
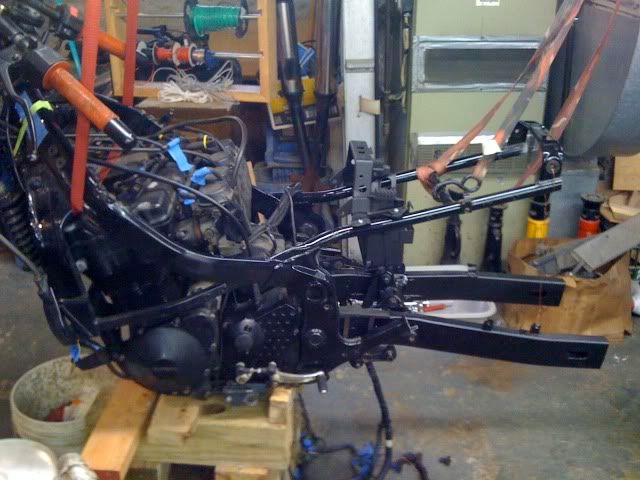
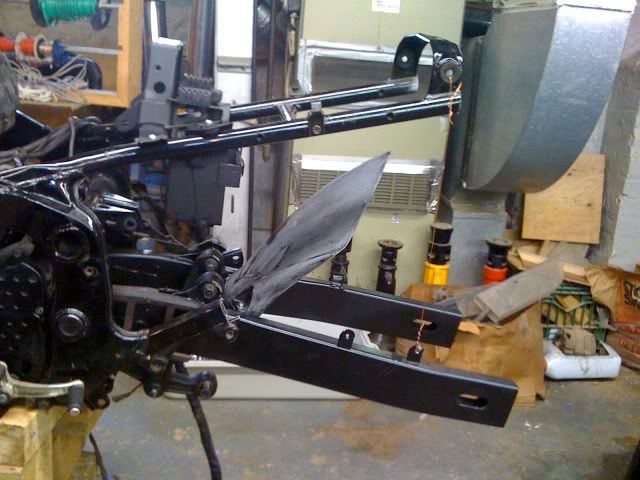
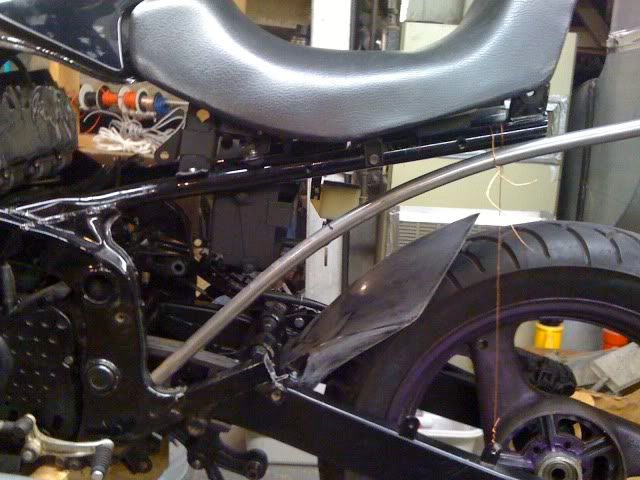
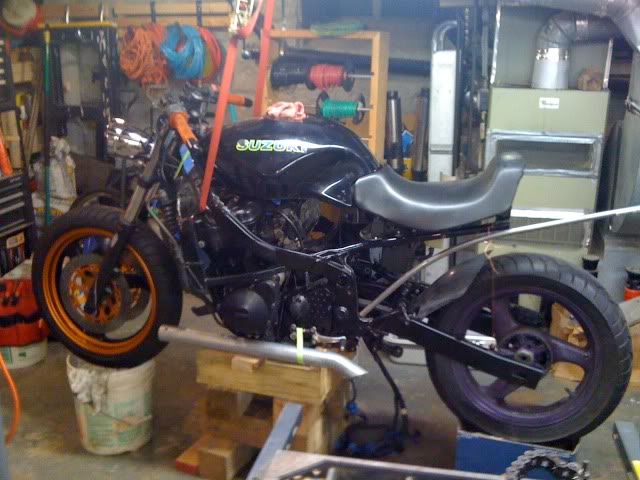
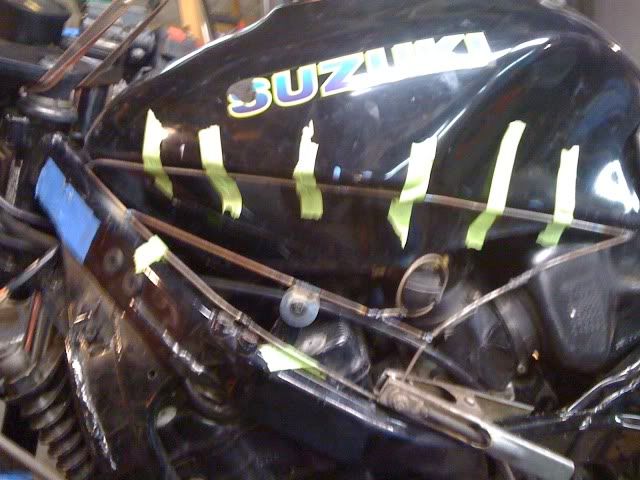
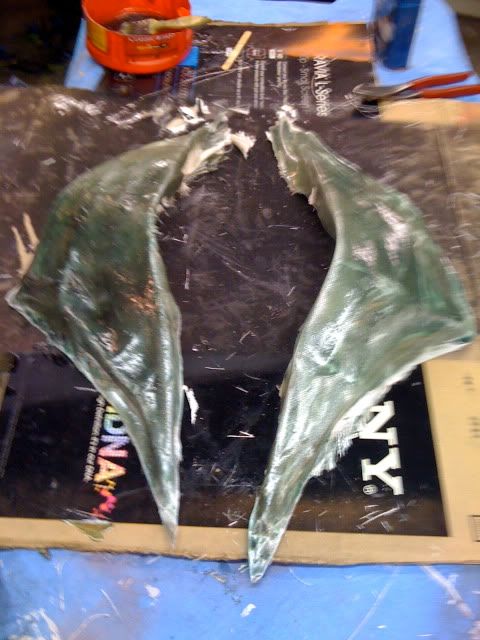
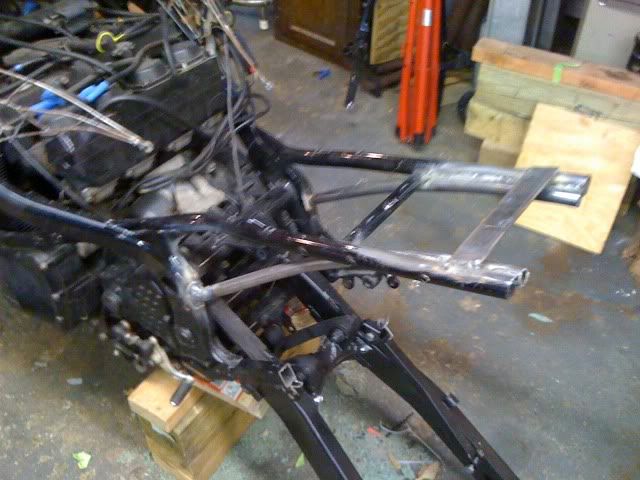
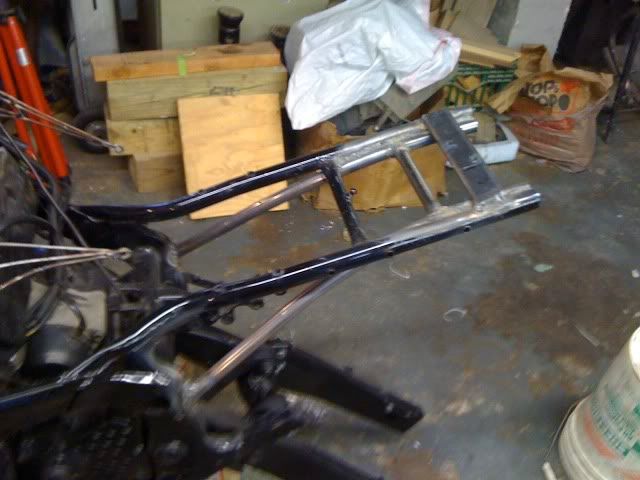
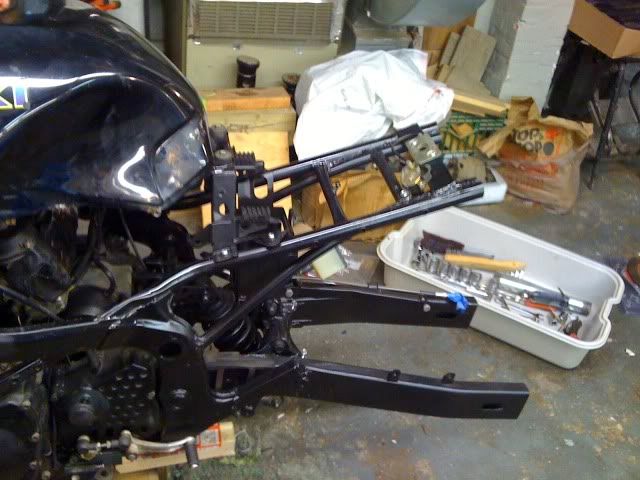
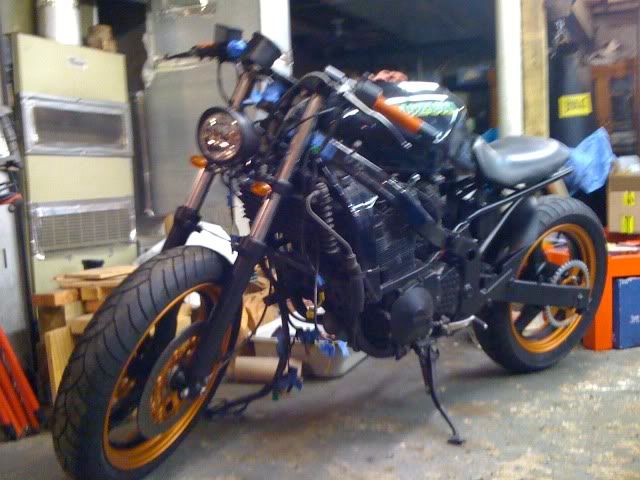
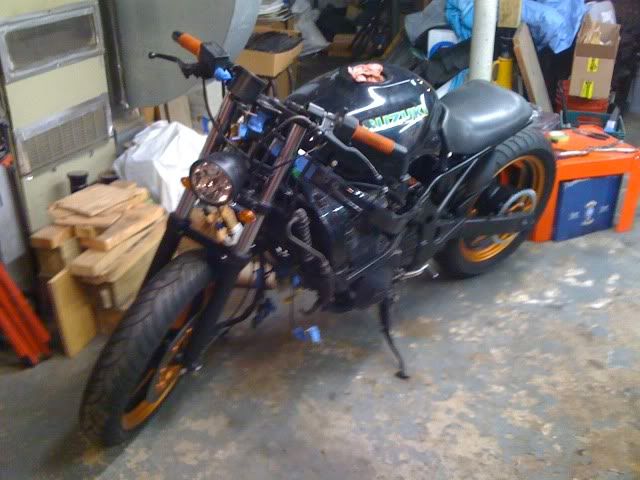
    I've started to Fighter my Kat, I know it's hit or miss on here, but check it out anyways. Any feedback, or good or bad is always appreciated.
    It may be a fighter, but it's still a KAT!

    You can check out My build thread on Custom Fighters, HERE!
    I know some of you are also on CF and you may have seen it.


    ~~~Brian

  • #2
    not too shabby, to each their own as some like fighters and some dont but im diggin it

    Comment


    • #3
      Thanks. I'm trying to retain some Katana feel without looking like a Katana. The most specific of these is the Kat tank.

      Comment


      • #4
        Originally posted by Idrivetoys View Post
        not too shabby, to each their own as some like fighters and some dont but im diggin it
        Sliminator

        Comment


        • #5
          Nice, I am a huge fan of the fighters!
          Kan-O-Gixxer!
          -89 Gixxer 1100 Engine
          -Stage 3 Jet Kit / KNN Pod Filters
          -Ohlins Susupension
          -Various Other Mods

          Comment


          • #6
            that wheel paint scheme is kickass
            2015 BMW S1000R

            Comment


            • #7
              looking good so far
              ROLL TIDE!

              Comment


              • #8
                i wanna SF!!!! Looks good man. i like the orange....
                Godspeed
                CSBA #1167
                Renew your mind with God's Word and His Spirit today! Let others see you walking and living by faith! Let yesterday go! God Bless!

                Comment


                • #9
                  Updated.

                  Comment


                  • #10
                    Nice. So what kind of paint did you use exactly for the wheels and brakes?
                    Kan-O-Gixxer!
                    -89 Gixxer 1100 Engine
                    -Stage 3 Jet Kit / KNN Pod Filters
                    -Ohlins Susupension
                    -Various Other Mods

                    Comment


                    • #11
                      looks good man keep it up

                      Comment


                      • #12
                        Originally posted by SweetLou View Post
                        Nice. So what kind of paint did you use exactly for the wheels and brakes?
                        The orange is an engine block enamel, which actually has a higher heat rating than caliper paint. The black is just semi gloss black spray paint.

                        Comment


                        • #13
                          OK so you guys/gals can follow along too, I've made a clone of my other build thread!

                          This post is just a recap, and I will post new replies as I make progress.


                          ~~~~
                          I decided to make a thread for my build -

                          Recap -

                          Build plan:

                          haha, there isn't one. I work best organically and am just gonna go with the flow. Currently just searching around to see what I like and try and form some sort of direction. More importantly I am trying to do a little research as to what swing arms, and forks I can swap with relative ease. Probably Gonna leave the motor alone for now though. One thing I definately want to do is totally redo the brakes, but that will be dictated by the wheels, forks and swing arms I decide to do, if any, like I said, no plan. LOL.

                          Here's the bike when I bought it:


                          This is after some mods (better, but just not what I am looking for)


                          This it's current state:

                          Made some progess... Really about all I can do until I figure out what they hell I want to do.


                          This is me playing around, trying to decide what to do with the sub frame, and whether to keep the battery where it is, as well as whether to use the stock tank and seat. Still undecided.

                          And yes, that chain is just as bad as it looks. Worse, perhaps.


                          Small update:

                          Finally got some free time to tinker. I have been super busy with home repairs and endless breaking truck!

                          Got the bike down to a frame/motor combo.

                          And also figured out exactly why I has such a hard time steering as of late. My bike was severely neglected when I got it, and this is a perfect example:

                          Lower stem bearing:

                          I have also begun to amass my collection of new parts. So far I got a new tail light, Some parts for my exhaust (baffles and header wrap). Still working on other parts.

                          I'm also still debating between a 520 and 530 chain, as I need both sprockets and a chain anyways. Hopefully more to come soon.
                          Brian

                          Got some work done today!!!

                          New Goal added today, reuse as many of the OEM parts as possible, and splurge in a few places. This is intended to keep costs down, as I am not a money machine! I also want it to retain some Katana look, while not really looking like a Katana, if that makes any sense?

                          First off, went shopping and some parts finally arrived.


                          Then I got down to work ~~~

                          These are Odyssey BMX Grips, an ode to my old past time.


                          Then I modified some Hyabusa bar ends to fit, and mounted after painting.


                          Then I got to work on that lower stem bearing that was stuck on there after most of it fell apart while removing. I don't have a bearing puller so I got creative with a dremel.


                          Managed to get it off. This is were patience is truly a virtue. No damage So then I got busy painting the tripples and their hardware.

                          *
                          Shock, dogbone, swing arm and all that crap also got some flat or semi paint. I am unhappy with the forks and swing arm (which I did in gloss {why?} ), so they will be changing from gloss to semi, like the other suspension parts.


                          '


                          An my favorite part of the day, the rotors. It's kind of a copper color. Calipers will match, maybe some other parts. I love organgy/copper colors, so this is exactly what I wanted.

                          '

                          The wheels will be Copper lip and Semi Black interior.

                          Here is a picture of the wheels for reference~


                          I haven't done the calipers yet because I have decided to rebuild them while everything else is apart, just as a safety measure.

                          Hopefully more is to come soon. What's really holding me back at this point is that my stem bearings haven't arrived yet, and I haven't managed to order a chain and sprocket either.

                          I also need so start thinking about my gauges. I'd like to have a functioning Speedo, Tach and keep my gas gauge (I'm too dumb to keep track, not to mention my trip doesn't work).

                          I gotta keep it fairly affordable, but would be willing to spend a little more for a backlit plug and play, even if it's just the tach and speedo. ANY SUGGESTIONS?
                          Got some more painting done. All semi black.

                          and here is the swing arm in gloss as it was before, much happier now. Kinda hard to see a real difference in pictures, but in person it looks 100x better.

                          Got some more work done.

                          ~Installed the new stem bearings, mounted the tripples and inverted the clip ons.
                          ~Mounted swing arm, dog bones etc. (didn't mount shock, lef off for access to remount rear brake - Still to be rebuilt painted.)
                          ~ Finished painting the front wheel, and mounted the rotors.

                          Here is a picture of the finished front, and the stock rear wheel.


                          Don't mind the old chain, still haven't bought a new one yet.


                          And this is just a quickie mock up, I just wanted to see roughly what it would look like.


                          Got a few things done today, not too productive. Running out of things to do until I buy parts.

                          Made a bracket and installed the new headlight. Still unsure if I want to keep it chrome, make it semi black, or the same orange as the rims. What do you guys think?


                          Also modified and mounted a carbon fiber hugger off some bike. I think its off a GSXR.


                          Sad thing happened today...

                          Bike started out like this.


                          But it must have been sick or something because the back half just up and fell off!!!:wtf:


                          So I guess I have to put SOMETHING there.....
                          Here is what I was playing with.


                          And the bike mocked up to see how I like it. I swear to god I must have taken this bike apart and put it together more times than most normal riders do in a life time.

                          ~~~Here you can really start to get the feel of what it will look like.


                          Running low on things to do until parts arrive, so I did stuff that didn't require new parts.

                          Going with the idea that I want to reuse as much as I can, I made a bracket to hold the speedo and tach. The speedo had to remain on the left because of the cable to the front wheel. Also the gauges are different depths, and all three (including the gas gauge - not used) have different mounting stud patterns and positions.

                          But this bracket should probably give some people some ideas. Feel free to copy, I wish I has someone to copy...:knucks:


                          Which led me to the question, where to mount my LEDS.
                          ~~~ I will be replacing the factory idiot gauges with LEDS of the same color.

                          My solution?

                          Make a tab that acts both as a washer and a mount. It will be a bit of pain to replace bulbs if they go out, but they are LEDS so the shouldn't go out too soon.


                          And then I moved on to the tail light. It is a dual filiment fixture that utilizes the base as a ground. This is a problem for me because I will not be mounting it to steel that will allow it to ground.

                          My solution?

                          Weld on an eye loop and run a dedicated wire for ground that can be spliced into the stock harness. I realize that my head and tail light might not be to everyone's taste, but I am just using things that I like, and if everyone's bike made everybody happy, they'd all be the same.


                          And here is "roughly" where it is going to mount.


                          OK so we have some progress, most importantly, PARTS!!!

                          One of many packages I am waiting for finally came. Had some of my tune up stuff, my new rear brake line (fronts are on back order) and all the seals and pads to completely tear down and rebuild all 3 calipers.


                          So logically (right?) I started to modify my seat... (yes, this is how mmy mind works)

                          Here's a pic for reference.


                          So I started trimming the seat pan, but in doing so trimmed off the seat lock. This is a problem because I like the quick access that it provides me to my reg, insurance, battery, and also to use a helmet lock. I also like that this one is keyed alike with my tank and ignition. so I remounted it, and built a new brace for it to mount to, and also started playing with where to stick the lock itself.


                          Didn't take too long, meets my criteria (cheap, keeps the key lock, and is comfortable) so I'm happy.

                          I did toy with the idea of just making a new one, but in the end this was a better choice for me. I tell ya though, I don't know how some of you guys ride the nut crusher seats man!
                          Or even those ones with like 1/4" of padding, **** that! I ride almost all highway and I need something that won't kill me.
                          Small update!

                          Some more parts came:


                          and this is a better idea of what the bike will look like:


                          The upside is that I was waiting for the chain/sprockets to make a roller, downside? I ****ed up my clutch cable so now I might as well just wait for the new one to come and do them together. Slowly but surely

                          Comment


                          • #14
                            Sweet!
                            I can't wait to see it done!

                            Comment


                            • #15
                              Got a few essentials done today.

                              Started out by chopping up some foam to make molds for fairings, but that turned out to be a disaster, so I decided to instead make a steel skeleton and fiber glass over that. Have 3 coats on so far, it it needs another two, and a whole bunch of finishing work but it was still a hell of a lot easier than the foam.


                              and these are the rough outs of the mini fairings. The left one looks weird because I had recess it to be able to use the petcock.


                              So then I got the new subframe all welded in.


                              So I moved on to my freshly painted sprocket. I mounted that guy up and stuck the back wheel on. I then put the kickstand on so that I could actually have a roller, and for the first time since january my bike is not on blocks or hanging from the rafters.

                              I then decided to mount my headlight (again!) I took it off and painted it semi black because I wasn't fond of the chrome, just the shape and price!

                              After that I started to re run my electrimacl type stuff. This took some wire elongating and playing with positioning as I cut of a good portion of the mounting points, and also severely reduced the space in which to mount these parts. So after some gringing, welding and painting, I got everybody all situated (still have to extend a good number of wires to reach their new homes, but now they have homes.


                              And here are some spoiler shots of what the bike is looking like at the moment. It's so nice to get a shot of her not hanging for once.


                              All critiques welcome!

                              ~ Brian

                              Comment

                              Working...
                              X