
 Tweet
Tweet
Good day Katrider friends,
My bike is a '93 Katana 600. This bike I bought as a project, barely running. Rusty tank, carbs all a mess, PO running it without the airbox for a short time. Clean title though. Woo. This is my first project of this mechanical magnitude, and I am slowly wading through it, forcing myself to learn.
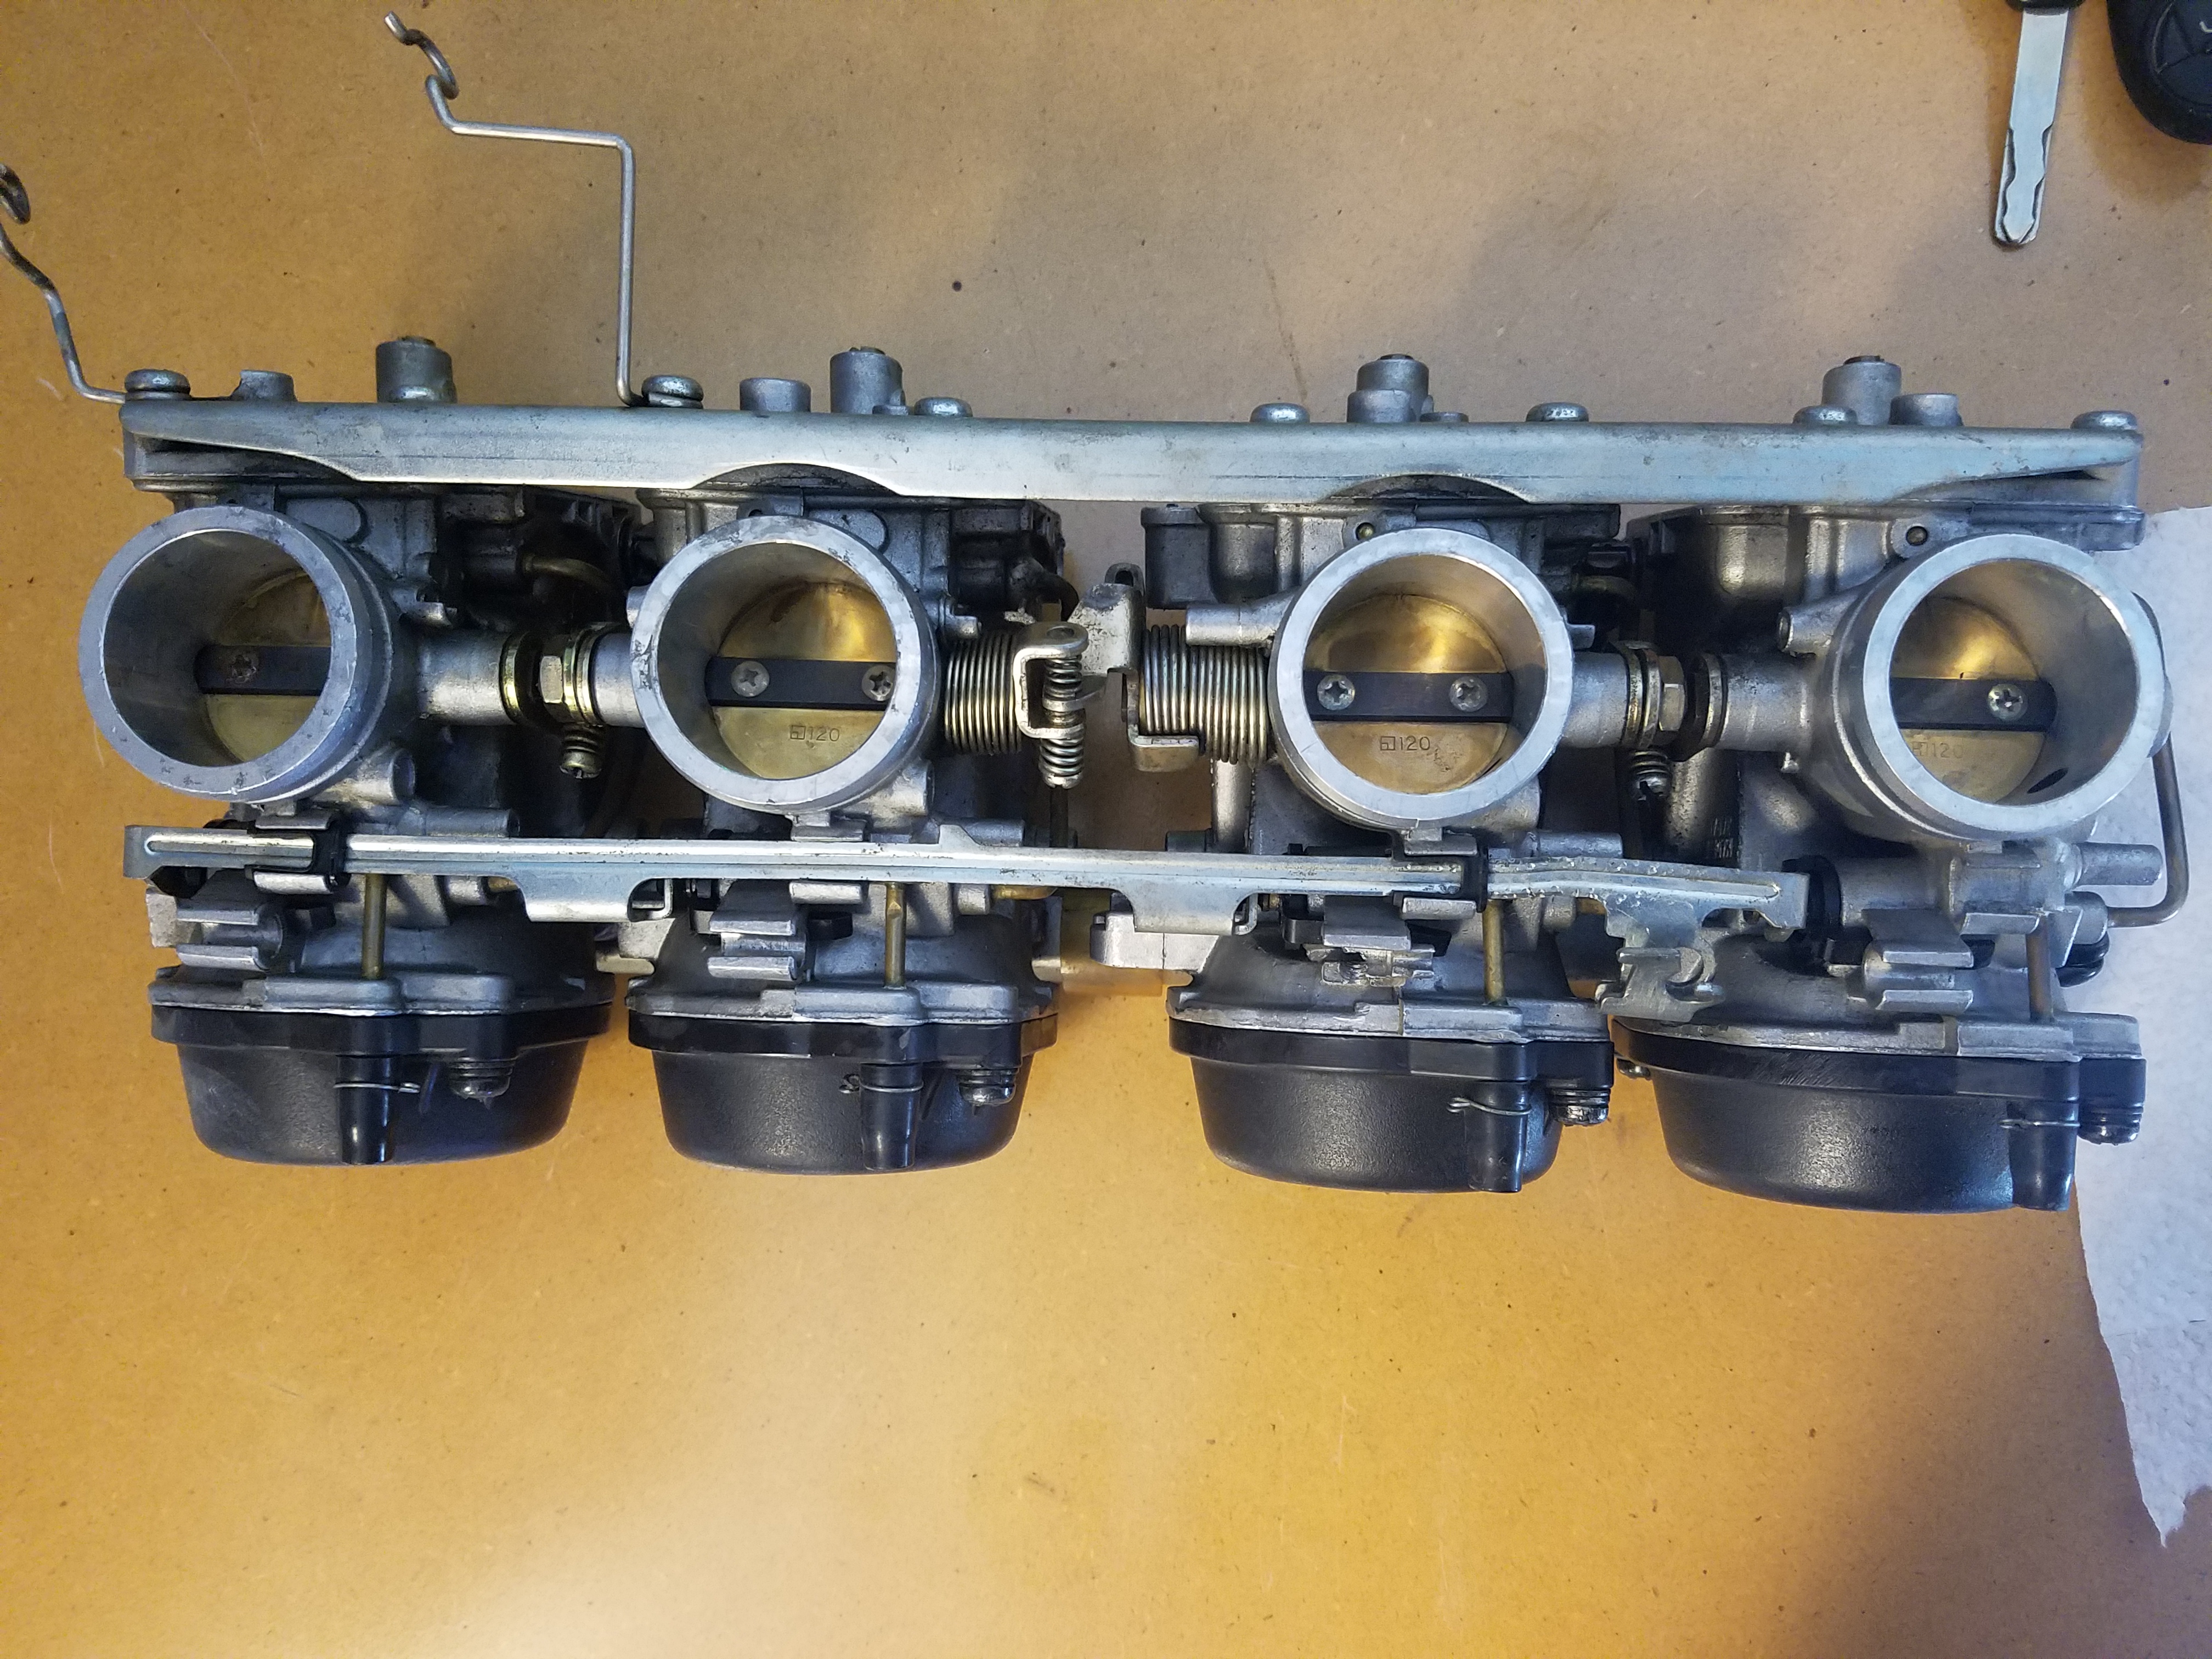
I pulled the carbs apart, bought a kit of O-rings from arsenic, new pilot plugs thingies from bikebandit, new pilot jets (as the old ones were MISMATCHING ), cleaned everything per Carbs101 (except removing the choke slide all the way as that was functioning fine), set my float heights, and put it all back together. I did not buy new bowl gaskets as the original ones looked to be in nice shape, still pliable and rubbery.
Tonight I wanted to test if my floats/needles were functioning correctly by feeding the carbs some gas on the bench and seeing if the carbs overflowed.
Well, not sure if they are overflowing or not, but they are leaking like a mother. I'm not sure in how many places. When supplying gas to the carbs on the bench, here's what I can see:
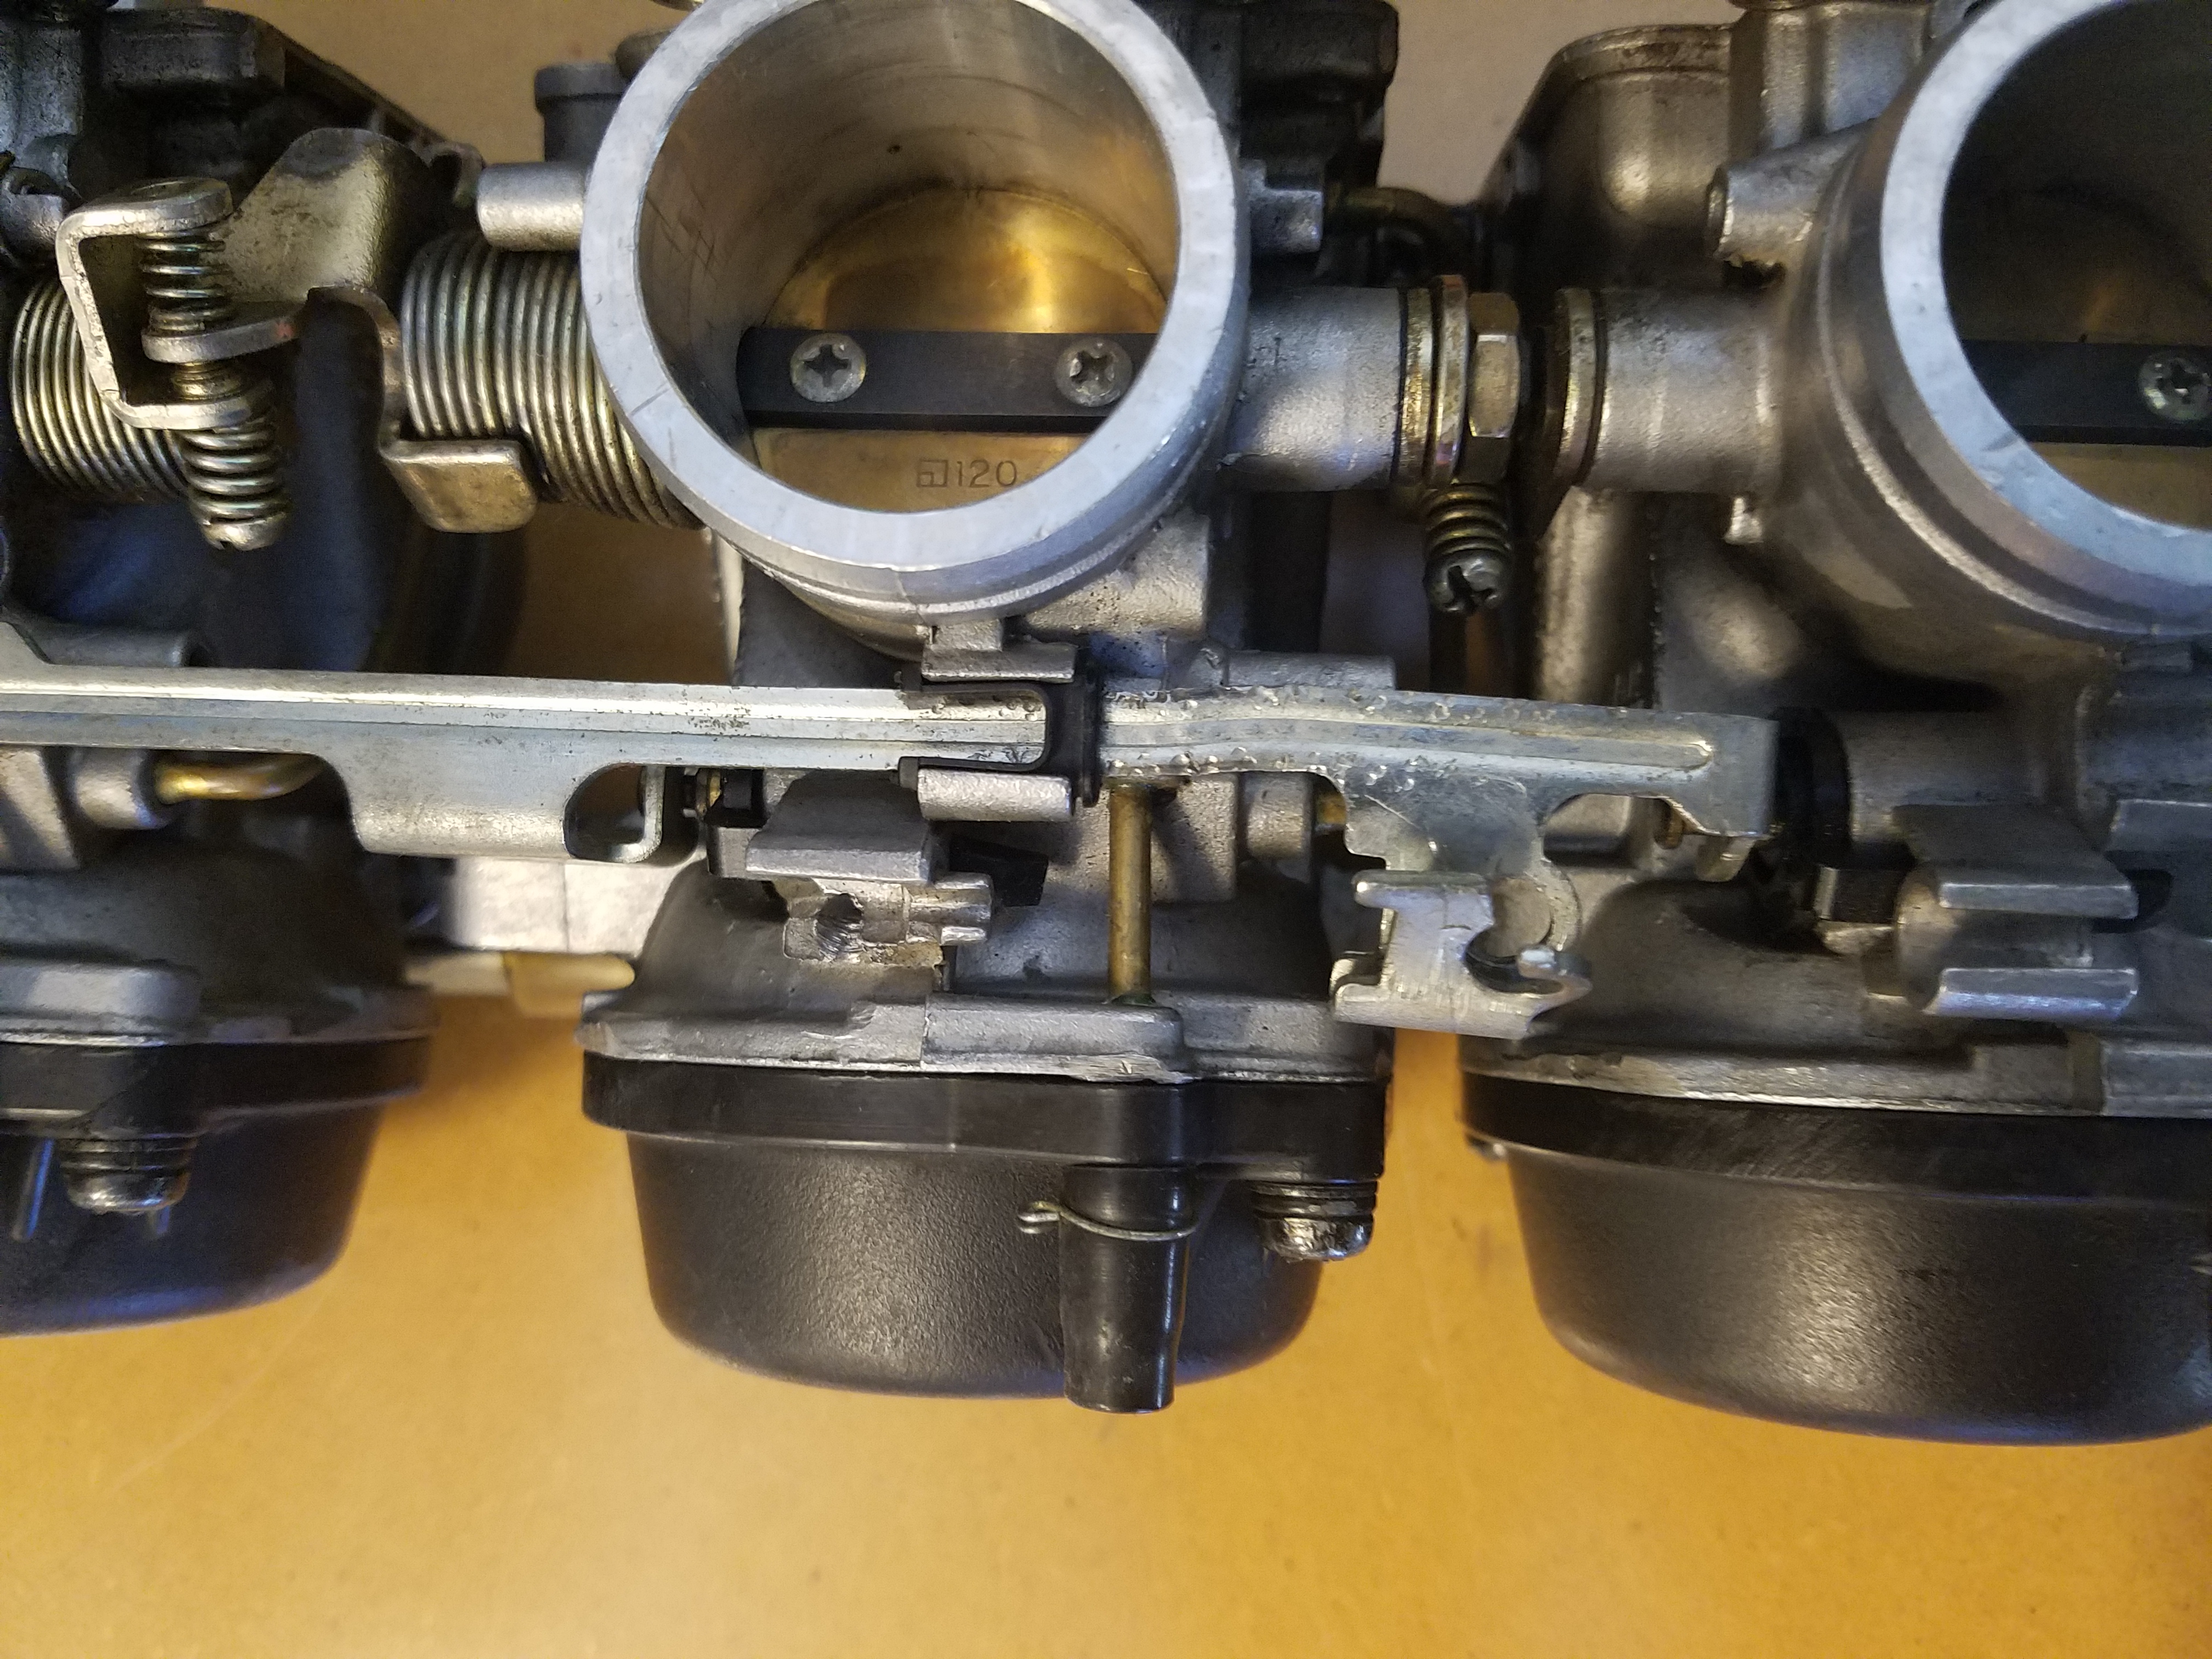
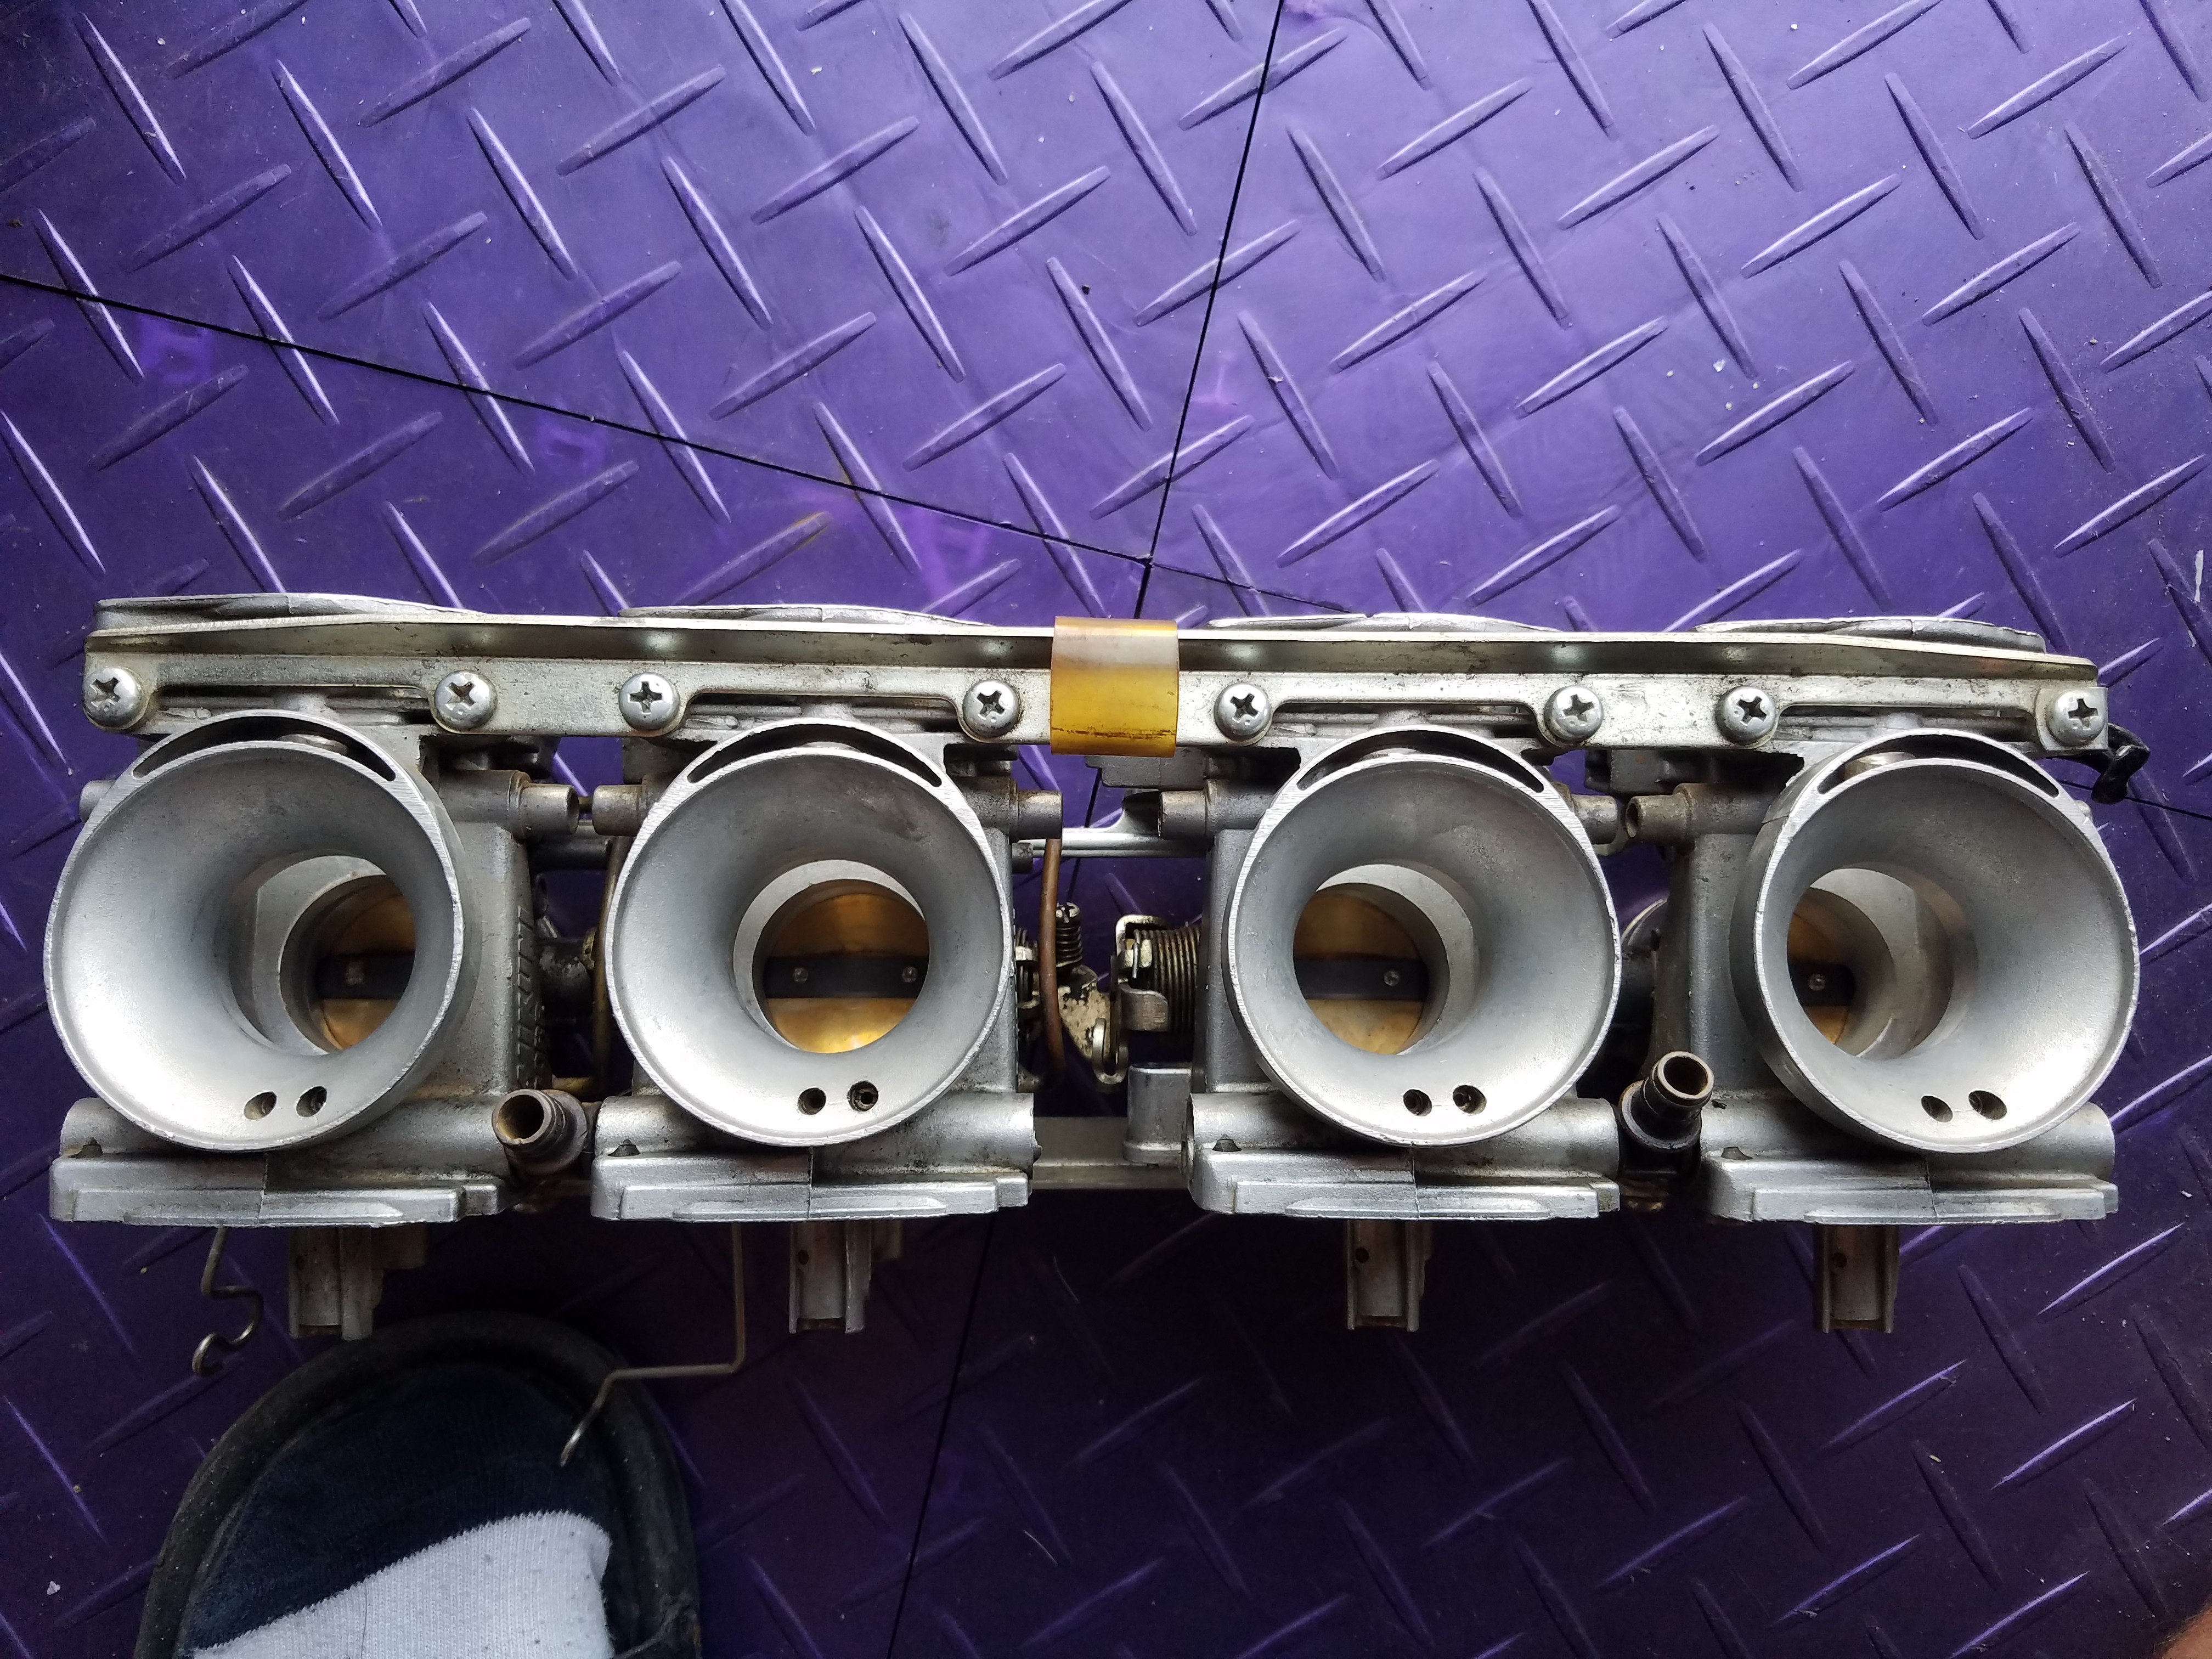
- Leaks looking to be coming from the Tee-fittings where the fuel lines hook up, at the junctures of where the Tees connect to the carbs. Here's a picture with the offending areas circled in red.
- Seemingly large amounts of total fuel dripping off carbs 1 and 2. Cannot tell if its just the fuel running out of the Tee leak, or elsewhere.
Here are the things I need to do, and my questions, I think:
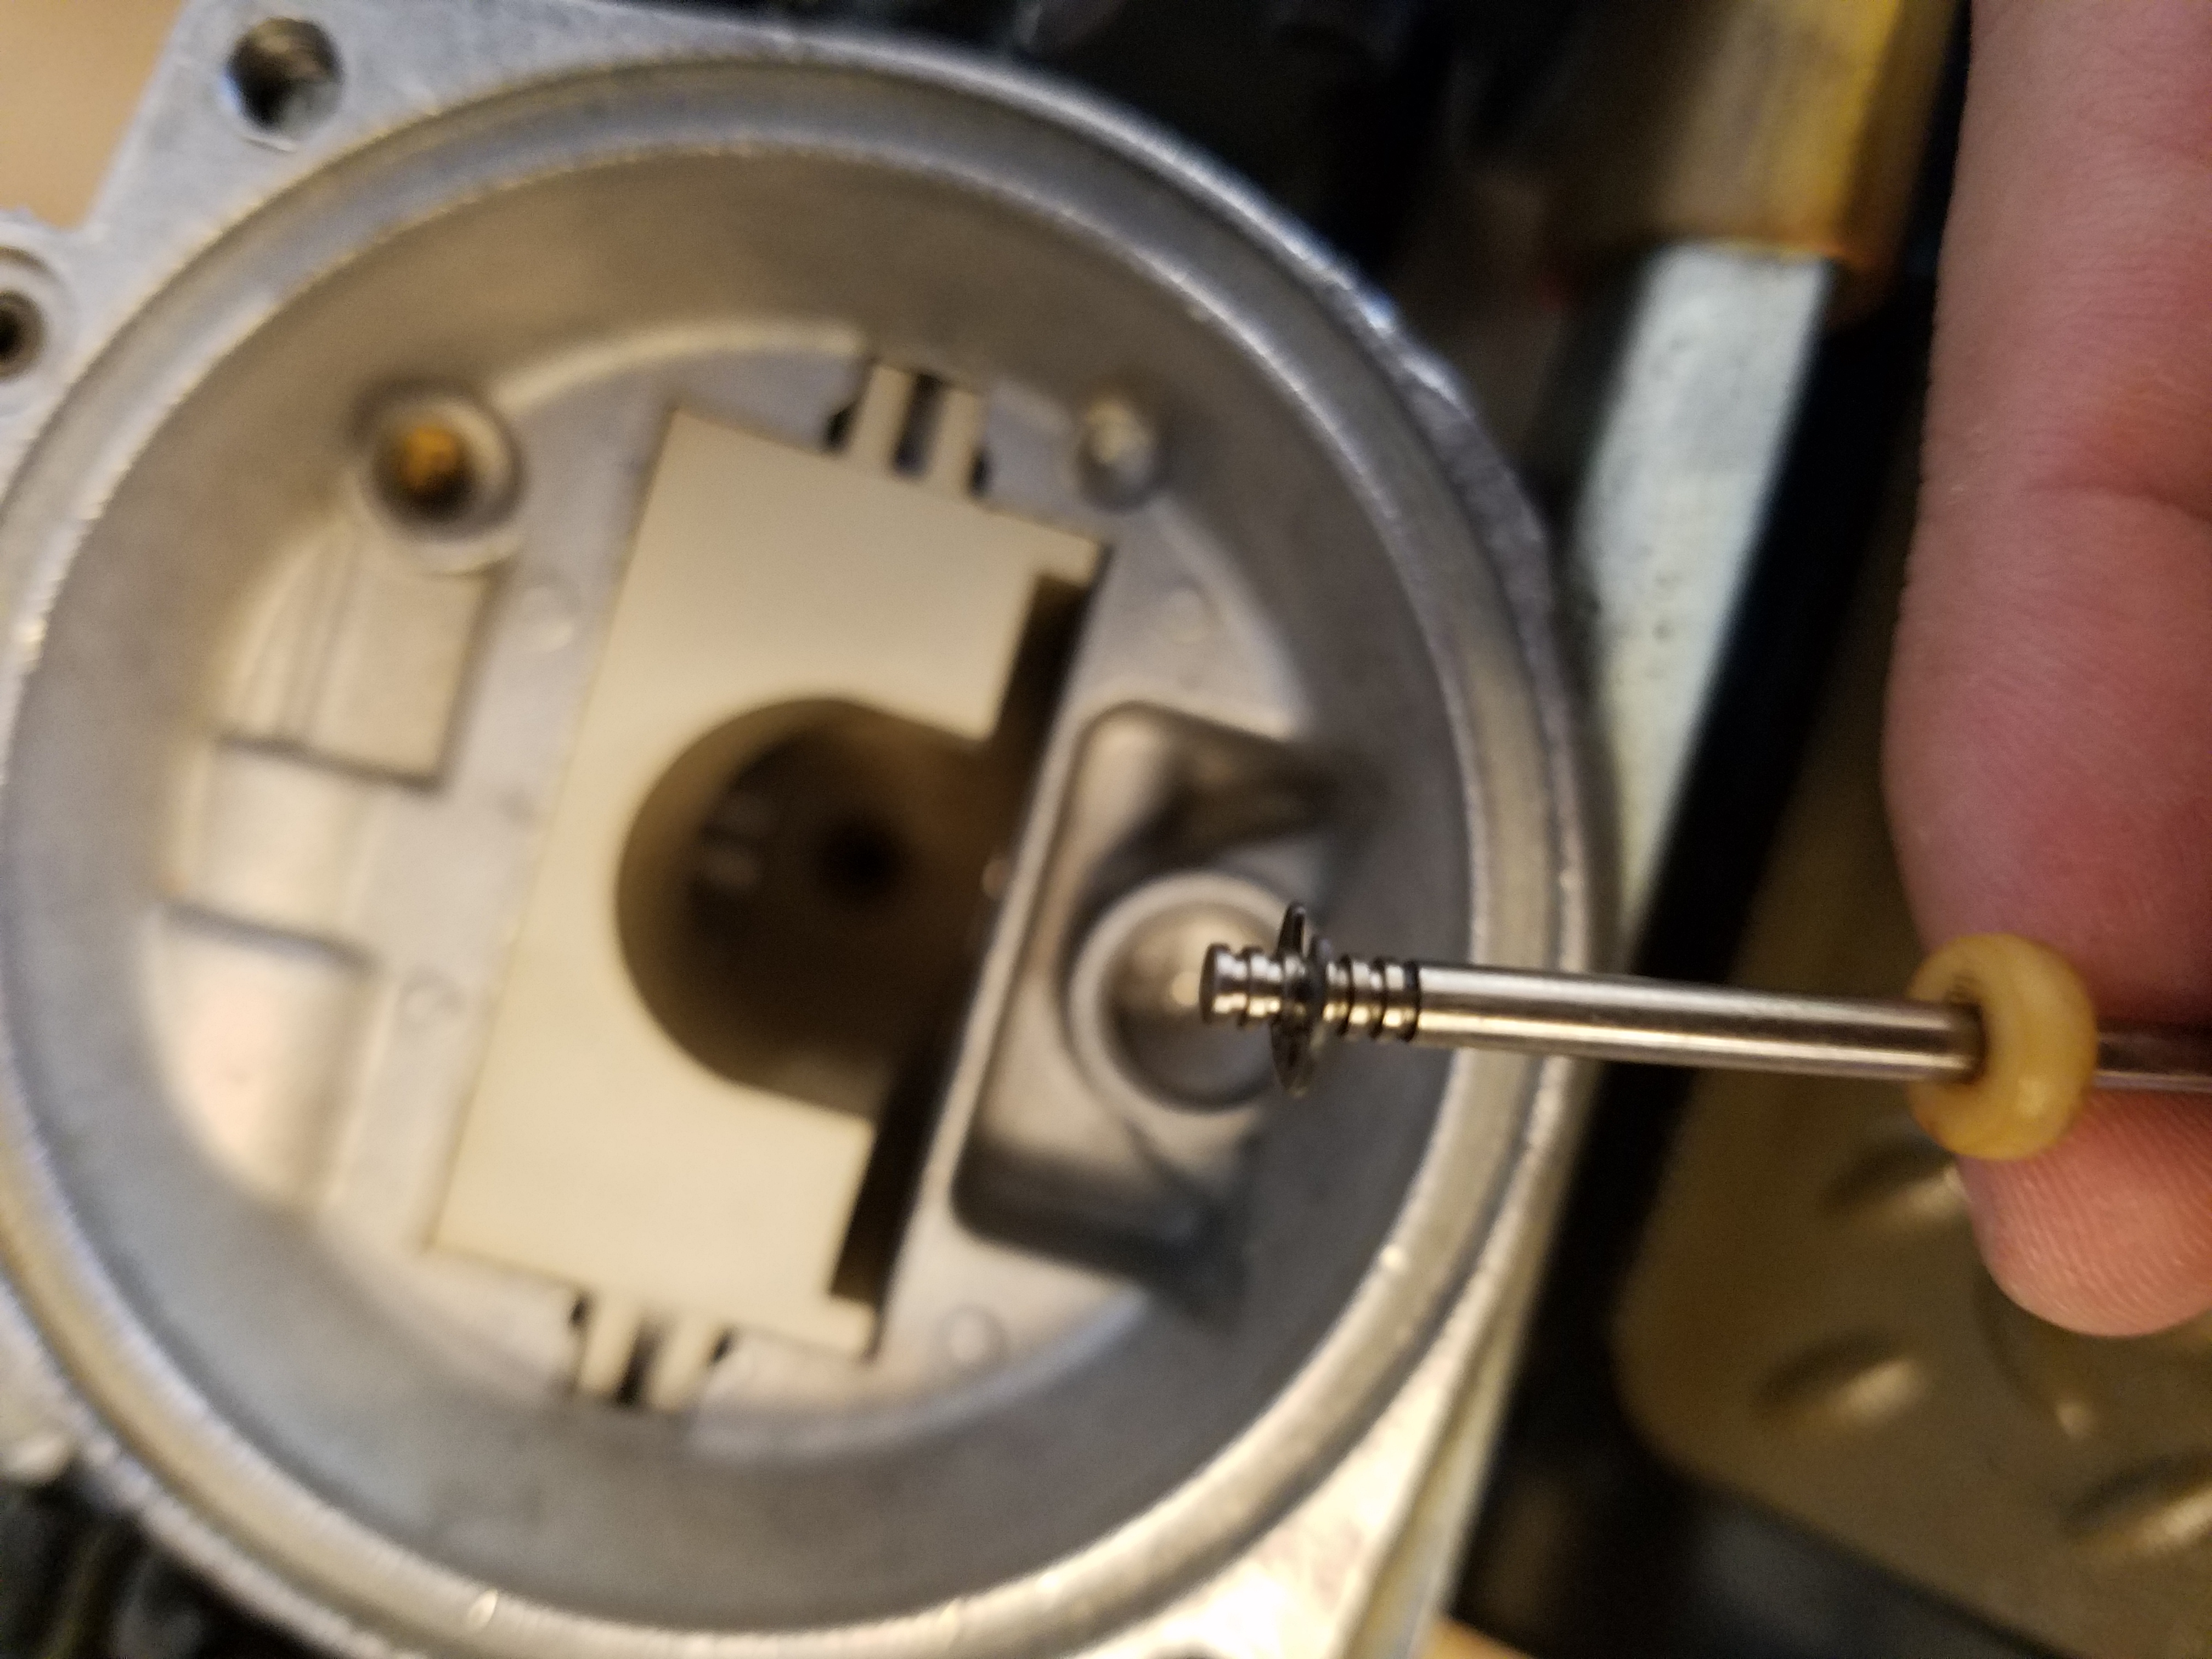
1. Replace O-rings of the Fuel Tees. I think these are them? (4) Rubber fuel "Tee" seal: Part #13673-44B00.
2. How do I do the above? This is not covered in Carbs101. I am honestly a bit nervous pulling the carbs from the rack. Maybe that's silly. I have not found too much by searching.
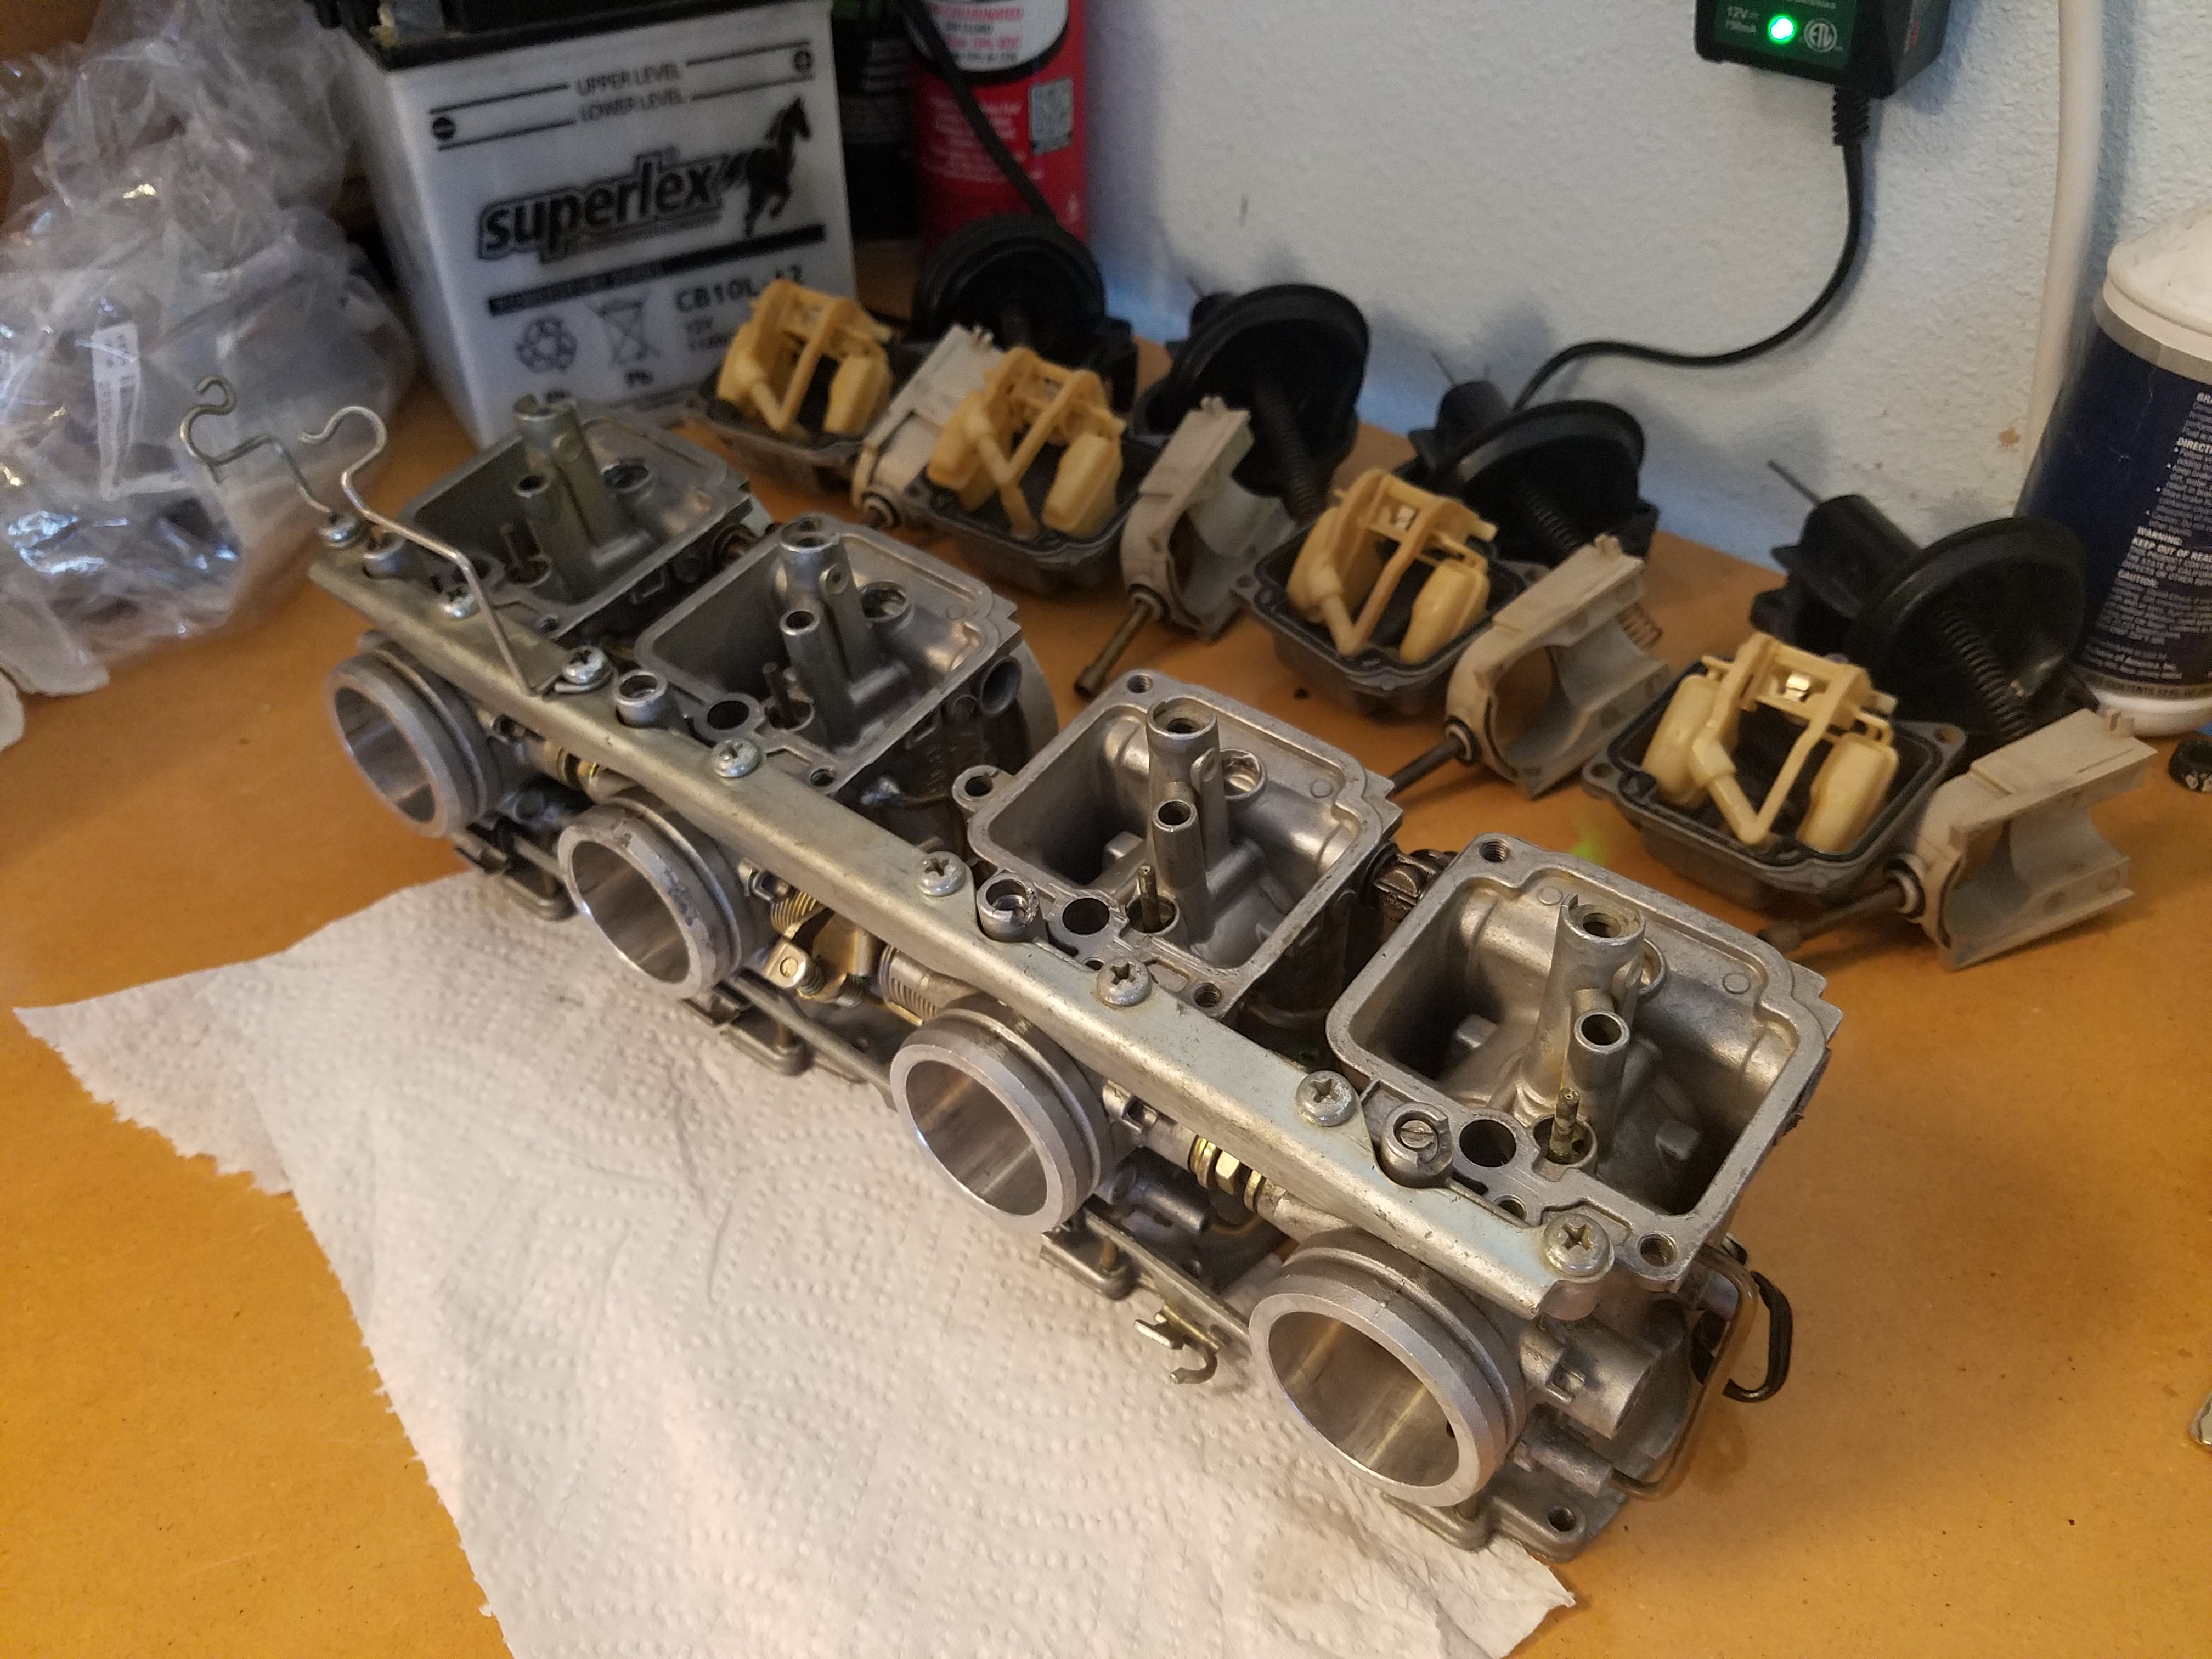
3. While the carbs are apart from the rack - what else should I do, clean, or replace?
4. Should I buy new bowl gaskets? Is it crazy that I tried to re-use them?
5. Are my carbs a total loss? Should I just spend a gazillion dollars and buy some refurbished ones from an unknown source?
Full-disclosure: these carbs are kind of a mess. There are mismatching screwheads (like the originals got lost), half of the bowl drain screws are not matching, there are some small cracked off bits of aluminum in places that should not matter, etc. The internals look to be in fine working shape, and everything fit and seemed to function fine when I had them apart. The exteriors are a bit rough. However this makes me think they should work, they will just look ugly, which is fine by me.
Any help or advice would be much appreciated. Starting to get discouraged - this bike has now not run in 2 years. I would like to get it going.
Thank you very much.
My bike is a '93 Katana 600. This bike I bought as a project, barely running. Rusty tank, carbs all a mess, PO running it without the airbox for a short time. Clean title though. Woo. This is my first project of this mechanical magnitude, and I am slowly wading through it, forcing myself to learn.
I pulled the carbs apart, bought a kit of O-rings from arsenic, new pilot plugs thingies from bikebandit, new pilot jets (as the old ones were MISMATCHING
), cleaned everything per Carbs101 (except removing the choke slide all the way as that was functioning fine), set my float heights, and put it all back together. I did not buy new bowl gaskets as the original ones looked to be in nice shape, still pliable and rubbery.Tonight I wanted to test if my floats/needles were functioning correctly by feeding the carbs some gas on the bench and seeing if the carbs overflowed.
Well, not sure if they are overflowing or not, but they are leaking like a mother. I'm not sure in how many places. When supplying gas to the carbs on the bench, here's what I can see:
- Leaks looking to be coming from the Tee-fittings where the fuel lines hook up, at the junctures of where the Tees connect to the carbs. Here's a picture with the offending areas circled in red.

- Seemingly large amounts of total fuel dripping off carbs 1 and 2. Cannot tell if its just the fuel running out of the Tee leak, or elsewhere.
Here are the things I need to do, and my questions, I think:
1. Replace O-rings of the Fuel Tees. I think these are them? (4) Rubber fuel "Tee" seal: Part #13673-44B00.
2. How do I do the above? This is not covered in Carbs101. I am honestly a bit nervous pulling the carbs from the rack. Maybe that's silly. I have not found too much by searching.
3. While the carbs are apart from the rack - what else should I do, clean, or replace?
4. Should I buy new bowl gaskets? Is it crazy that I tried to re-use them?
5. Are my carbs a total loss? Should I just spend a gazillion dollars and buy some refurbished ones from an unknown source?
Full-disclosure: these carbs are kind of a mess. There are mismatching screwheads (like the originals got lost), half of the bowl drain screws are not matching, there are some small cracked off bits of aluminum in places that should not matter, etc. The internals look to be in fine working shape, and everything fit and seemed to function fine when I had them apart. The exteriors are a bit rough. However this makes me think they should work, they will just look ugly, which is fine by me.
Any help or advice would be much appreciated. Starting to get discouraged - this bike has now not run in 2 years. I would like to get it going.
Thank you very much.


Comment