Ad Widget

Collapse

Announcement

Collapse
No announcement yet.
X

My custom Katana 750 build progress

Collapse
  • Filter
  • Time
  • Show
Clear All
new posts

  • My custom Katana 750 build progress

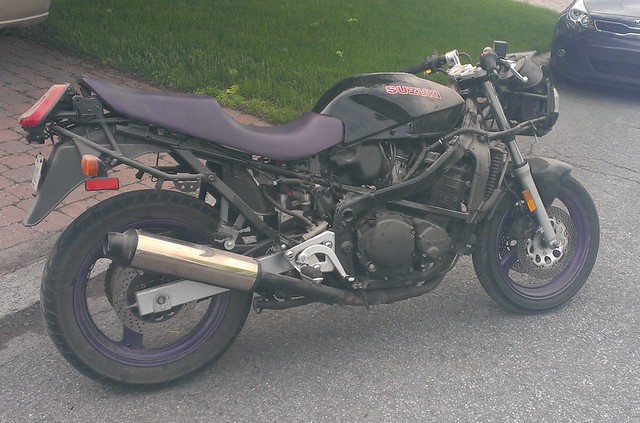
    Here's the project I've been working on for a while. It's a '95 Katana 750 and it was my fathers bike that he bought new in '95. It was sitting in the garage for about 10 years and only got 6800 miles on it.


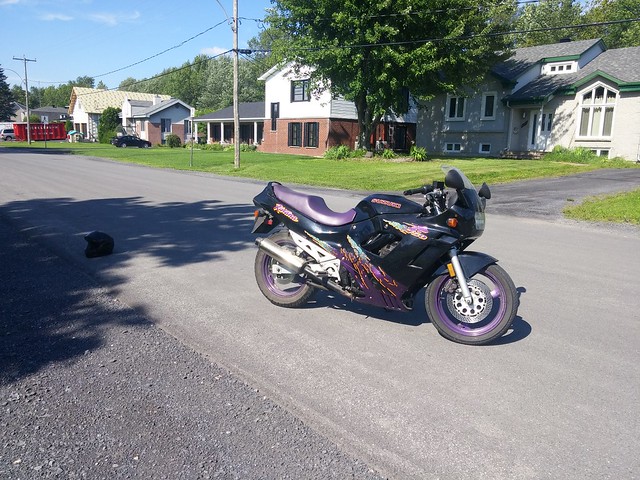
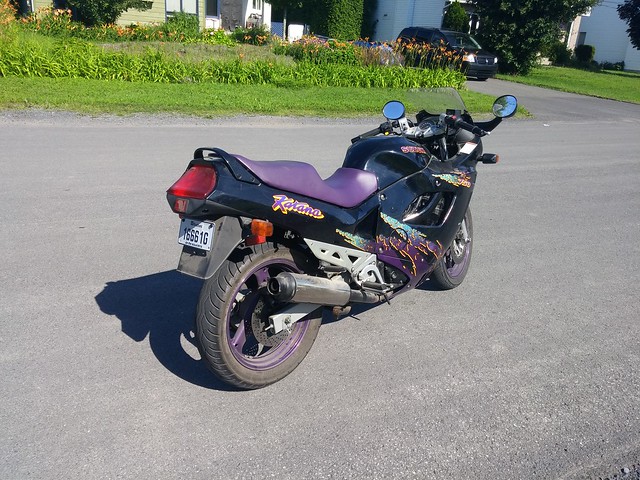
    My intention was to make the bike run and sell it. I already had a bike (Honda shadow) and thought the Katana looked soooo outdated with all the purple and green fake mud patterns. I know this is a katana forum so many of you got to love the style of it but for me it's the ugliest thing in the world.

    I've managed to make the bike work properly and when I did my first ride with it, well, I felt in love with it!! Then the bike got tipped over on the right side by a car while parked. Result: right mirror and turn signal shattered also the plastics scratched up. Couple weeks later my father dropped it on it's left side in the driveway. Result: same damage as the right side but now on the left side.

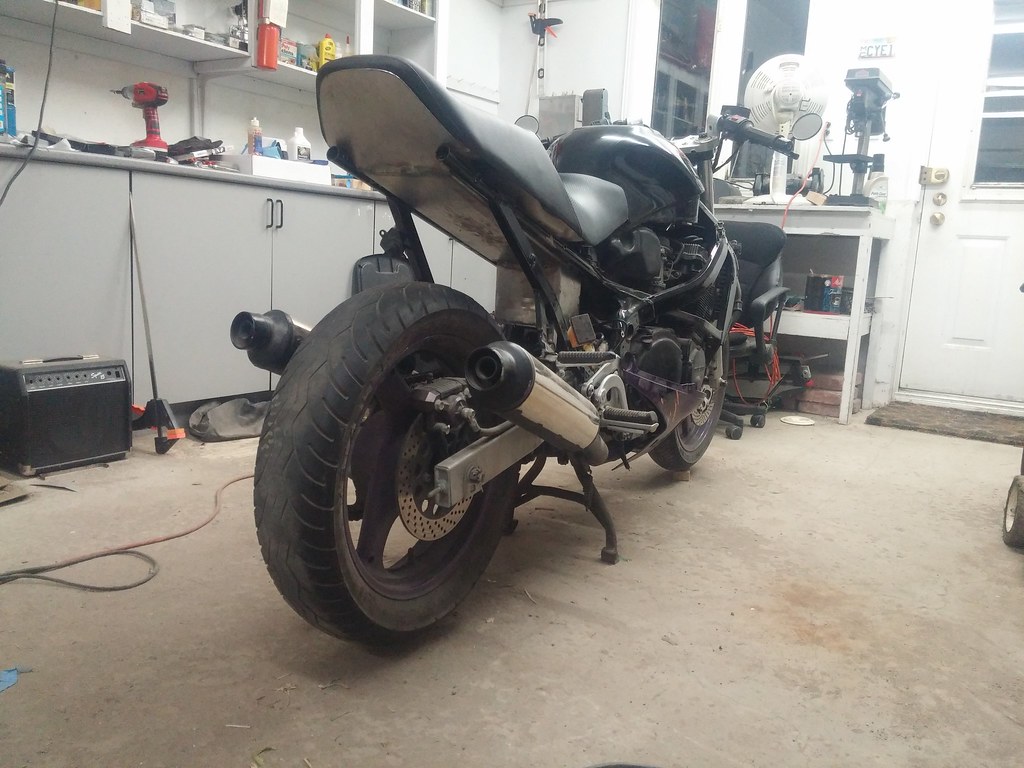
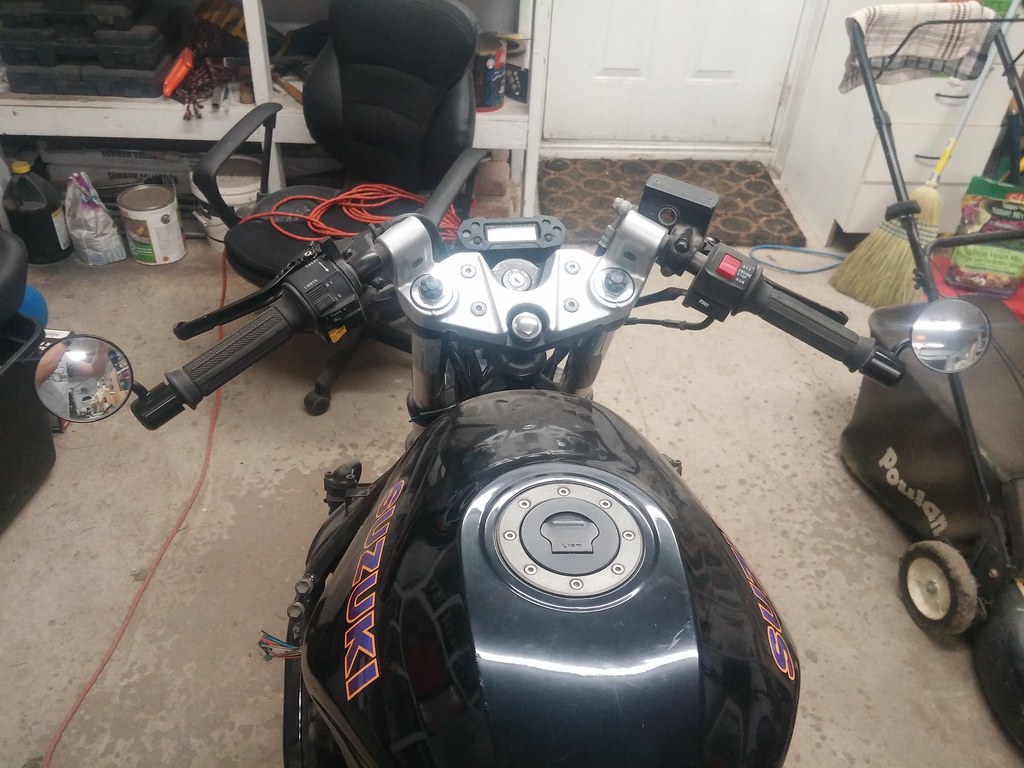
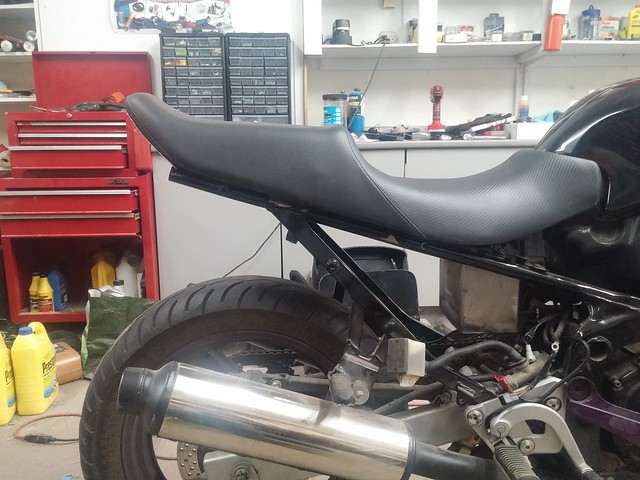
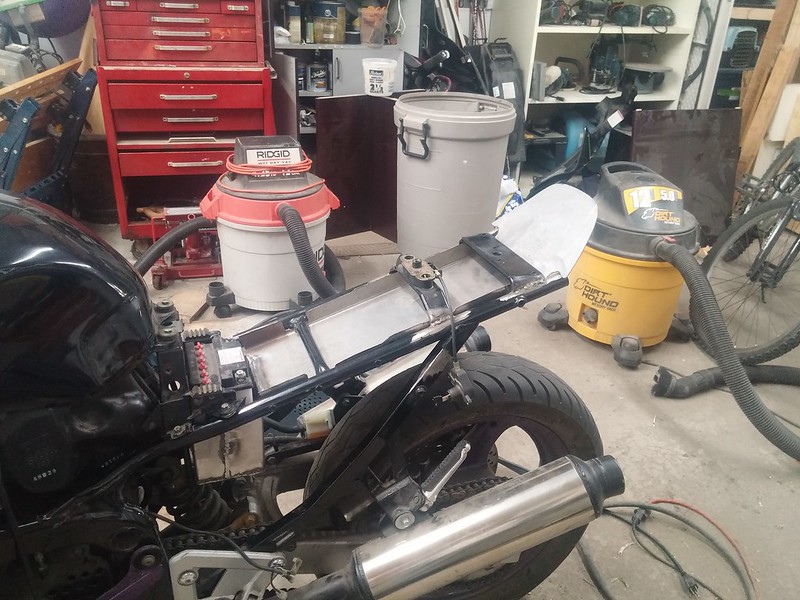
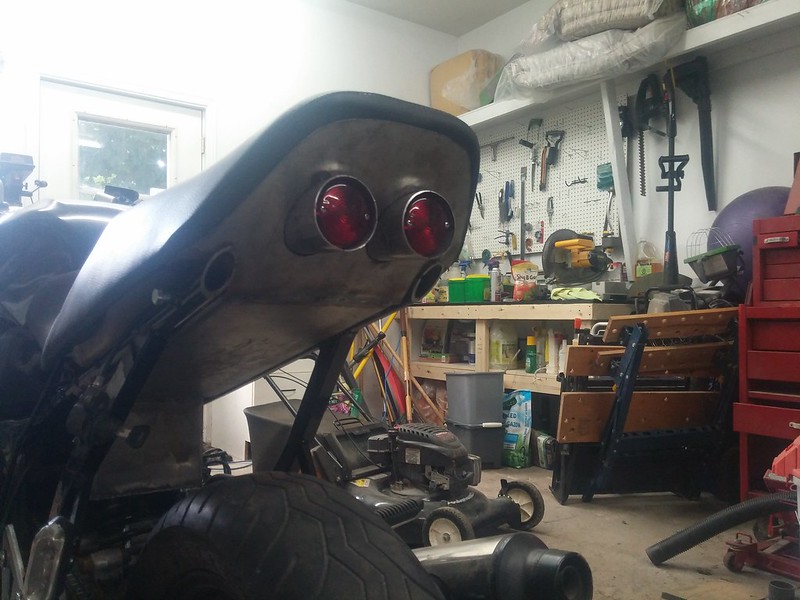
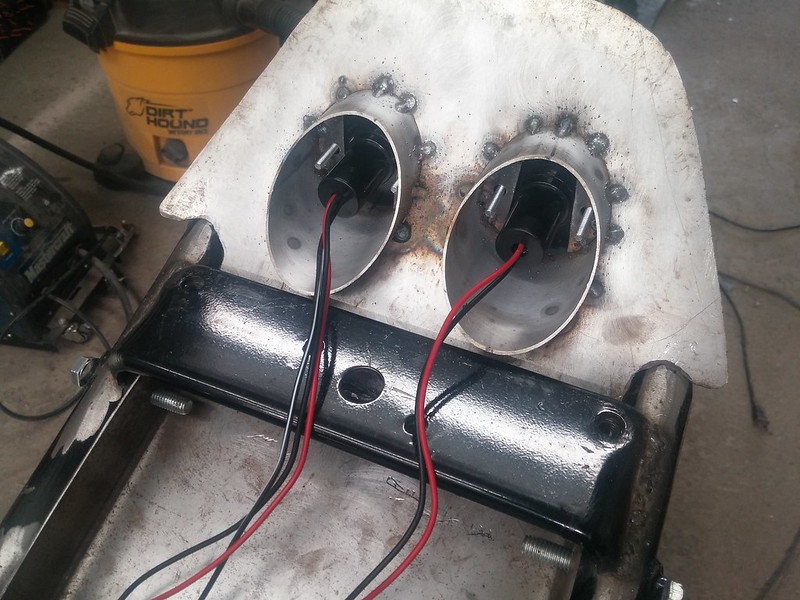
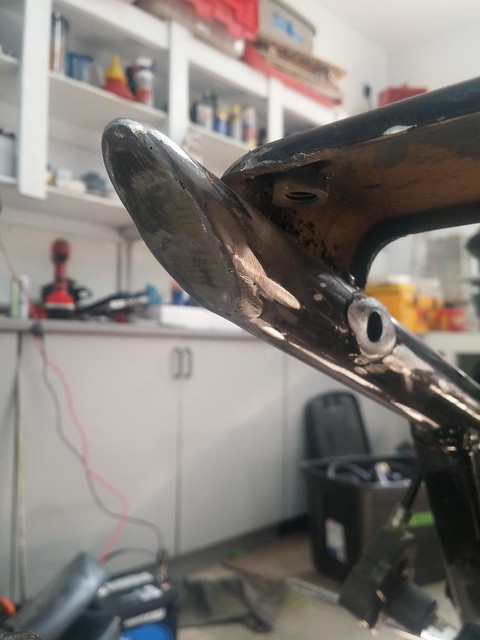
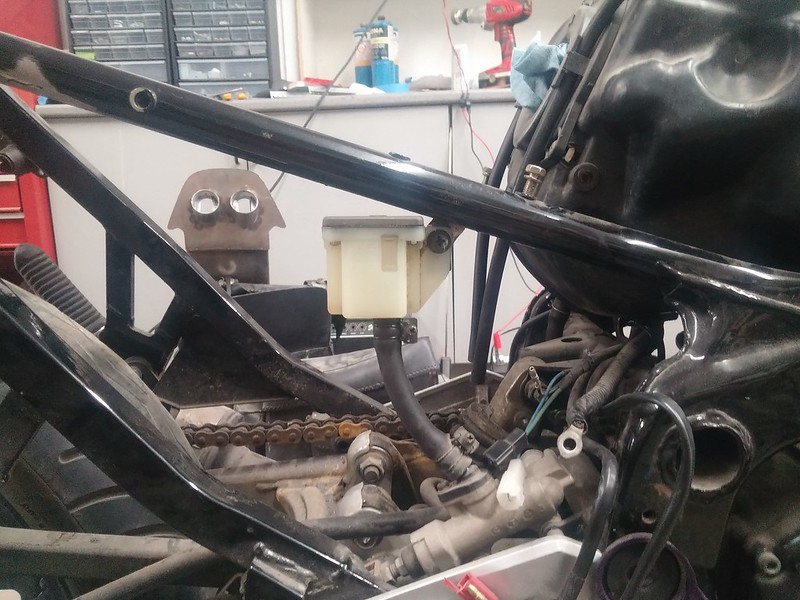
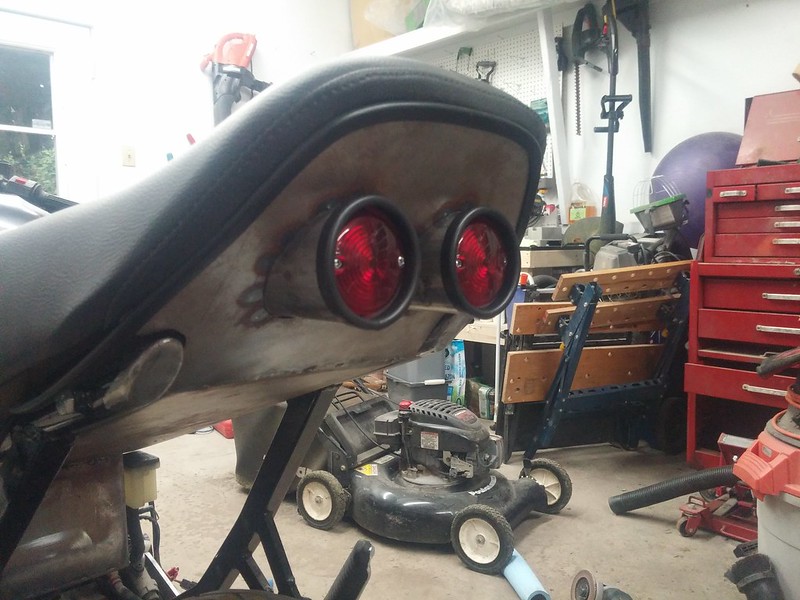
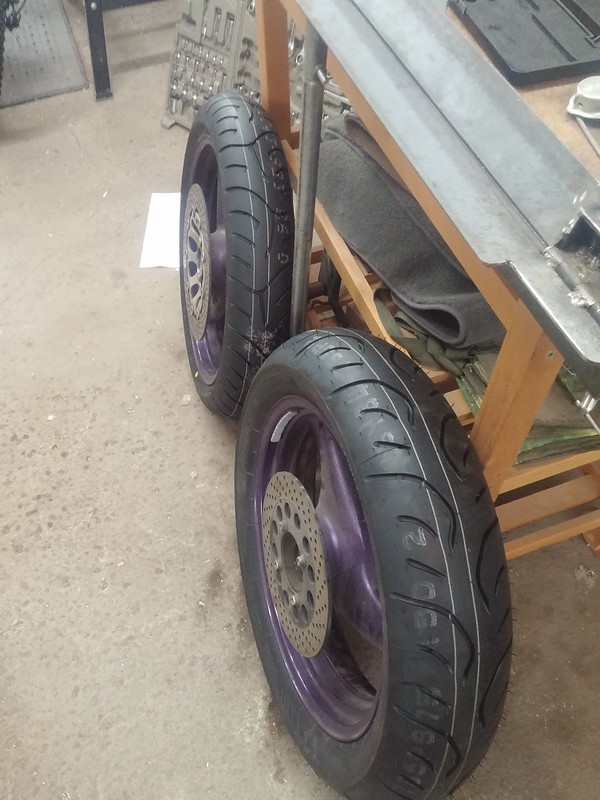
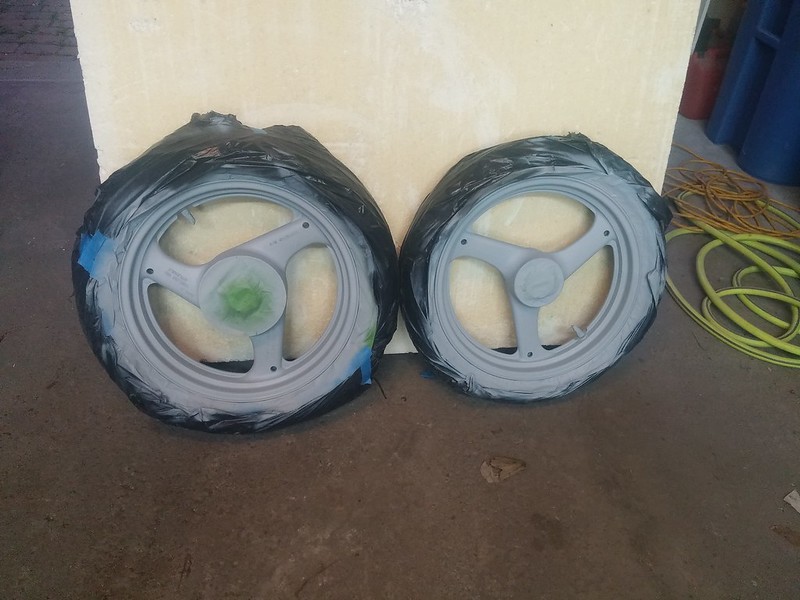
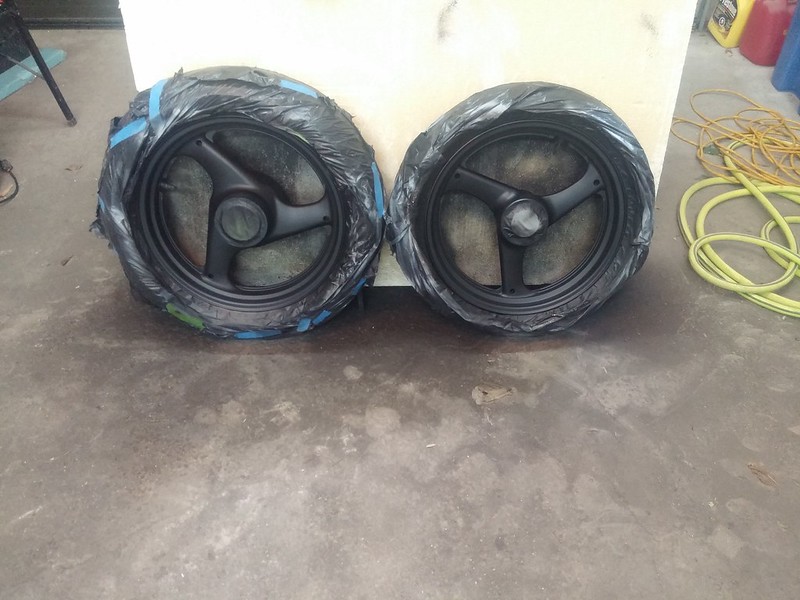
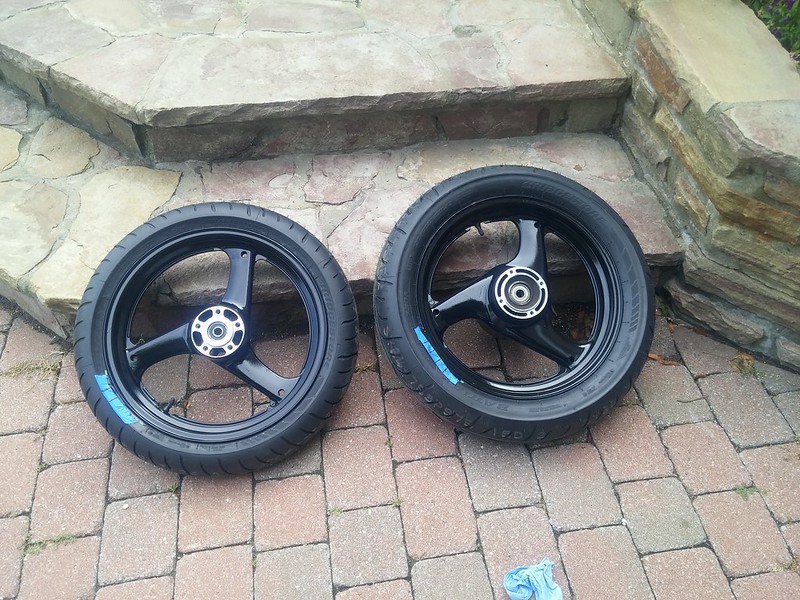
    I've decided to keep it and build a project with it so there is the progress so far:


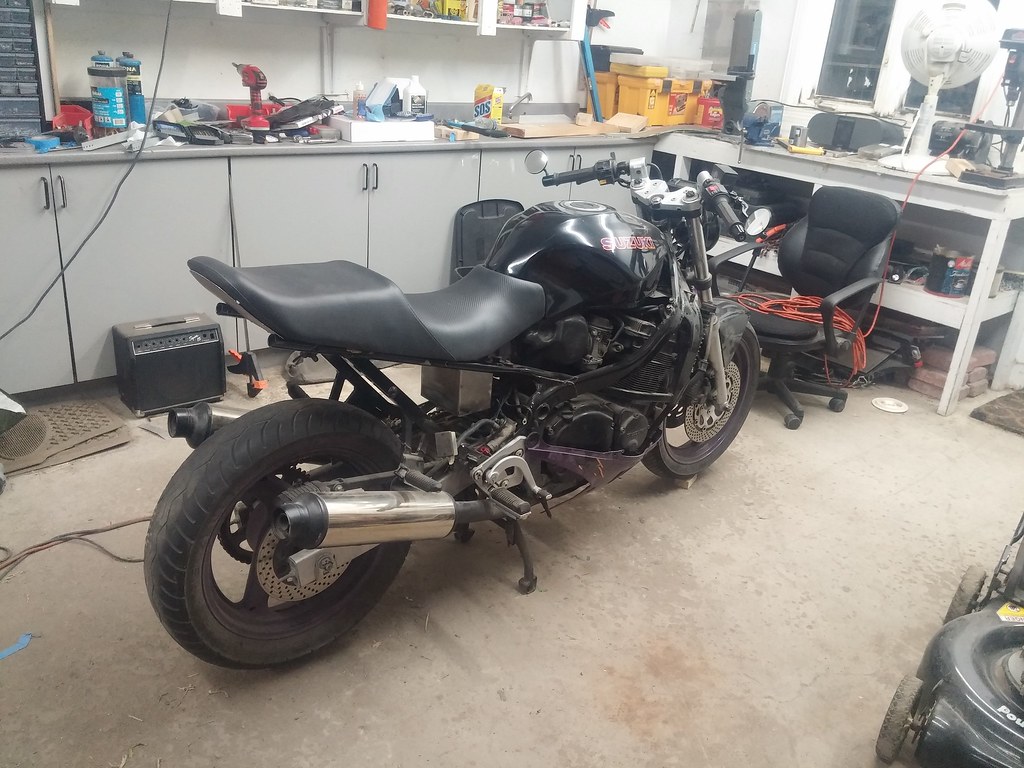
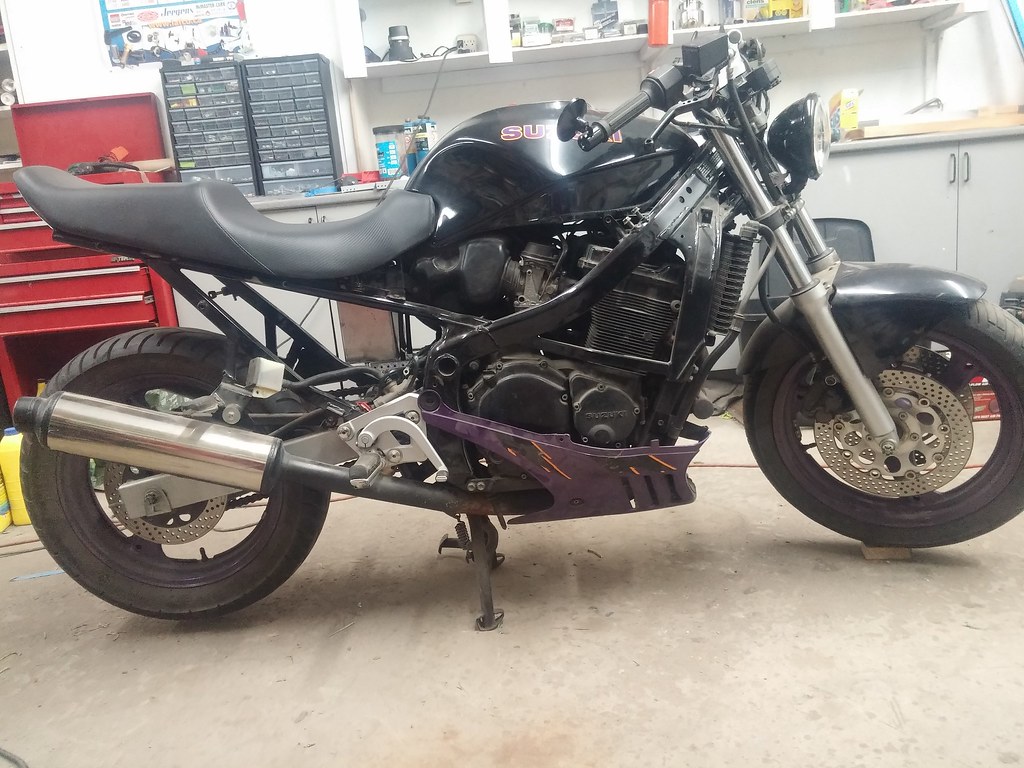
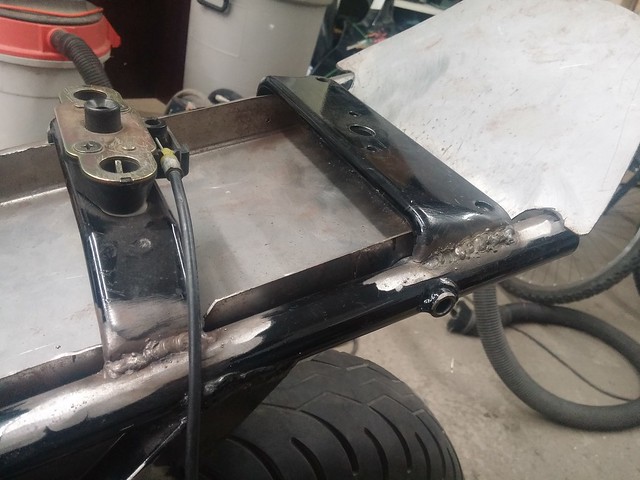
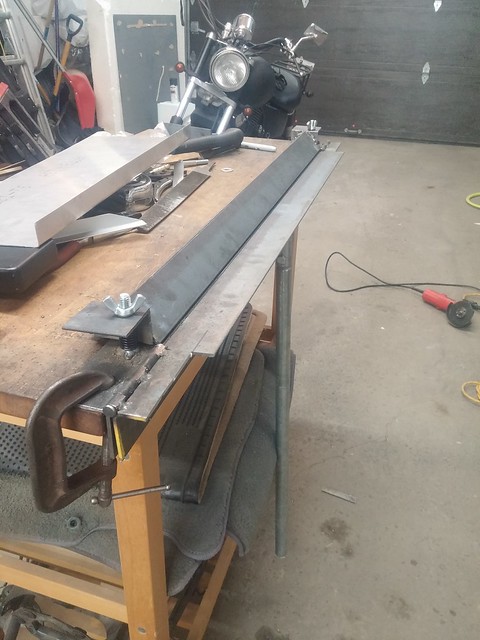
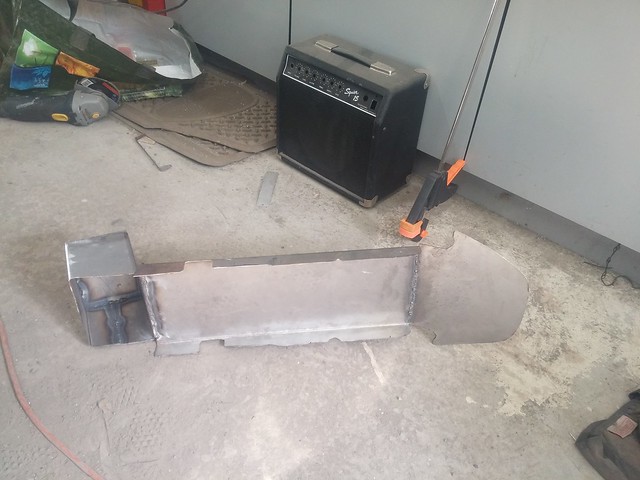
    I'll be posting more pictures on fabrication details in the next days as well as the progress of the build.

    In the meantime, have a nice one!

    Felix
    Last edited by Phelycs; 07-26-2017, 07:09 PM.

  • #2
    For the build I really wanted to remove most plastic covers and fairing. Removing the plastic pieces of the tail (under the seat) revealed a seat that was about 1 1/2" higher than the frame as you can see:


    I couldn't let that happen! So I've cut the two brackets that hold the seat, shortened them and rewelded them to the frame. Now the seat is flush with the frame. Don't judge my welds (or do it if you want) I'm a noob with a 200$ flux core welder!


    I also made a custom electrical box/fender to go under the seat. I build myself a DIY metal brake to help bend some sheet metal.


    This weekend I made the tail light piece! I bought on ebay a cheap dual round tail light with the idea of integrating them to the box/fender I made. I'm pretty happy with the result!


    As you can see I also cut the frame tube in the same angle as the kick that holds the tail lights. I also plan to weld a cap to close the holes.

    So that is the progress as of today. I'll be posting as often as I can. My goal is to finish it for august 9th since I plan to do a road trip with it!

    Thanks,

    Felix
    Last edited by Phelycs; 07-20-2017, 09:46 PM.

    Comment


    • #3
      I like the whole thing...especially those tail lights! Nothing wrong with your welding, dude. Nice ride...bet it's fun!


      "A knight proves his worthiness by his deeds."

      Comment


      • #4
        Thanks Zuma !

        Comment


        • #5
          I've made a little bit of progress this week. Not as much as I wish because I'm pretty busy at school.

          I've capped the frame tubes that I've cut at an angle:


          I made a braket for the rear brake fluid reservoir and shortened the hose:


          Finaly I bought some rubber trim to finish the fender on the back side as well as the tail light tubes. This is only a mock up since the box/fender will be painted soon.


          I will have more free time in the next weeks so I should be able to post more often!

          Thanks,

          Felix
          Last edited by Phelycs; 07-26-2017, 07:12 PM.

          Comment


          • #6
            Great build!!! im loving the custom job on the tailights!

            Comment


            • #7
              lookin sweet man! wahts ur tach/speedo?

              Comment


              • #8
                Thanks! It's a Koso db-01r

                Comment


                • #9
                  Hi there! Little update. I 've installed new rubbers and painted the wheels. It was about time I change the tires because it was still the tires that came with the bike in '95. I've put the Bridgestone Battlax T30 EVO since the price was affordable and they seemed like a good choice.The stock purple wheels were not what I was looking for so painted them gloss black. Here's the result:

                  New tires on purple wheel.


                  Didn't planned on putting primer hopping the original paint would be a good base to paint on but a little scotch brite made the paint chip so I've put primer.


                  I've put matte black paint even if I wanted a gloss finish because it seems that matte paint makes the clear coat stick to the paint better.


                  Now with the gloss clear coar for the final look. I'm very pleased with the result!

                  Comment

                  Working...
                  X