
 Tweet
Tweet
Don't over think it.
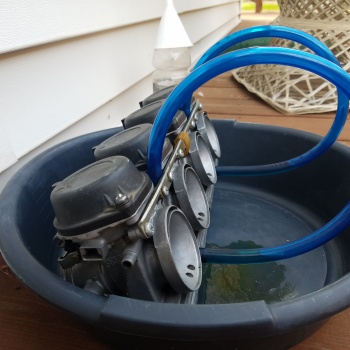
Set the carbs upright, and do the test. Don't worry about lean angle. I could go into details on many reasons why, but I'm too lazy to type that all out atm. I'll just throw out some words... G-forces, Sag, vacuum petcock....
Krey
Set the carbs upright, and do the test. Don't worry about lean angle. I could go into details on many reasons why, but I'm too lazy to type that all out atm.
Krey


Comment