

 Tweet
Tweet
I thought I would make a quick write-up on how to remove fairings. I know I had questions the first time I did it, and I have had other people asking about it too.
So, here go's nothing
-------------------------------------------------------------------------------
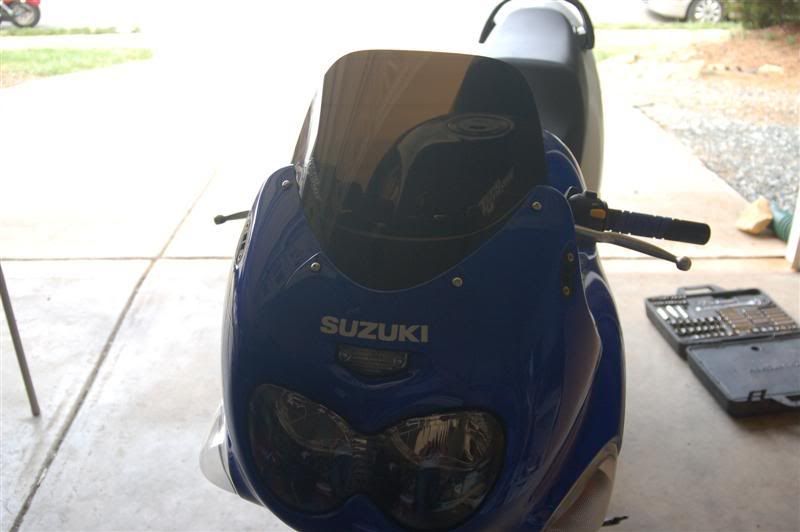
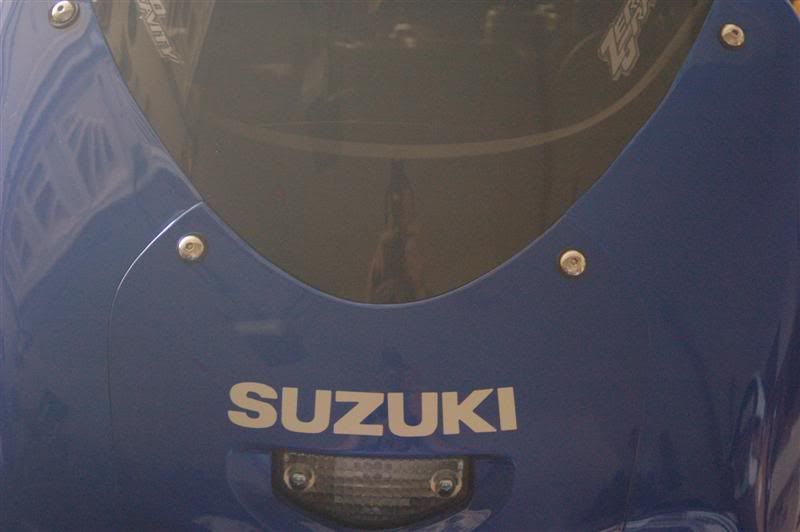
Sasquatch's Fairing Removal write-up on a 2006 Suzuki Katana 600
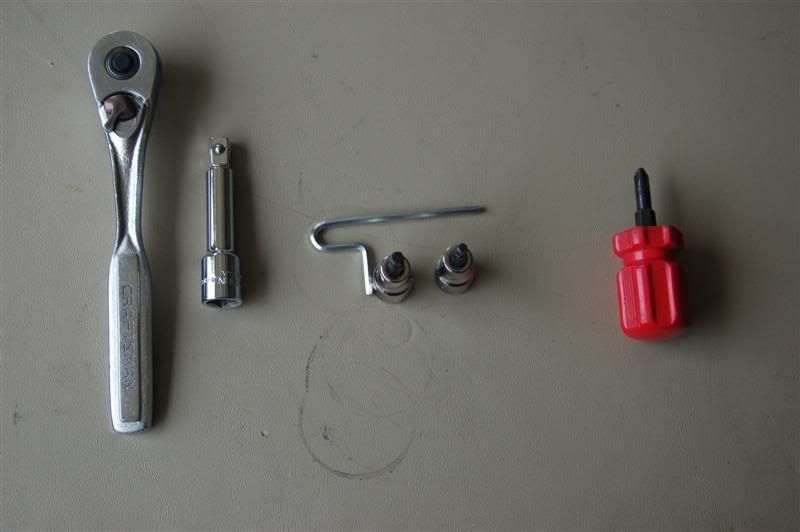
Tools used:
Stubby phillips screw driver
3/8 drive rachet with short extension
5mm, 4mm, and 3 mm Allen (hex) sockets/wrench
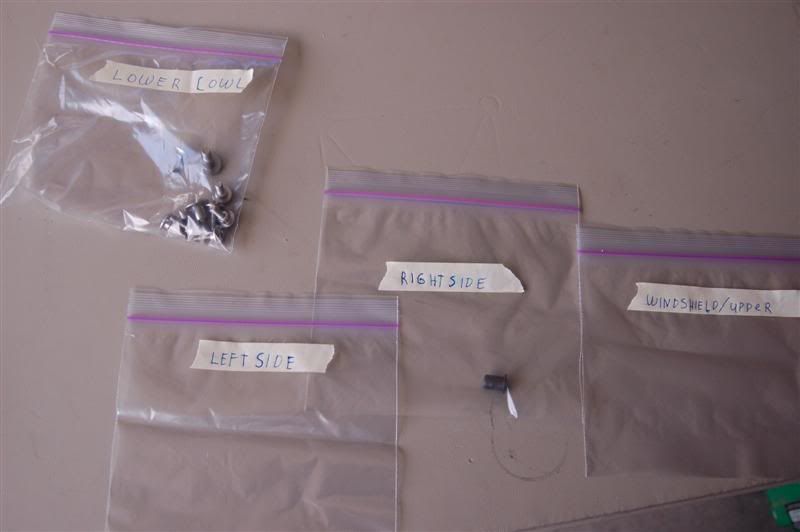
Hint:
So you don't get confused, use a few ziplock bags, and label them.
-------------------------------------------------
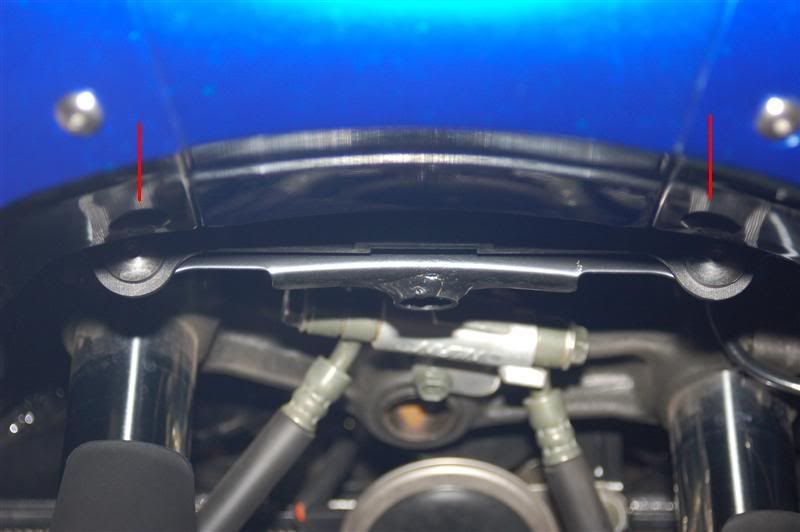
Step 1, lower Cowl removal
First, loosen 5 4mm allen bolts on each side.
Note: The side stand must be in the down posistion to see 1 bolt
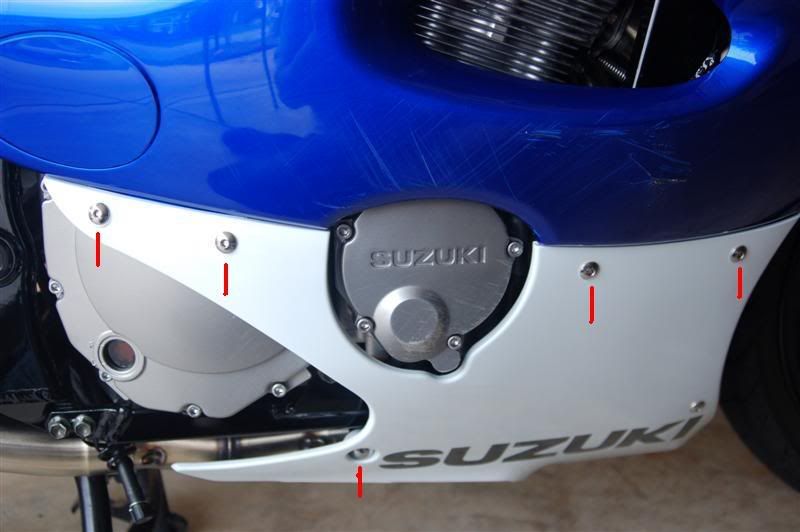
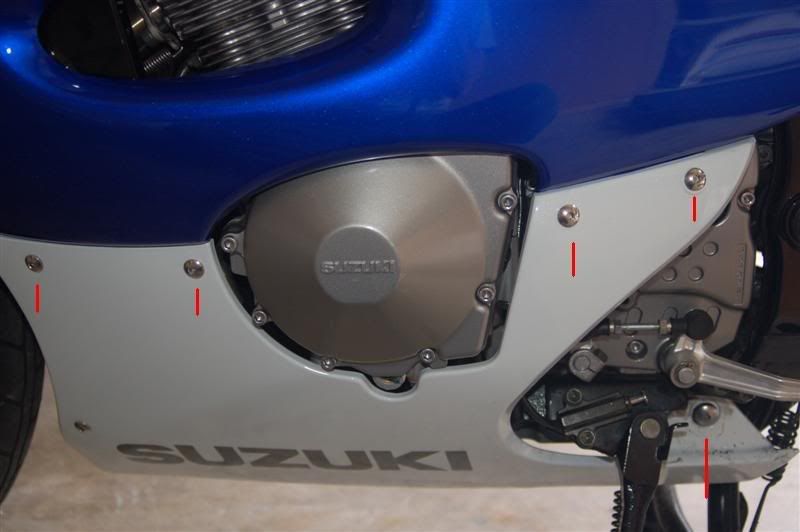
Remove all but 2 bolts on each side.
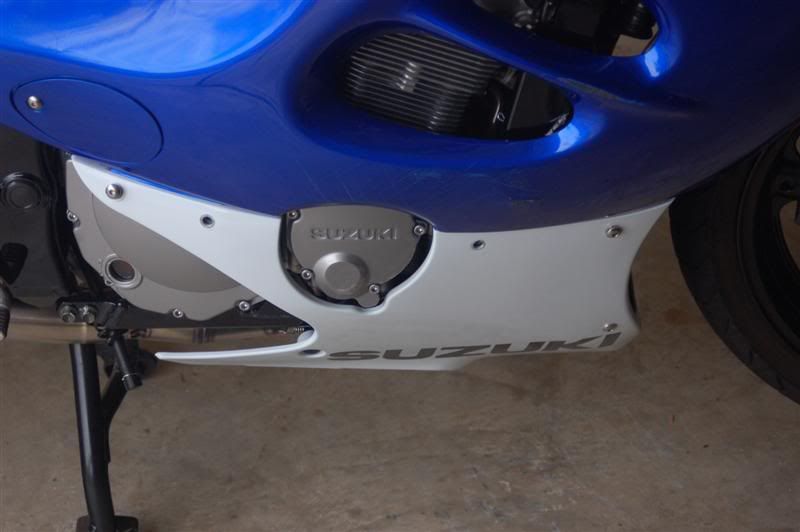
Place a towel or carpet scrap under the cowl (to prevent scratching) and remove the final 2 bolts on one side.
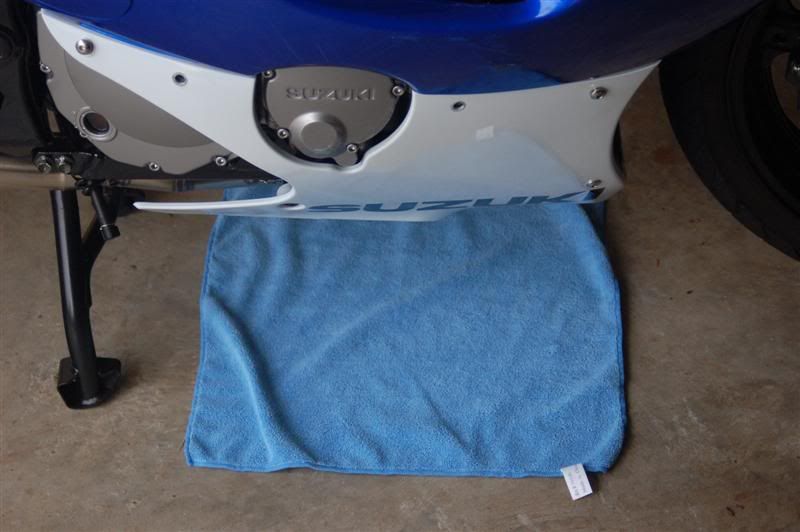
Move to the other side, and use one hand to support the cowl while you remove the last 2 bolts. The cowl should now be off the bike.
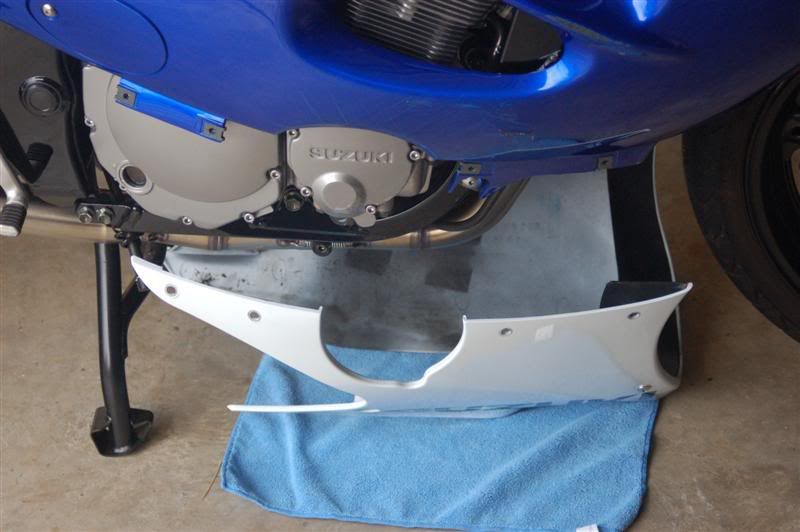
This will allow the cowl to drop, and come off in one piece. Put cowl in a safe area out of the way.
---------------------------------------------------
Step 2:
Removing Fairings.
First, we are going to remove the Mirrors using a 5mm Allen wrench to remove the 2 Allen bolts securing each mirror.
I bend the mirrors out of the way to make it easy to get at the bolts.
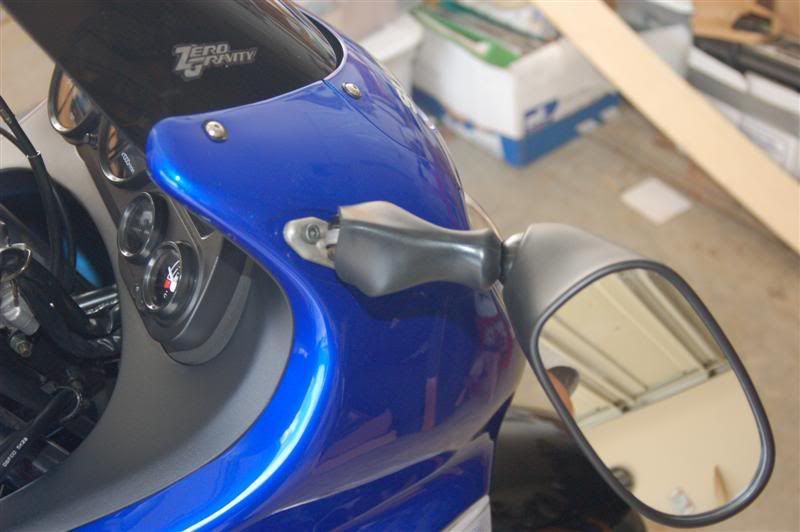
Ok, mirrors removed, simple wasn't it?
Now, we are going to remove the front indicator light
Remove the 2 3mm allen bolts, taking care not to lose the rubber washers.
Lift the indicator light up, and then out to remove it.

Remove the wire clip, and set the indicator light aside in a safe area.

Ok, I always start on the right hand side (just my prefference).
First, remove the seat.
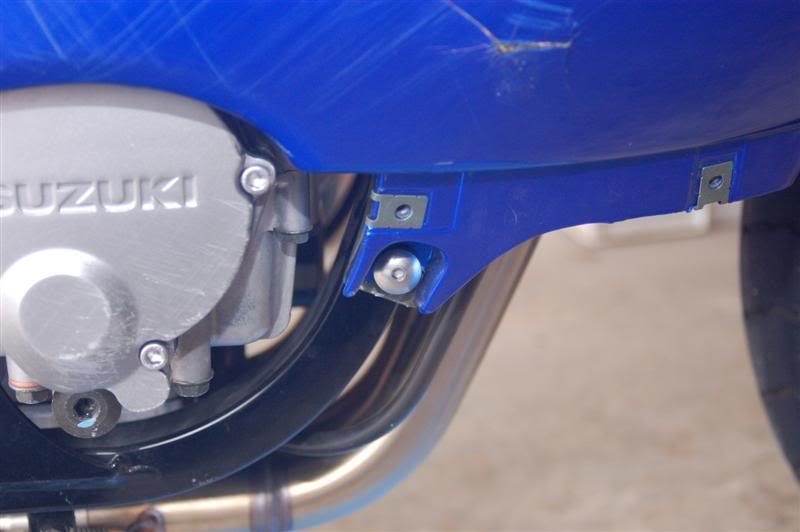
Now, remove the 4mm fairing bolt located under the seat
Now remove the lower fairing bolt.
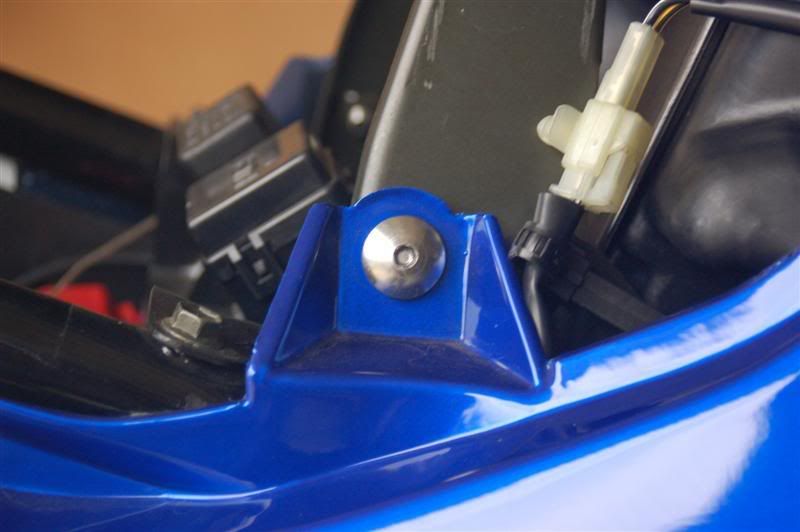
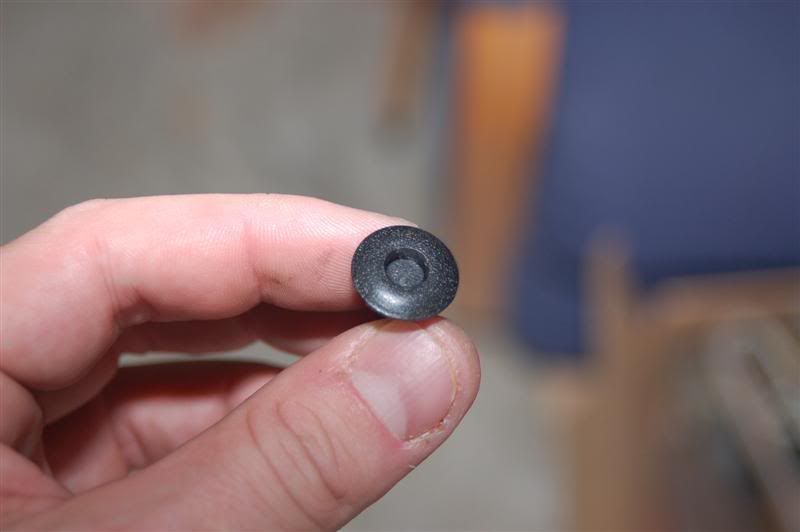
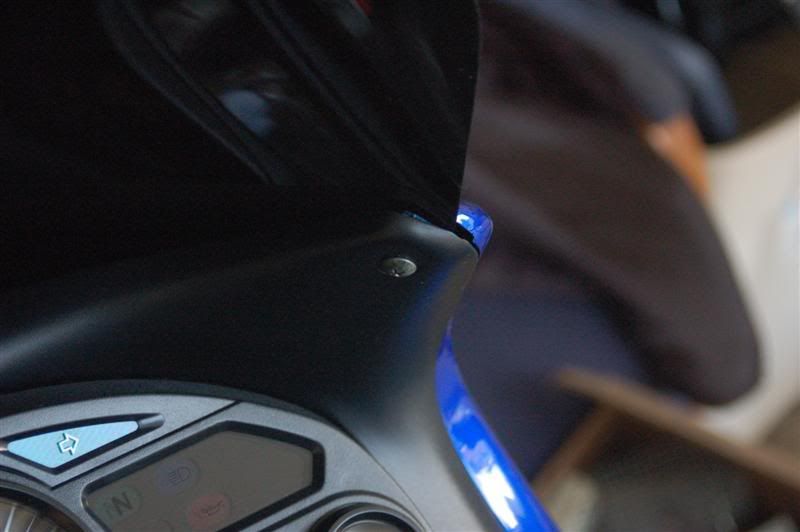
Ok, now we are going to remove the little black plastic "clip" located under the headlight assembly but above the front fender.
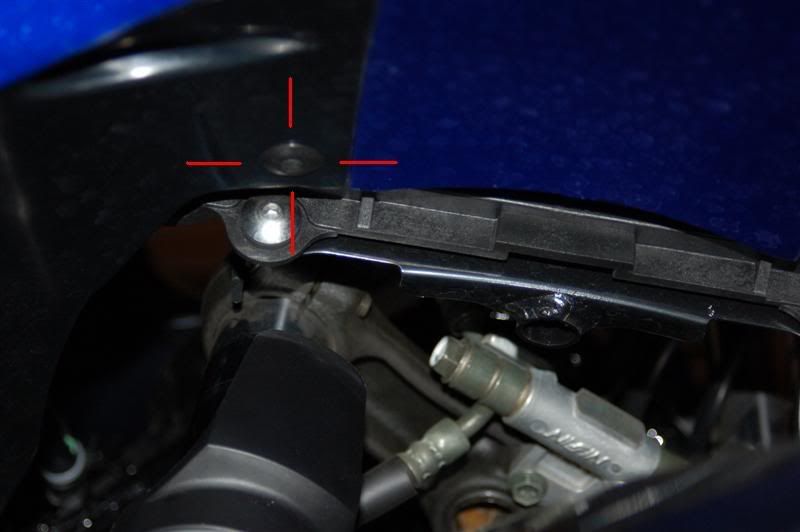
When you look at the black plastic clips, you will notice there is a little circular area in the center, push this circle area IN. Now you can pull the
whole black plastic clip out.
Here are a couple pictures showing the clip.

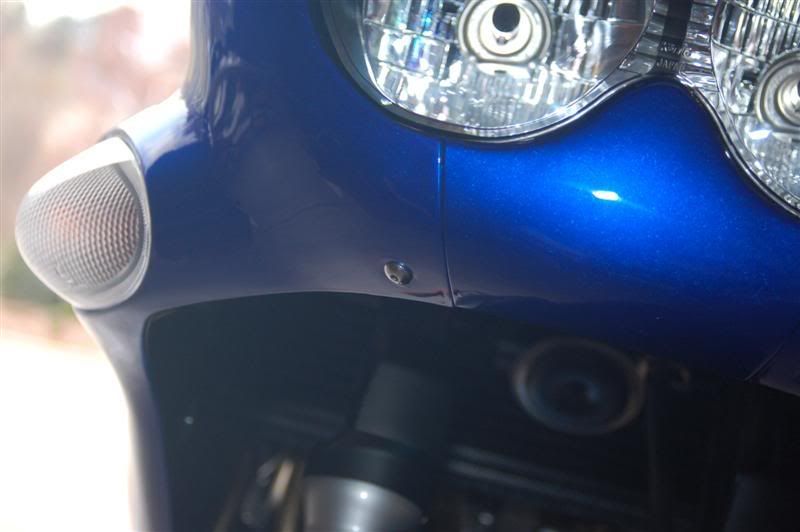
Now, remove the 3mm allen bolt located under the headlights
Remove the bolt holding the windscreen. If the rubber part spins, and the bolt seems like its not comming out, use your thumbnail to hold the rubber piece
in place
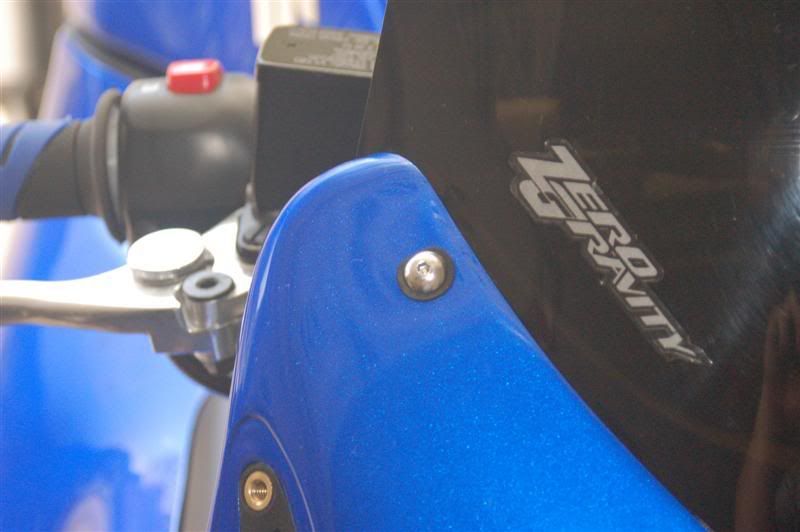
Remove the Phillips screw with a stubby screwdriver.
EDIT: DO NOT FORGET THE BOLT NEXT TO THE GAS TANK!! (as someone brought up...)
You are now ready to remove the fairing.
Dont yank the fairing off, pull it slowley and remember that the turnsignal is attached. To undo the turnsignal, just twist it (it will only twist one way),
and it will come out.
Repeat the same procedure to remove the left side.
If I have left anything out, feel free to PM me, or ask me on the ShoutBox.
I hope this helps all of us who are doing it for the first time!!
Sasquatch
So, here go's nothing
-------------------------------------------------------------------------------
Sasquatch's Fairing Removal write-up on a 2006 Suzuki Katana 600
Tools used:
Stubby phillips screw driver
3/8 drive rachet with short extension
5mm, 4mm, and 3 mm Allen (hex) sockets/wrench
Hint:
So you don't get confused, use a few ziplock bags, and label them.
-------------------------------------------------
Step 1, lower Cowl removal
First, loosen 5 4mm allen bolts on each side.
Note: The side stand must be in the down posistion to see 1 bolt
Remove all but 2 bolts on each side.
Place a towel or carpet scrap under the cowl (to prevent scratching) and remove the final 2 bolts on one side.
Move to the other side, and use one hand to support the cowl while you remove the last 2 bolts. The cowl should now be off the bike.
This will allow the cowl to drop, and come off in one piece. Put cowl in a safe area out of the way.
---------------------------------------------------
Step 2:
Removing Fairings.
First, we are going to remove the Mirrors using a 5mm Allen wrench to remove the 2 Allen bolts securing each mirror.
I bend the mirrors out of the way to make it easy to get at the bolts.
Ok, mirrors removed, simple wasn't it?
Now, we are going to remove the front indicator light
Remove the 2 3mm allen bolts, taking care not to lose the rubber washers.
Lift the indicator light up, and then out to remove it.
Remove the wire clip, and set the indicator light aside in a safe area.
Ok, I always start on the right hand side (just my prefference).
First, remove the seat.
Now, remove the 4mm fairing bolt located under the seat
Now remove the lower fairing bolt.
Ok, now we are going to remove the little black plastic "clip" located under the headlight assembly but above the front fender.
When you look at the black plastic clips, you will notice there is a little circular area in the center, push this circle area IN. Now you can pull the
whole black plastic clip out.
Here are a couple pictures showing the clip.
Now, remove the 3mm allen bolt located under the headlights
Remove the bolt holding the windscreen. If the rubber part spins, and the bolt seems like its not comming out, use your thumbnail to hold the rubber piece
in place
Remove the Phillips screw with a stubby screwdriver.
EDIT: DO NOT FORGET THE BOLT NEXT TO THE GAS TANK!! (as someone brought up...)
You are now ready to remove the fairing.
Dont yank the fairing off, pull it slowley and remember that the turnsignal is attached. To undo the turnsignal, just twist it (it will only twist one way),
and it will come out.
Repeat the same procedure to remove the left side.
If I have left anything out, feel free to PM me, or ask me on the ShoutBox.
I hope this helps all of us who are doing it for the first time!!
Sasquatch


 WTF WAS THIS TWO WEEKS AGO WHEN I WAS DOING MY LED & MESH MODS???? THOSE DAYUM LIL' BLACK "PUSH" THINGYS ALOMST DROVE ME MAD


Comment