
 Tweet
Tweet
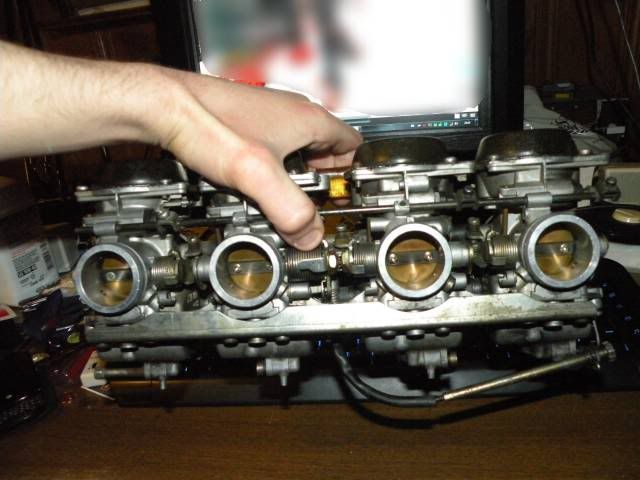
The 90->98 carbs are not the same as the 89 (K revision) carbs, and that's what I have started rebuilding here, so I thought I would put together some pics of the process to supplement Carbs101. So far I just got through disassembly; cleaning happening later today, and then maybe a few days of waiting for some replacement parts, then reassembly/synchronization.
Disclaimer: I don't think these are totally stock (jets, etc. may have been changed).
I do have a couple of questions, but mostly I just want to share pics for other people who might decide to clean 89 carbs.
The entire collection of carb rebuild pics (including new ones as I add them):

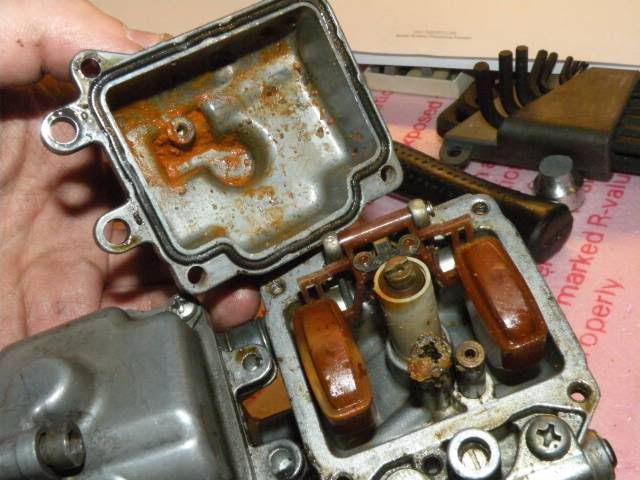
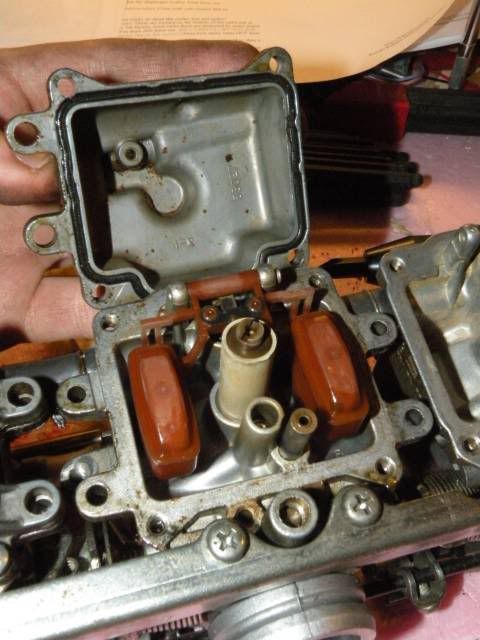
Question: When I drained bowl 4, it was totally empty and when I disassembled #4, it was the cruddiest one of the carbs. The others had a bit of sediment, but #4 was a freaking mess (see pic below). When I rode a couple of weeks ago, #4 header pipe got plenty hot like the others so I believe fuel was getting through, but why is just #4 so messy? The others were nothing like it.
Pic of gross bowl #4. The farther from #4, the cleaner they got (#1 was nearly spotless).
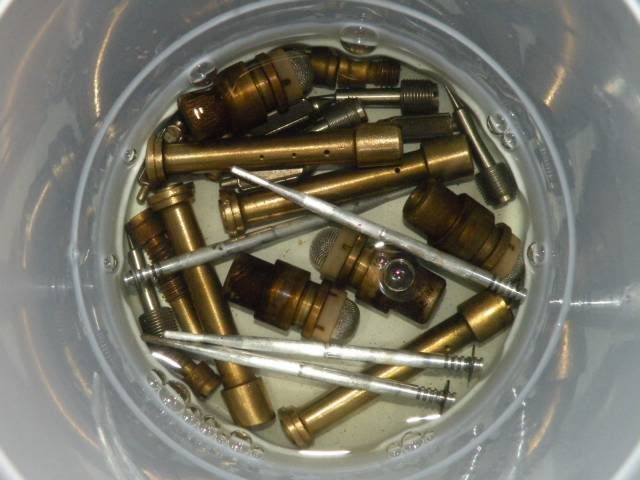
And some other highlights from disassembly (full set of pics in the link above to the photobucket album):
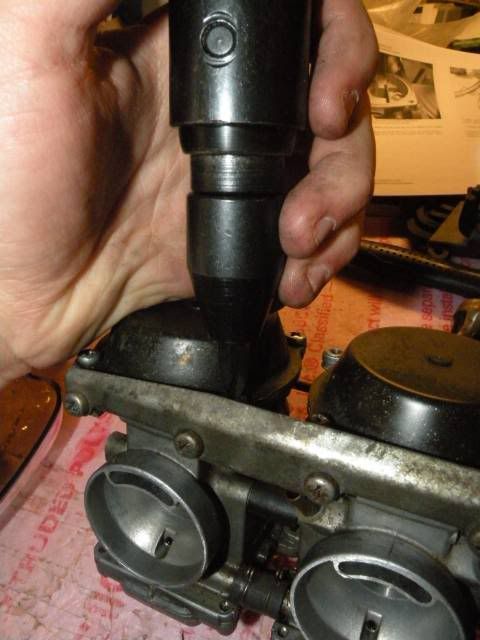
Impact driver from Sears = awesome for undoing these screws holding the body parts together.
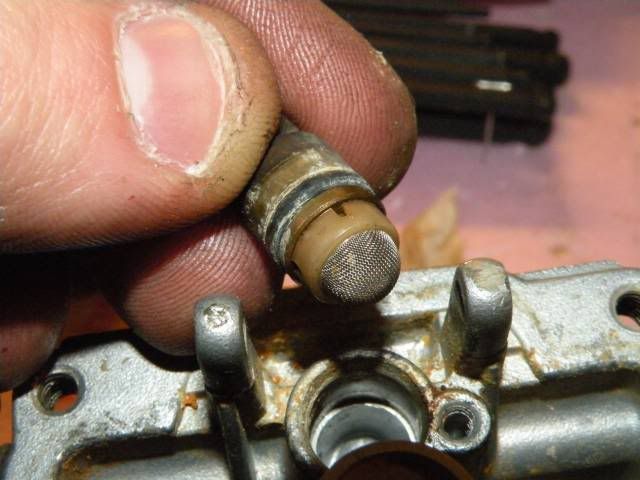
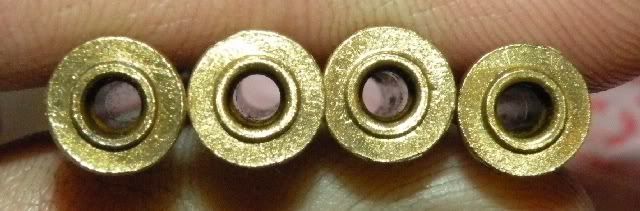
There are these little filters in each bowl's fuel supply float valve... do the later carbs have these?
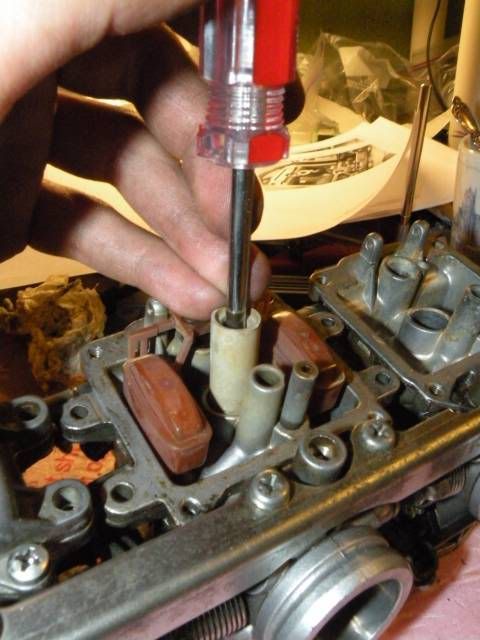
Like carbs101 says, PUSH hard down into the jet's screw head with your driver when removing these jets; I messed up one of them by not pushing enough and slipping.
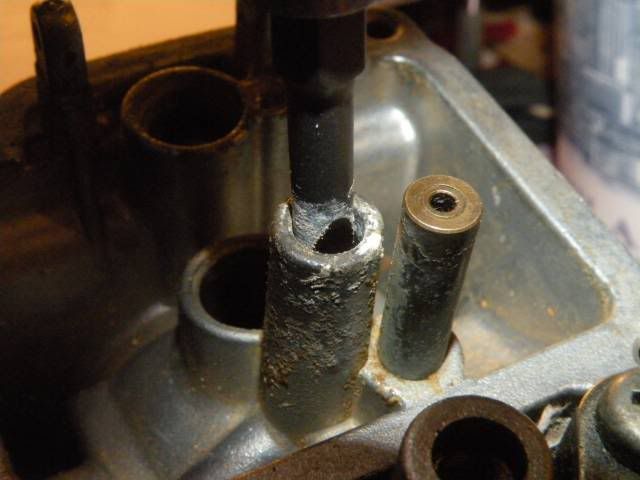
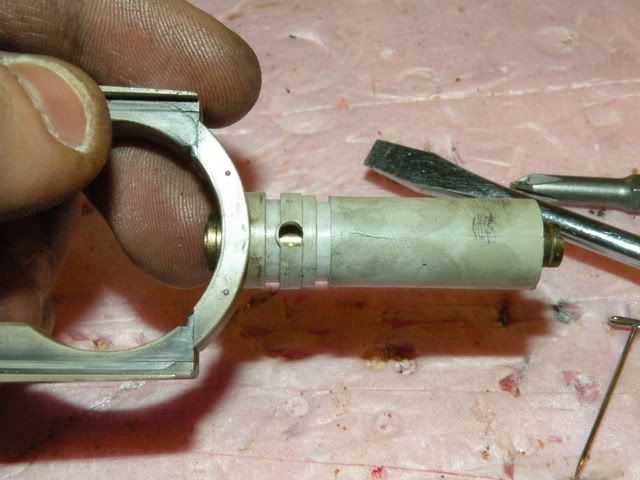
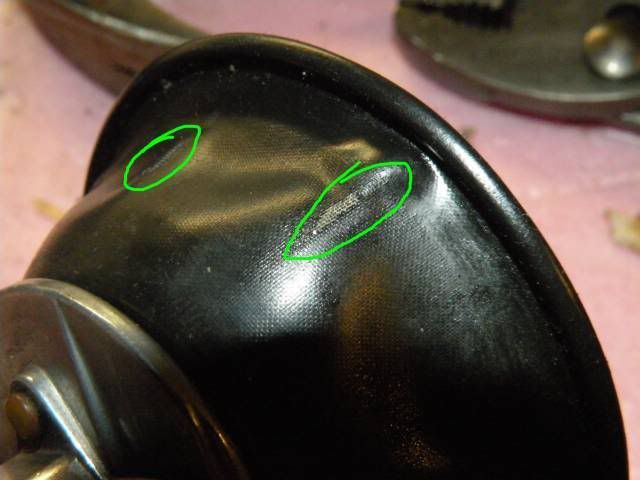
Easiest way to get the mixing/emulsion tubes out: remove jet screw, remove washer, replace jet screw, then tap on it until it comes out the top of the carb body, through where the slides were. There will be some resistance but it goes right through. You can see that I took out the plastic thing the slides ride in on carb #4, but I left it in for the others. I don't know yet if I need to totally remove them for a good cleaning or what. It was held in with torx bolts with lock rings AND loctite, so I think maybe I wasn't supposed to be messing with that...
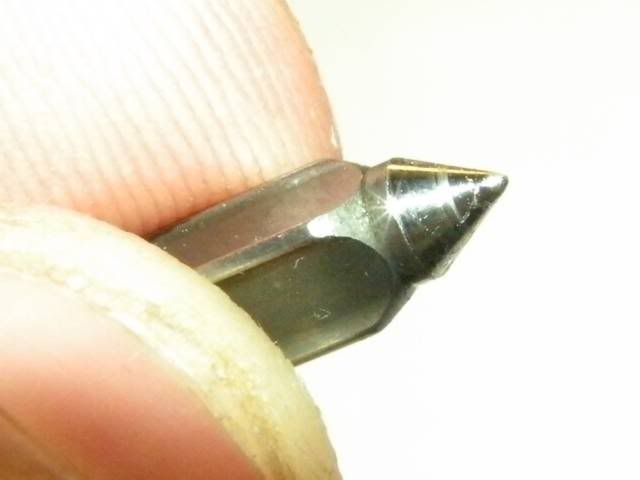
Remove the pins on the floats by tapping something like a philips head into the end. Pulling on the head wasn't working, but tapping on the other end worked great.
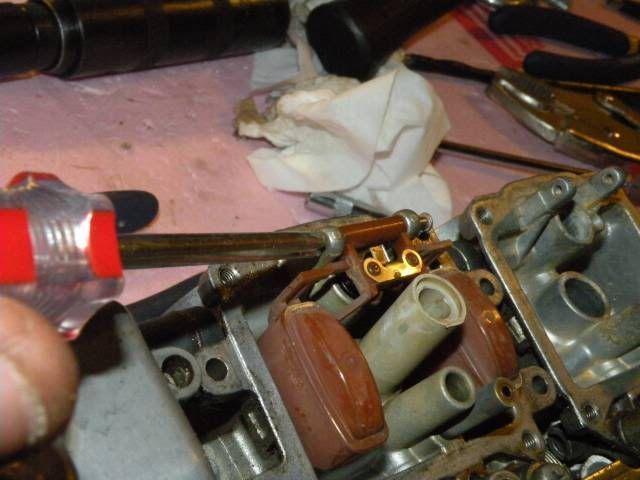
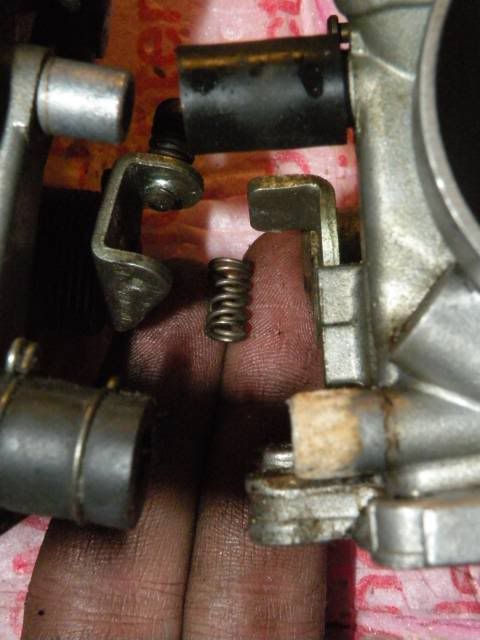
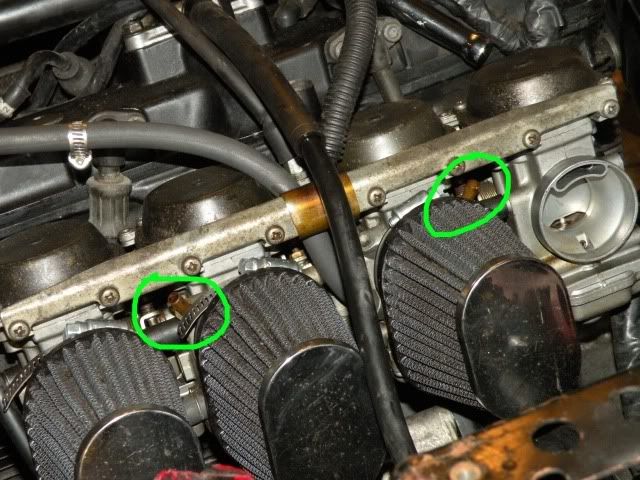
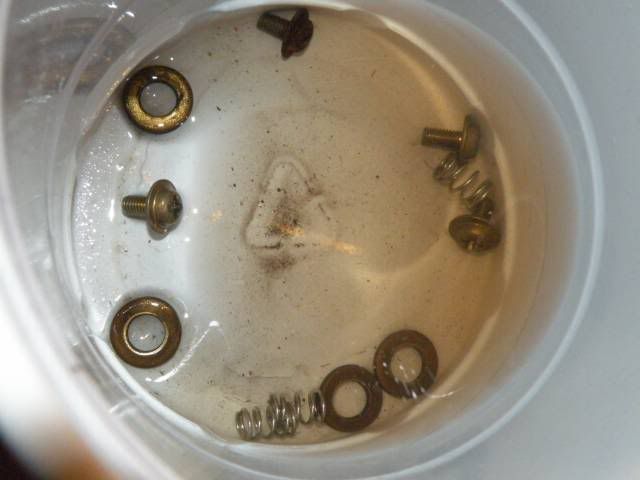
Watch out for these springs between the throttle control sections if you opt to separate the individual bodies (I did this and good thing too cause there was a lot of crud in the tubes between the carbs).
QED... (Quod erat demonstrandum or as I prefer, Quite Easily Done)
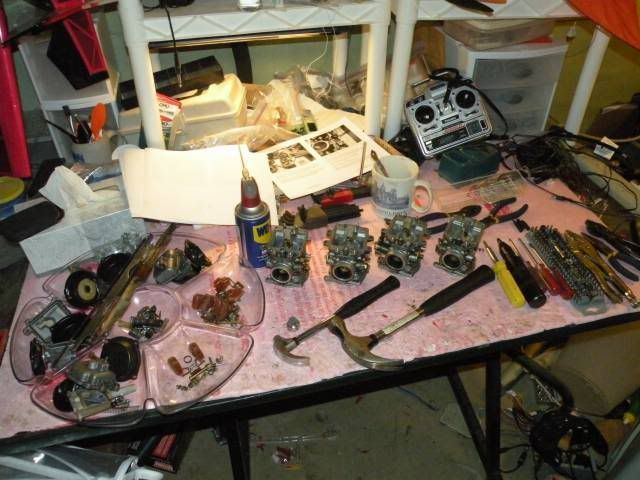
The smaller hammer didn't survive the impact driver... head broke right off!
A couple of bolts were too messed up by a previous mechanic to even come off with the impact driver, and the vice grips worked great for those.
I'd like to thank mom for use of that hors d'œuvres tray thing.
Peace
Disclaimer: I don't think these are totally stock (jets, etc. may have been changed).
I do have a couple of questions, but mostly I just want to share pics for other people who might decide to clean 89 carbs.
The entire collection of carb rebuild pics (including new ones as I add them):
Question: When I drained bowl 4, it was totally empty and when I disassembled #4, it was the cruddiest one of the carbs. The others had a bit of sediment, but #4 was a freaking mess (see pic below). When I rode a couple of weeks ago, #4 header pipe got plenty hot like the others so I believe fuel was getting through, but why is just #4 so messy? The others were nothing like it.
Pic of gross bowl #4. The farther from #4, the cleaner they got (#1 was nearly spotless).
And some other highlights from disassembly (full set of pics in the link above to the photobucket album):
Impact driver from Sears = awesome for undoing these screws holding the body parts together.
There are these little filters in each bowl's fuel supply float valve... do the later carbs have these?
Like carbs101 says, PUSH hard down into the jet's screw head with your driver when removing these jets; I messed up one of them by not pushing enough and slipping.
Easiest way to get the mixing/emulsion tubes out: remove jet screw, remove washer, replace jet screw, then tap on it until it comes out the top of the carb body, through where the slides were. There will be some resistance but it goes right through. You can see that I took out the plastic thing the slides ride in on carb #4, but I left it in for the others. I don't know yet if I need to totally remove them for a good cleaning or what. It was held in with torx bolts with lock rings AND loctite, so I think maybe I wasn't supposed to be messing with that...
Remove the pins on the floats by tapping something like a philips head into the end. Pulling on the head wasn't working, but tapping on the other end worked great.
Watch out for these springs between the throttle control sections if you opt to separate the individual bodies (I did this and good thing too cause there was a lot of crud in the tubes between the carbs).
QED... (Quod erat demonstrandum or as I prefer, Quite Easily Done)
The smaller hammer didn't survive the impact driver... head broke right off!
A couple of bolts were too messed up by a previous mechanic to even come off with the impact driver, and the vice grips worked great for those.
I'd like to thank mom for use of that hors d'œuvres tray thing.
Peace


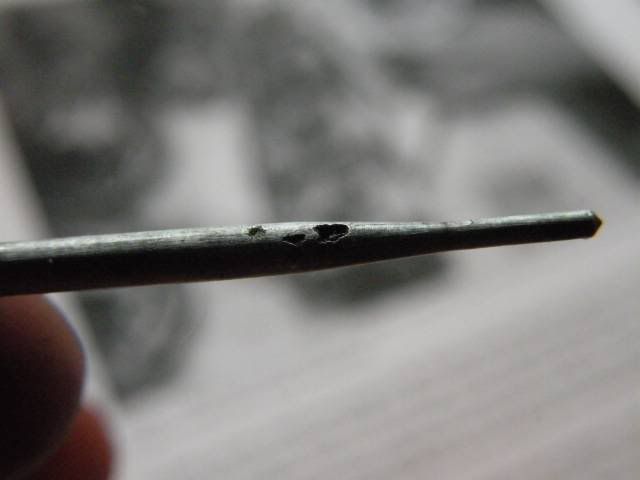 (it's bent too, can't see at this angle)
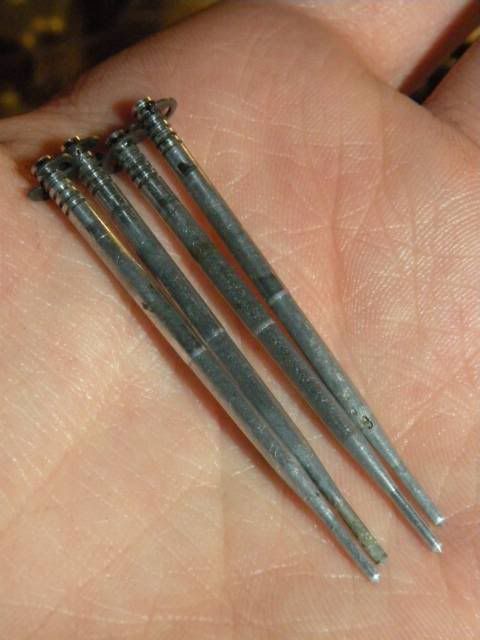

Comment