
 Tweet
Tweet
So I have an old 82 Katana that's been sitting in the garage in pieces for a few years now, and I finally decided to get after it this past Christmas. I've been documenting on the GS Resources website, but I thought you folks might be interested to see what I've done, as well.
A little background on the bike: I bought it at a garage sale one street over for $200. I took a few photos when I got it home, but they were film and I don't have them available to upload. Suffice to say, it looked like a $200 bike. Fairing was gone, wires hanging out, really bad paint job, spray paint on the motor, screwdrivered ignition switch and gas cap, the whole 9 yards. Cases and fork lowers were thankfully unscathed, but heavily oxidized. A real rough job for sure. But looking deeper revealed steel braided lines F& R, Dyna ignition coils, Muzzy 4-1 pipe (gutted), ATK fork brace, and best of all a Metmachex swingarm.
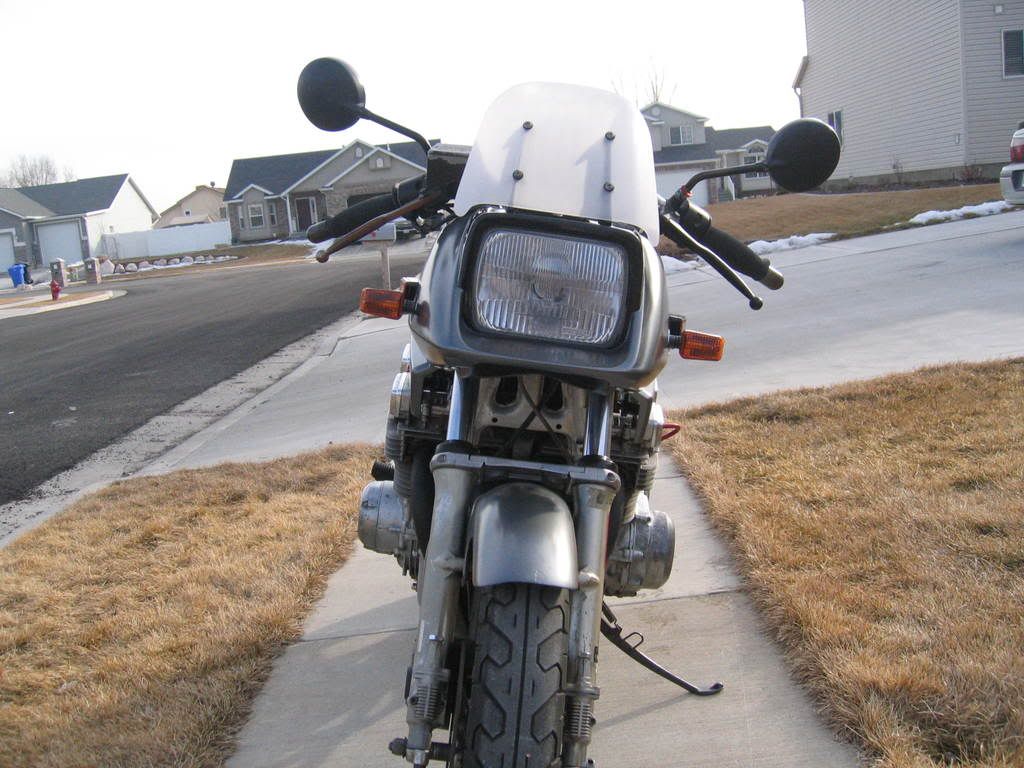
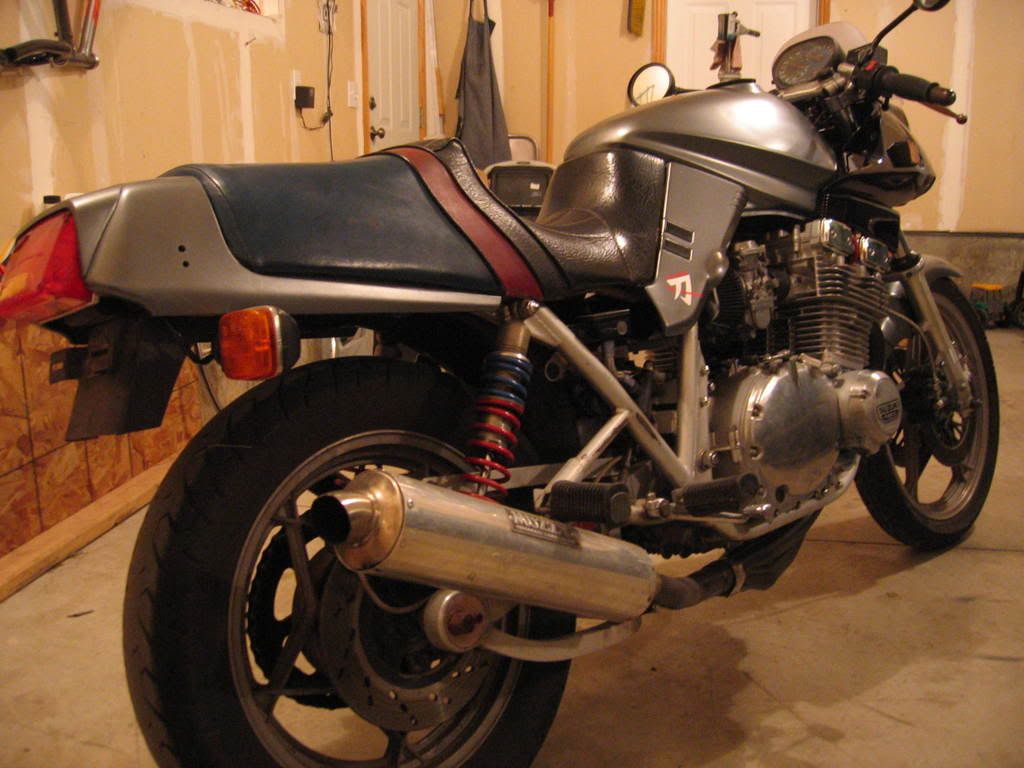
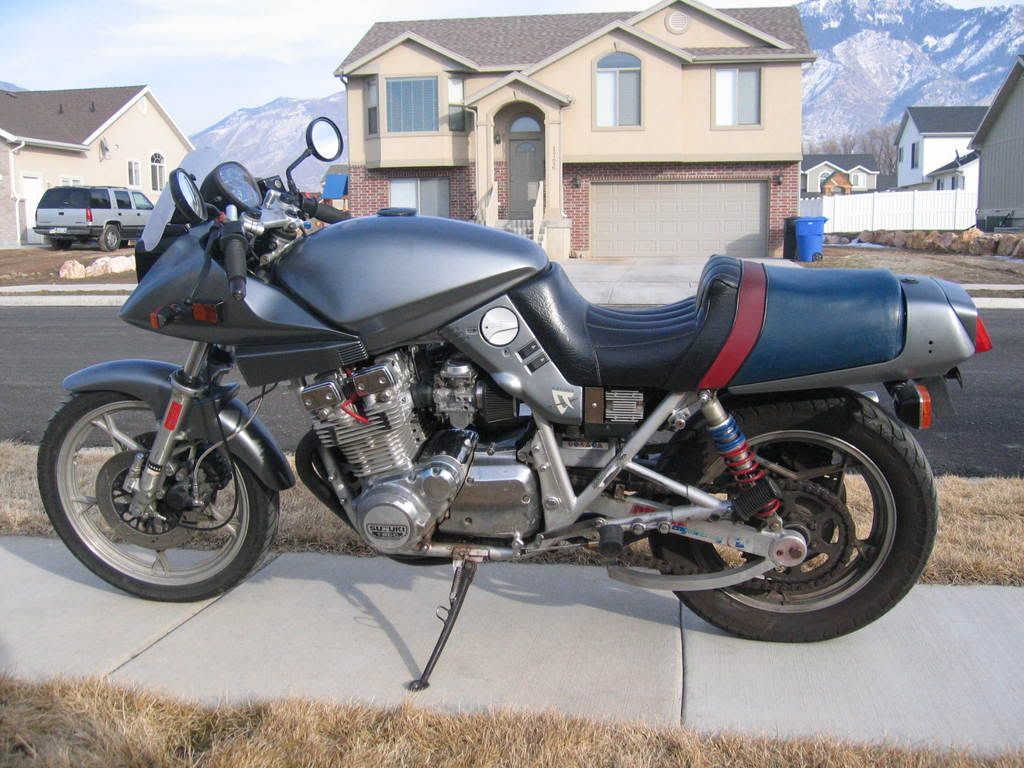
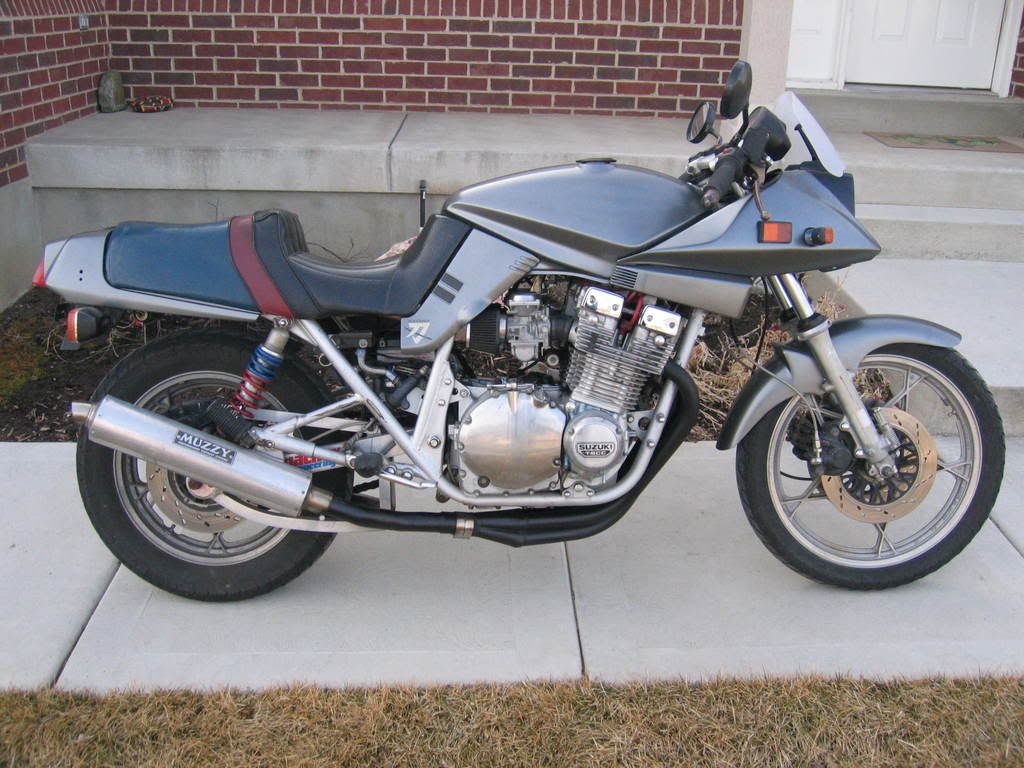
Here are a few photos after minimal repair to get it roadworthy and replace the fairing:
 t%20Rehab/147_1.jpg[/IMG]

More photos:
So, the first thing I did was strip it all down, then promptly forgot about it, because that winter I bought an 84 750 pop up. I'd wanted a pop up for 20 years, when the opportunity came I jumped on it. Didn't even consult the wife. It was ugly around my house for a week or so.
Anyway, after getting the 750 running good, last Christmas I decided it was time to get after the 82 project. My two main criteria are 1 - Reliable and low maintenance. I never want to have to do this again; it sucks. 2 - Unique and very pretty. Pretty much self explanatory.
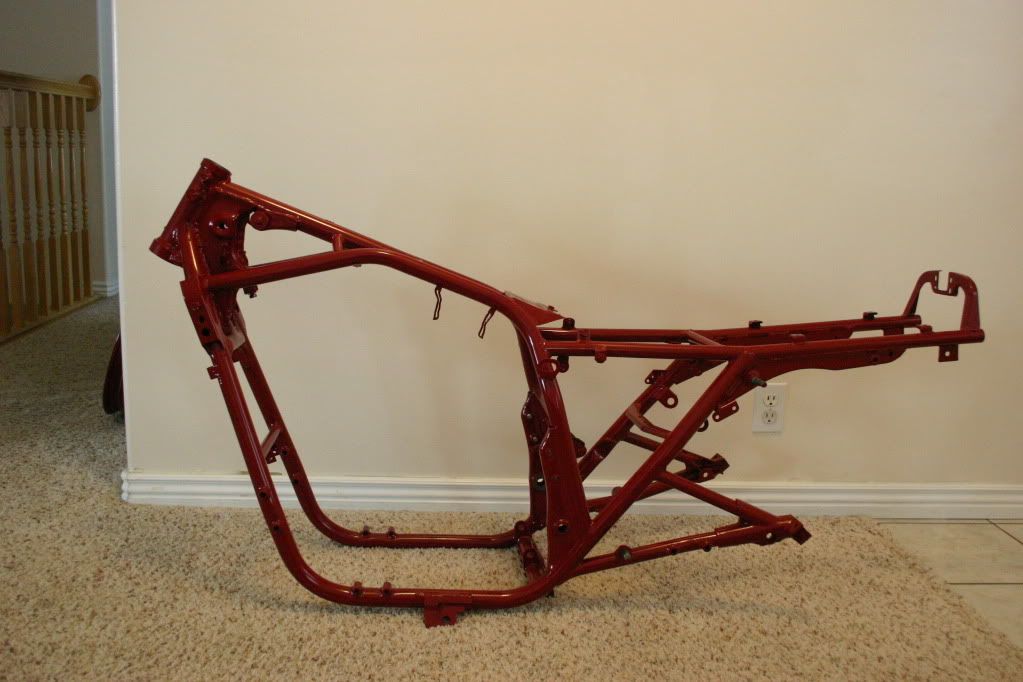
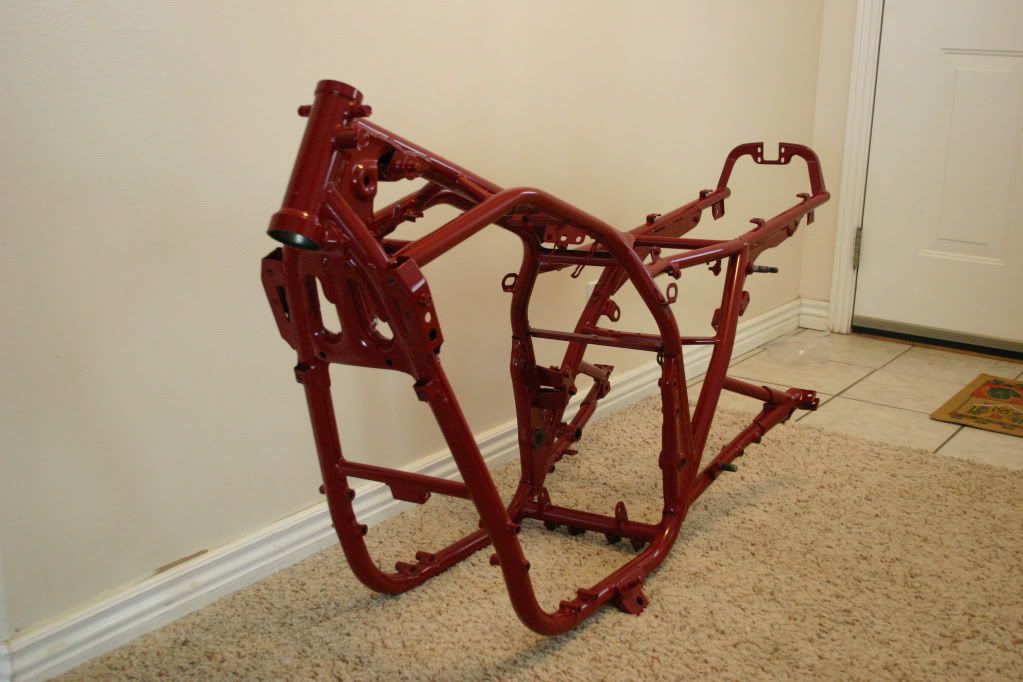
The reliable requirement means powdercoat when painted, the low maintenance means NO polishing. I'm just too lazy for that foolishness.
So the first question is: What color?
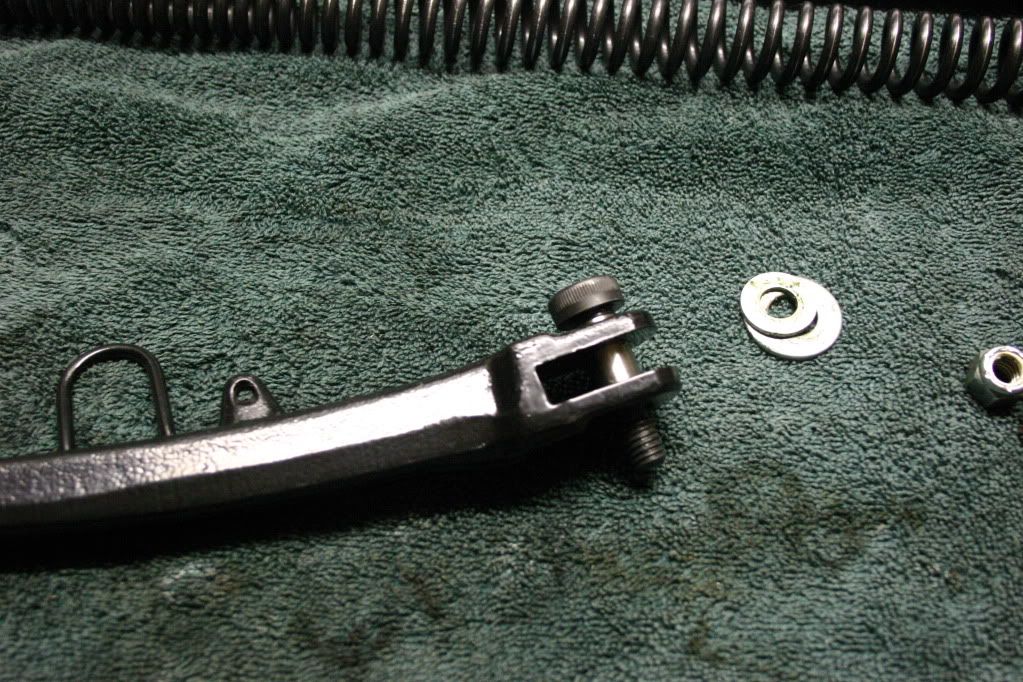
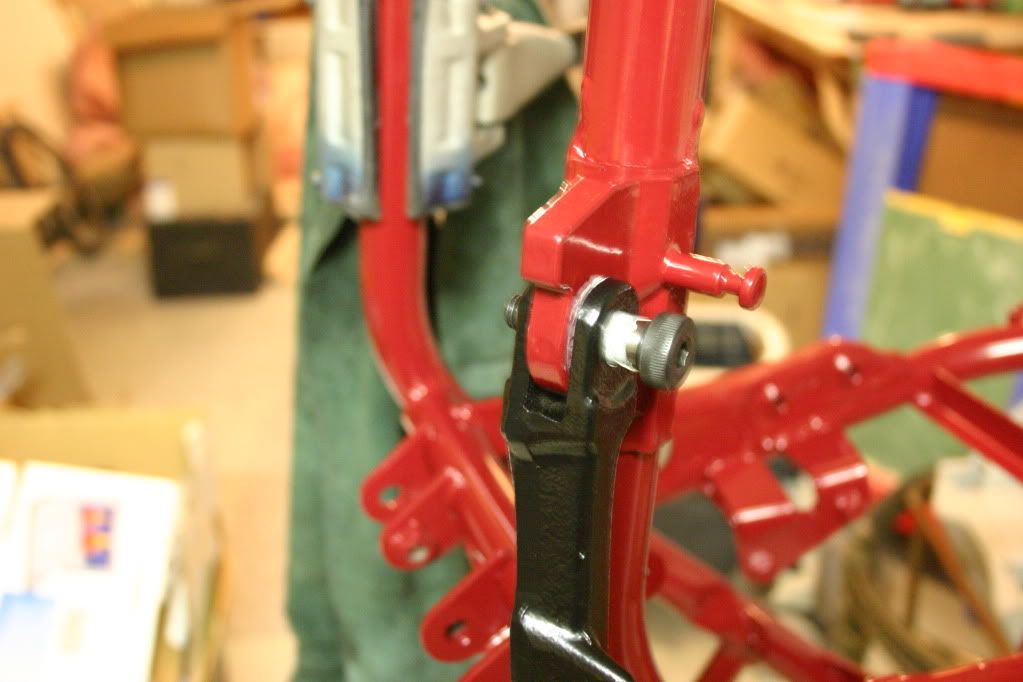
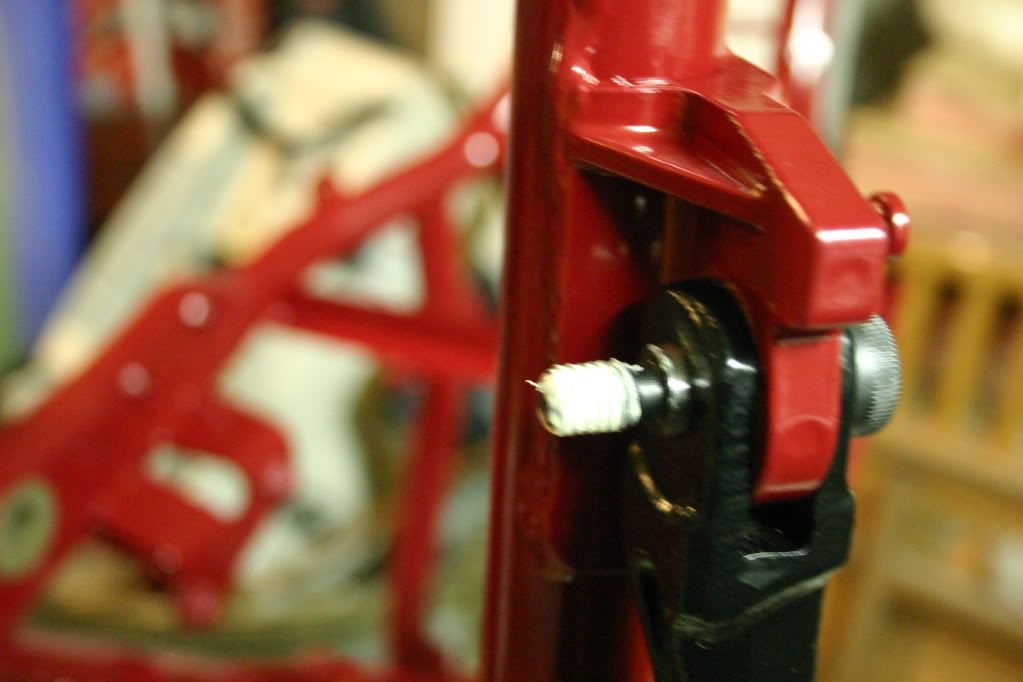
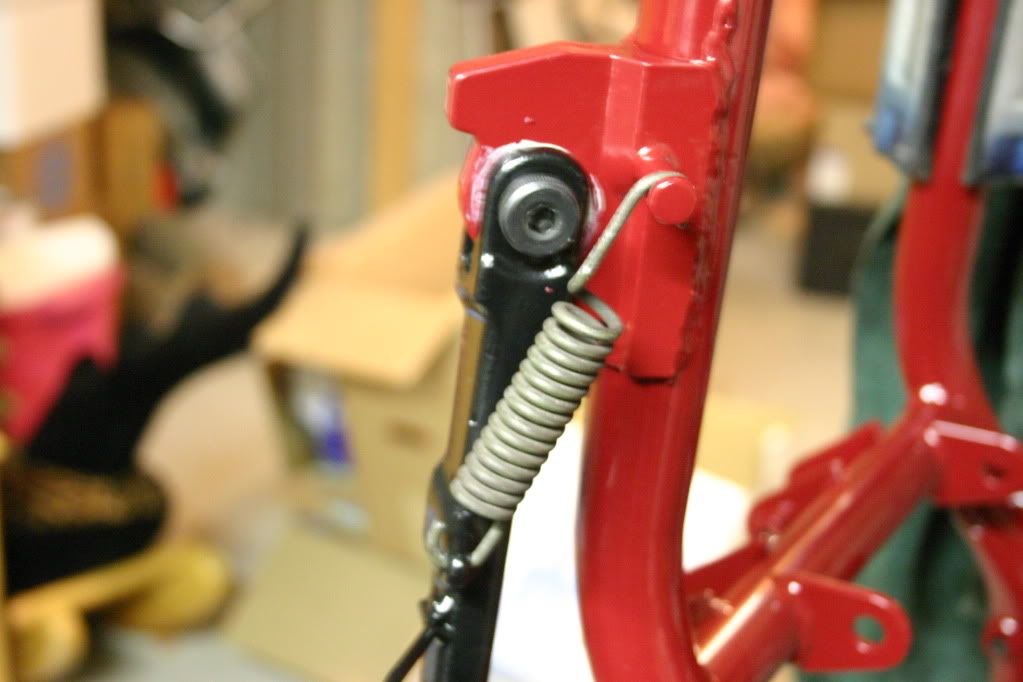
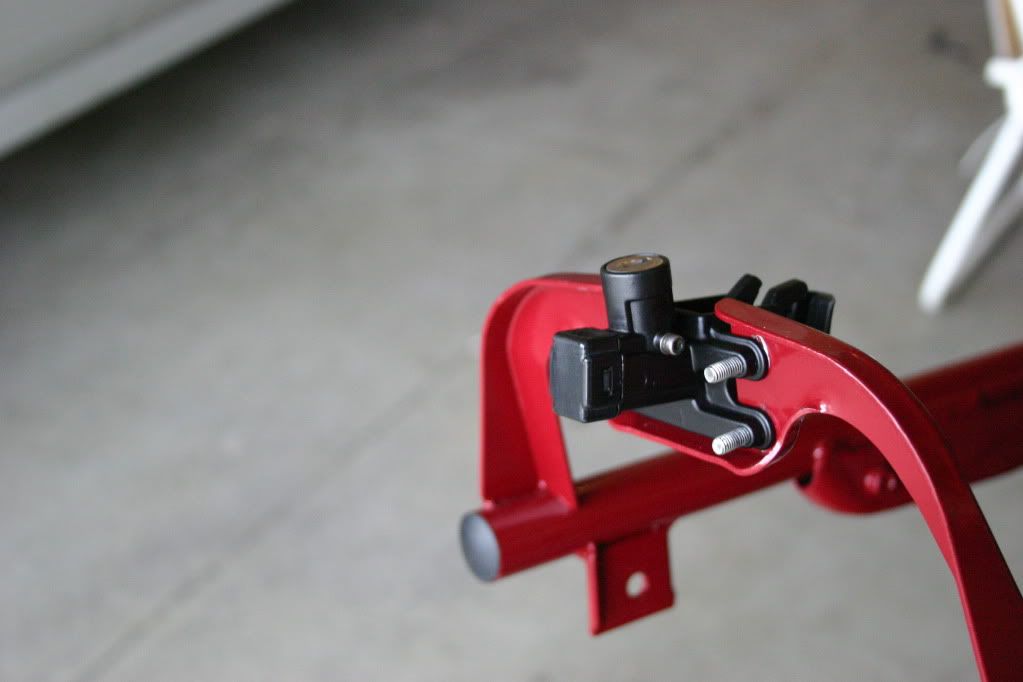
My original kickstand was tweaked open so the bike leaned wayy over. Additionally, the mounting bolt was stripped as were the threads on the back of the kickstand. My solution: A 1" x 1/2" shoulder bolt with a nylock nut. The boss on the frame had to be drilled out as well to match. Now there is absolutely no slop:
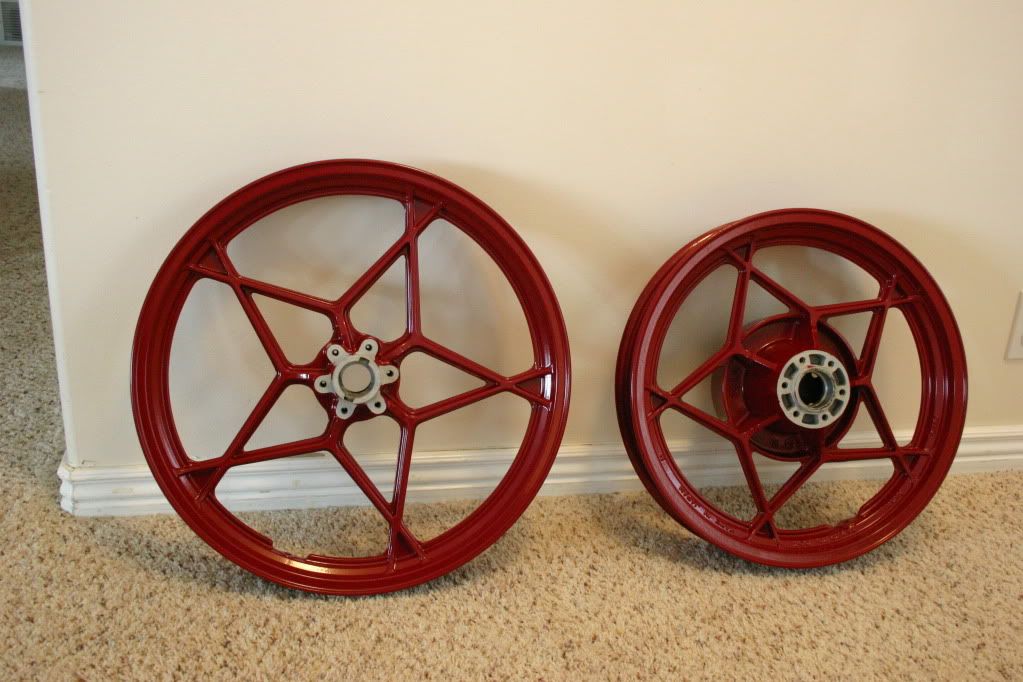
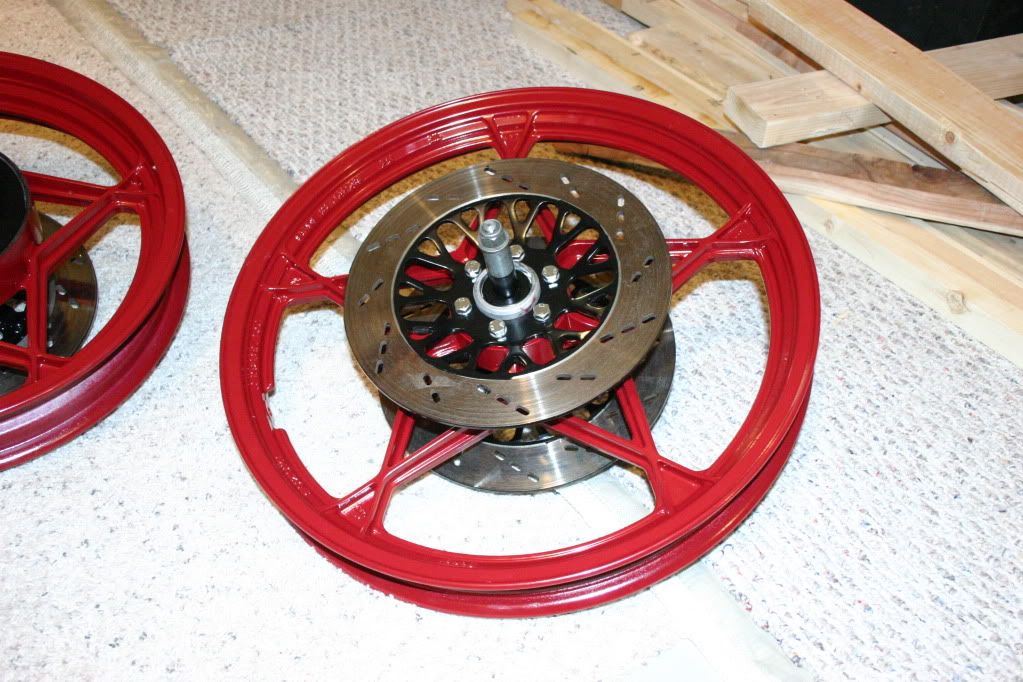
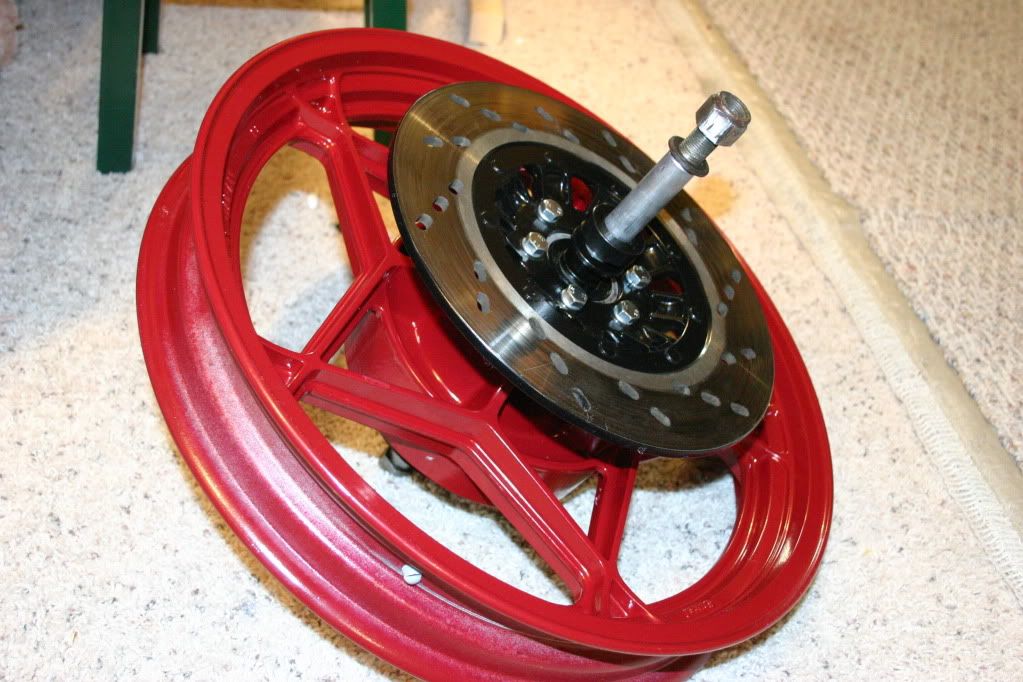
Wheels were next:
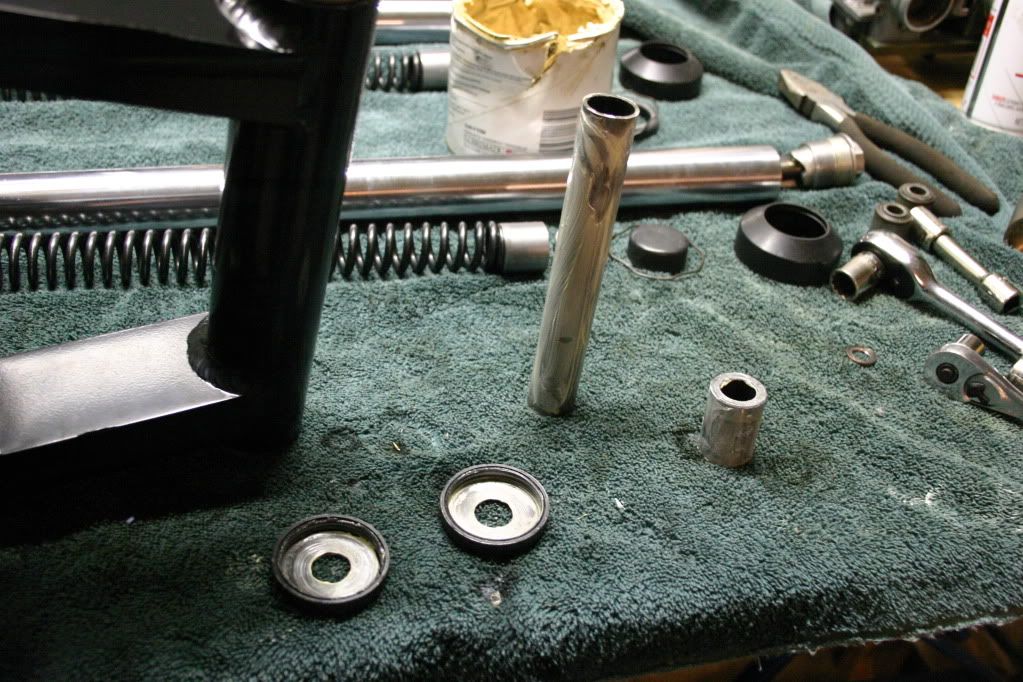
New bearings where necessary, old ones that were still smooth and tight were clushed and repacked with high temp bearing grease, new bolts with loc-tite were used to install the rotors:
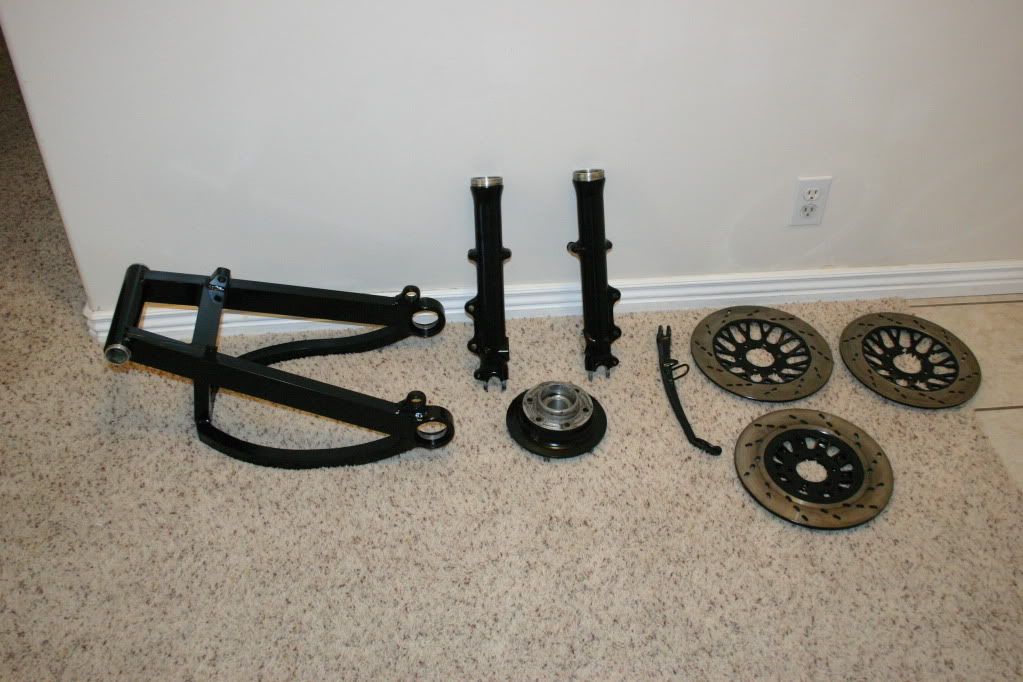
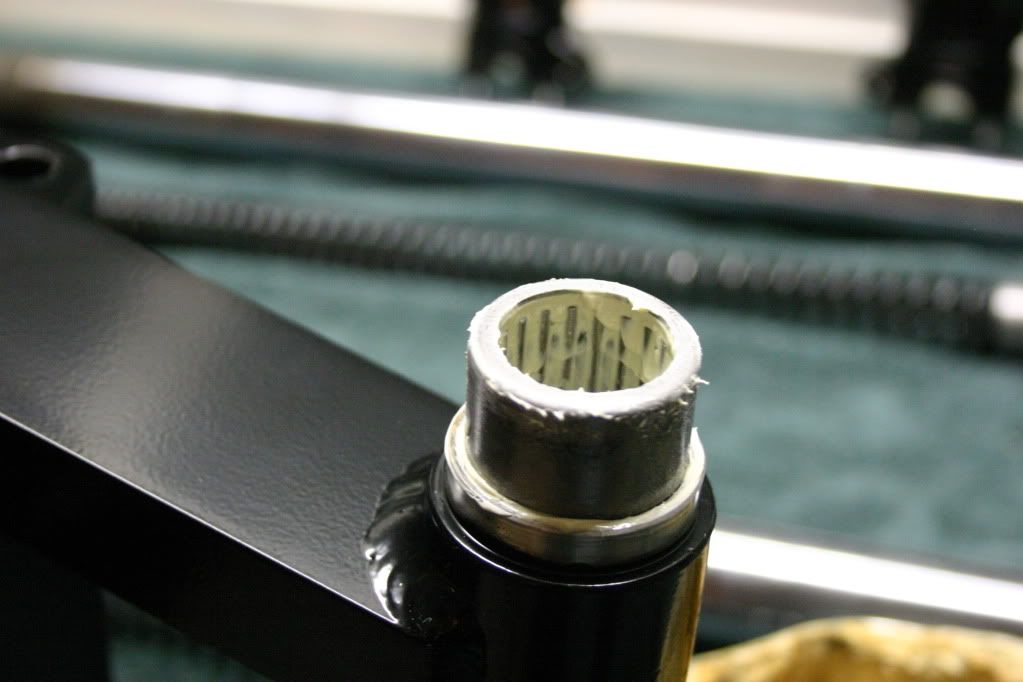
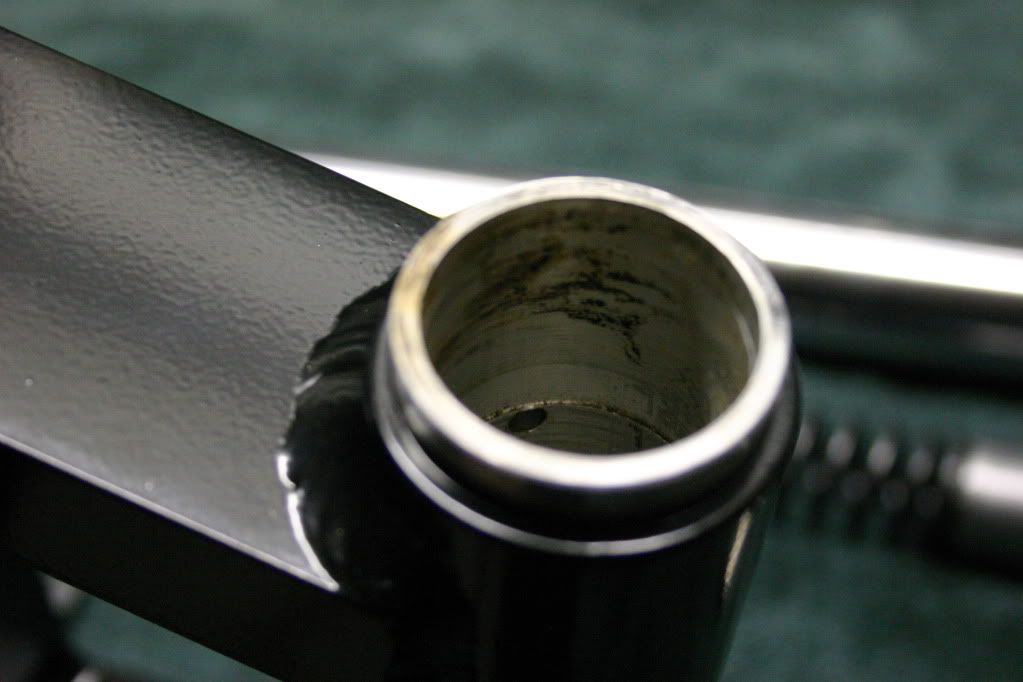
Then it was time to get after the rear swingarm. This meant new grease in the roller bearings. These are low speed bearings and they only see about 30 degrees of rotation so I used white lithium grease. Should be okay:
I',m probably skipping alot of steps here - sorry.
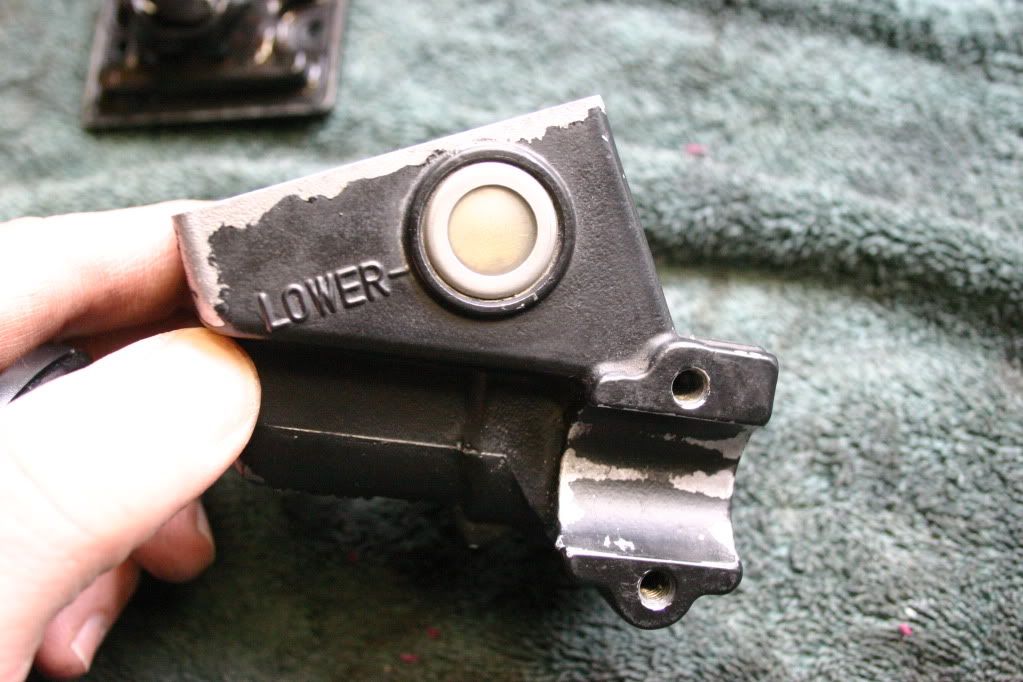
My next set of photos involves the front master cylinder - it was pretty grungy.
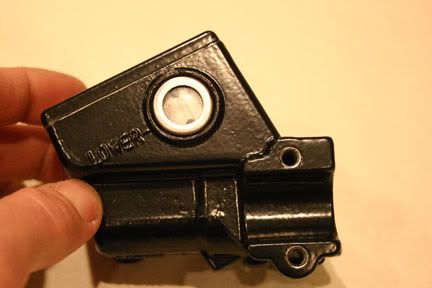
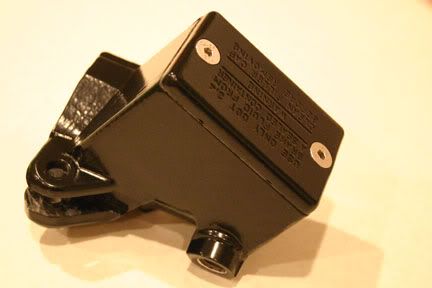
Long story short it got fresh powdercoat, new master kit, and new sight glass.
Before:
After:
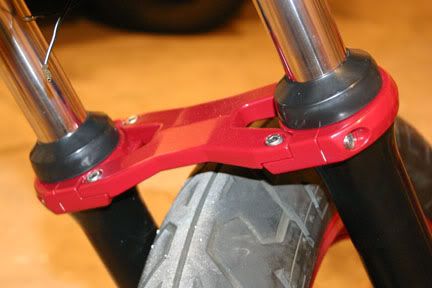
Fork brace after pwdercoat:
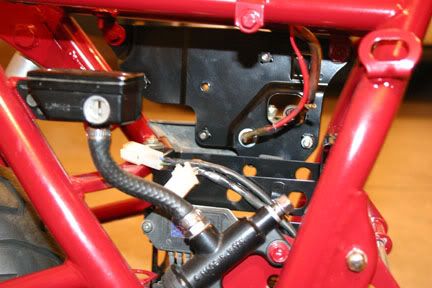
Backside of electrickery panel:
Iginition switch repaired - this shows the old and new face:

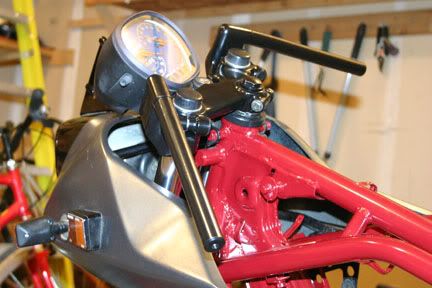
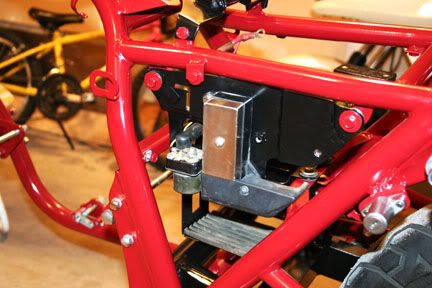
Here we have a rolling chassis:

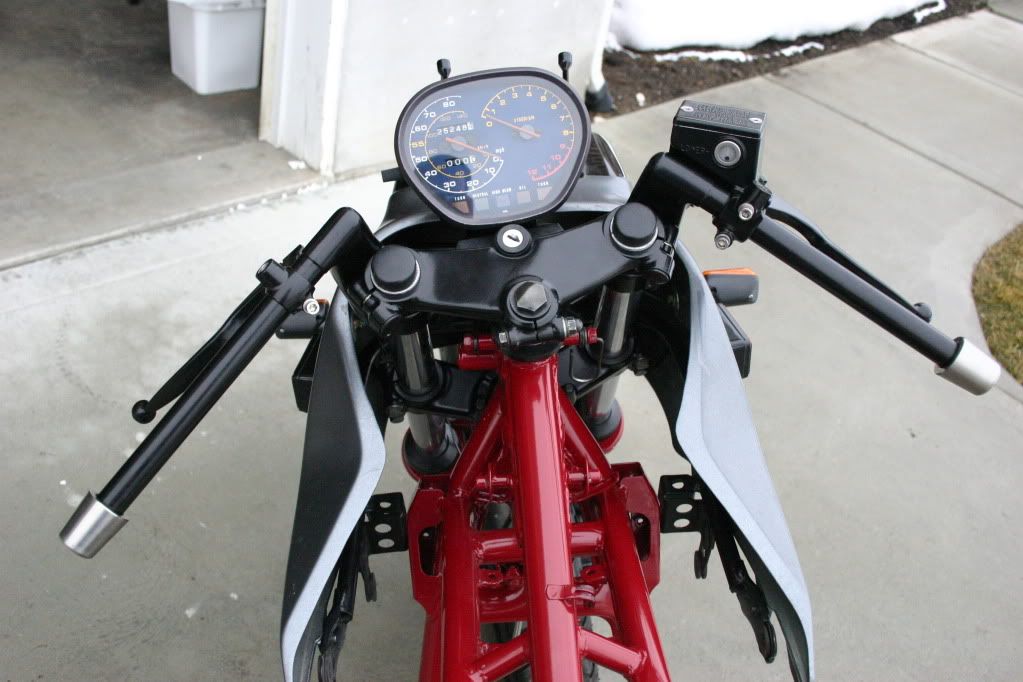
Control center:
Elelctrics panel:
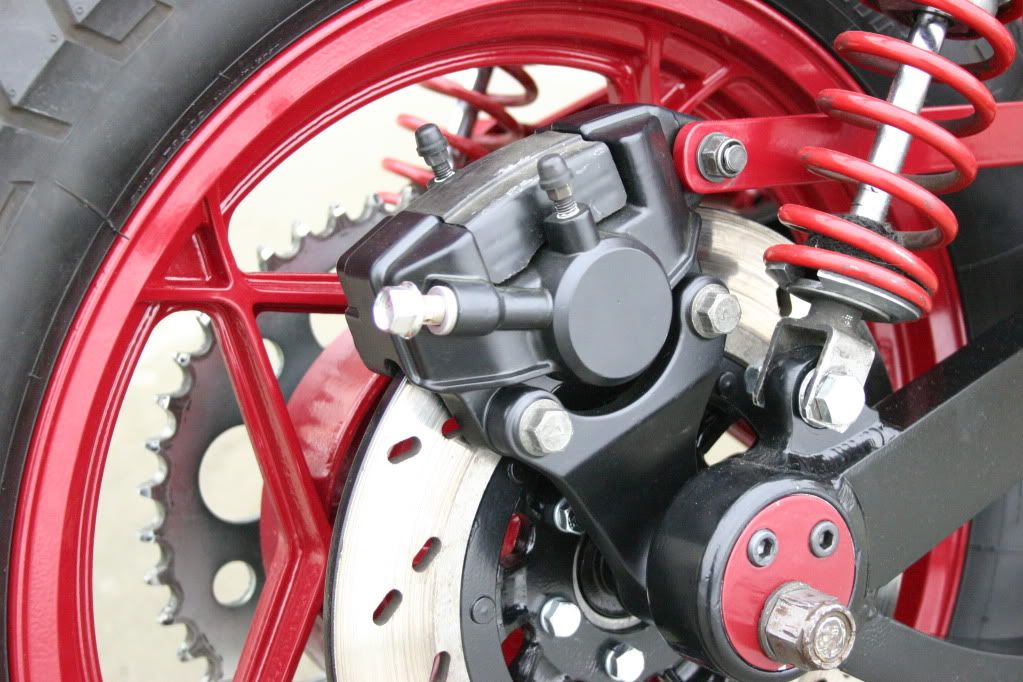
Rear brake:
Rear swinger:
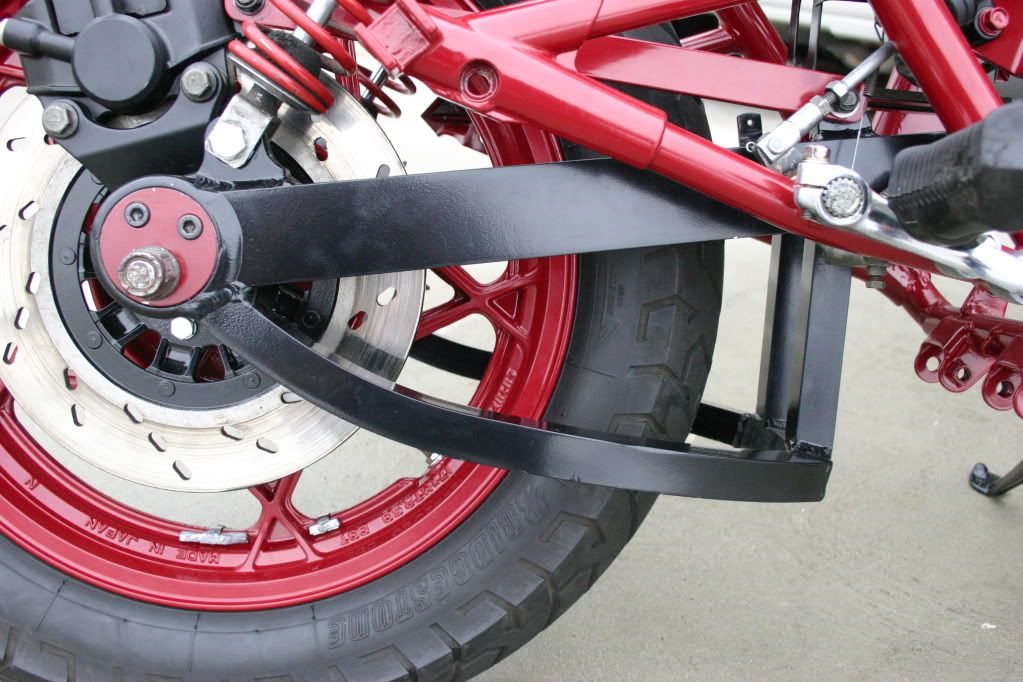
Front of the swinger:
Front wheel - still need to do some work on the brake lines:

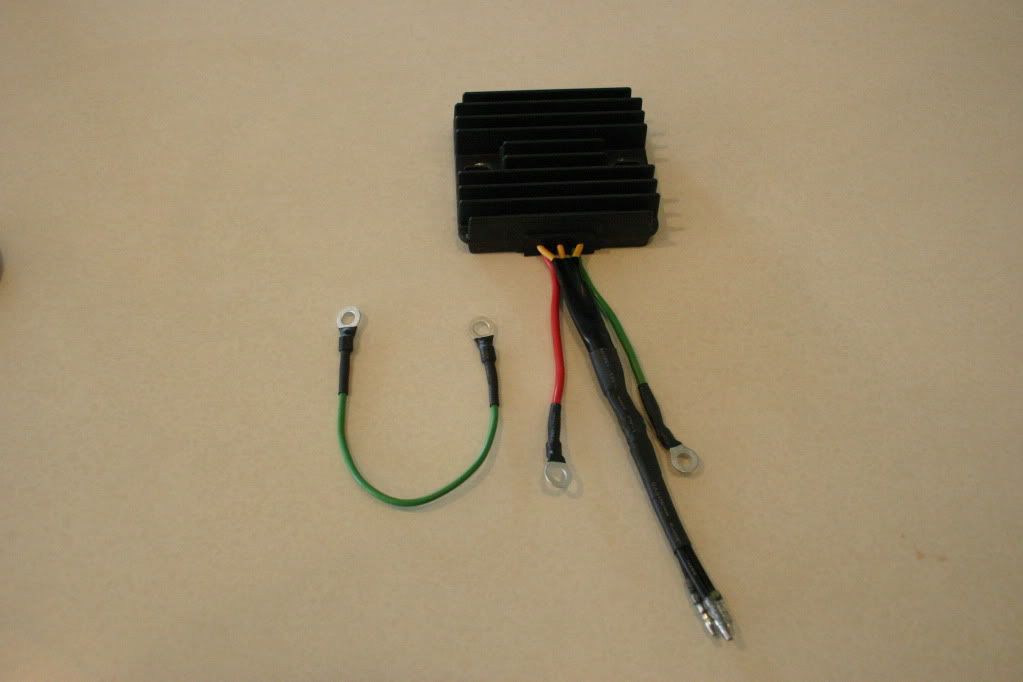
New Reg Rec off a CBR 1000 - this needed some work on the wire terminals, so I soldered on new ring mounts and heat shrunk them to be all purty:
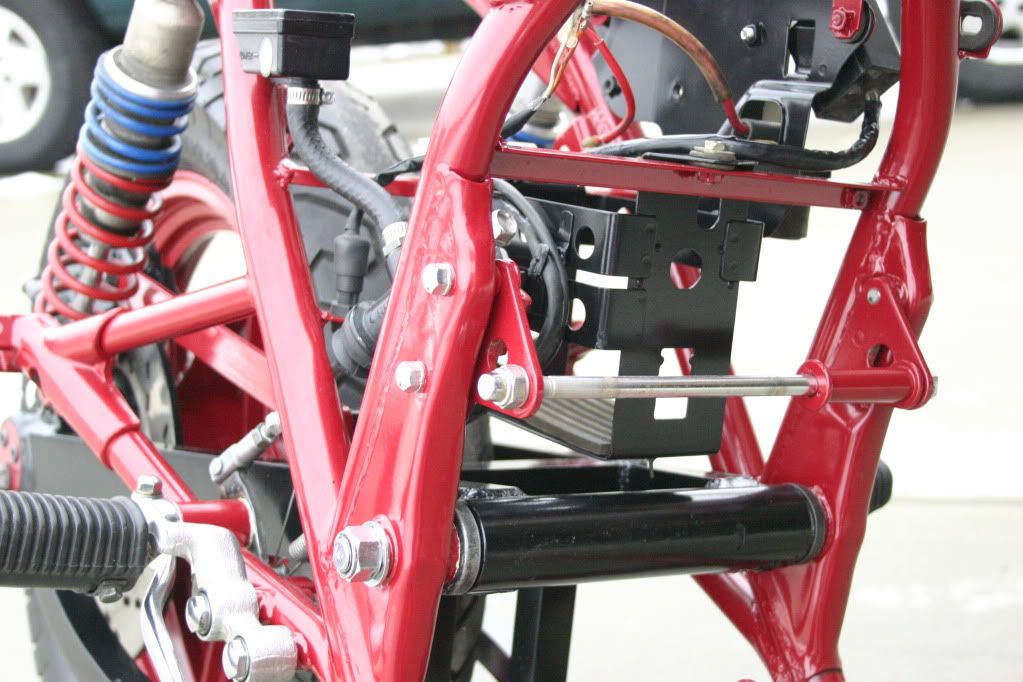
It was too big to fit where the stock one went, so I mounted it on the back side: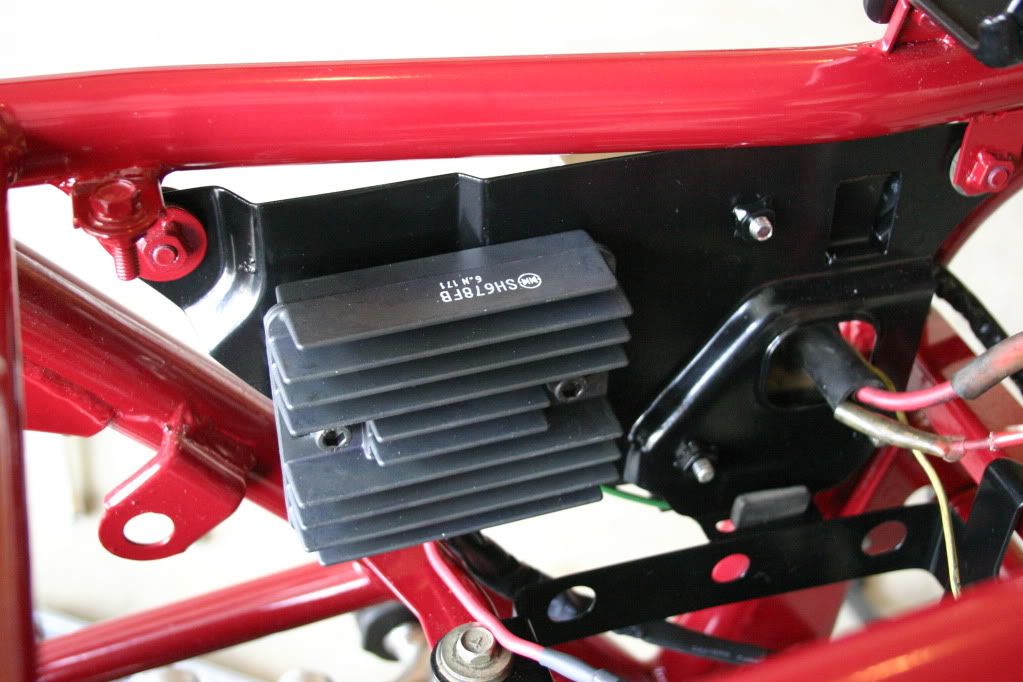
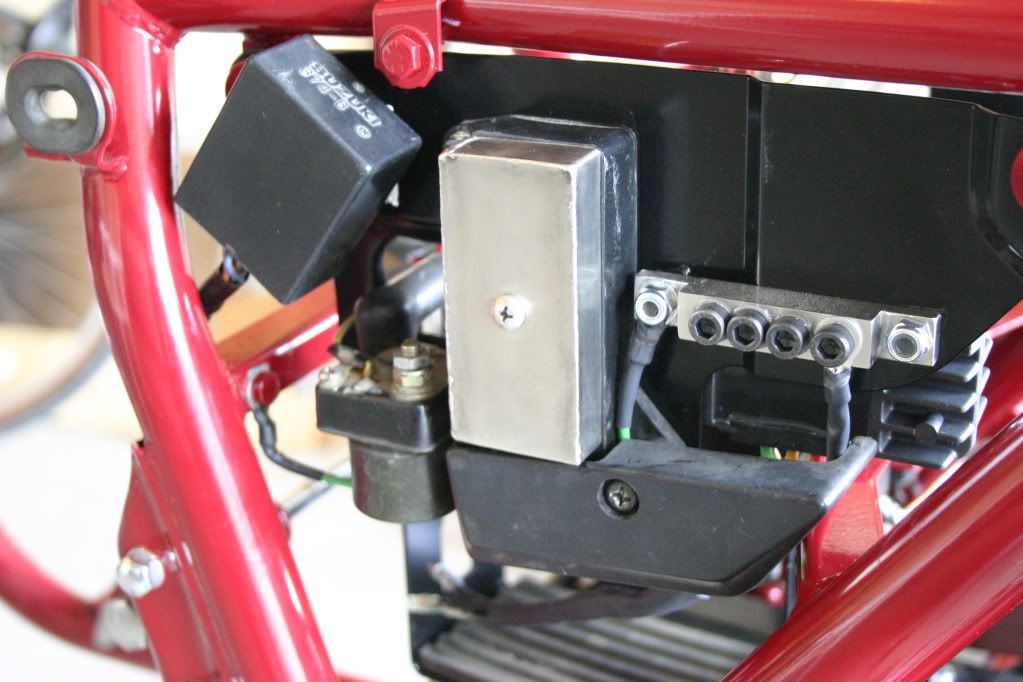
Here is the front side: I made a grounding bar out of stainless. The leftmost nylon locking nut mounts a grounding wire that mounts to the frame to the left. The right wire under the socket head cap screw is the Reg/rec ground. I plan to run another grounding wire from the rightmost nylock nut to the battery negative. One other cap screw will ground the wiring harness. This leaves a few mounts for anything else I may need to ground:
The rear seat lock didn't match my ignition key so I drilled out the rollpin that secures the drum and tumbler assy, re keyed it to match my ignition key, then drilled and tapped the rollpin hole to take a 3 mm socket head cap screw:
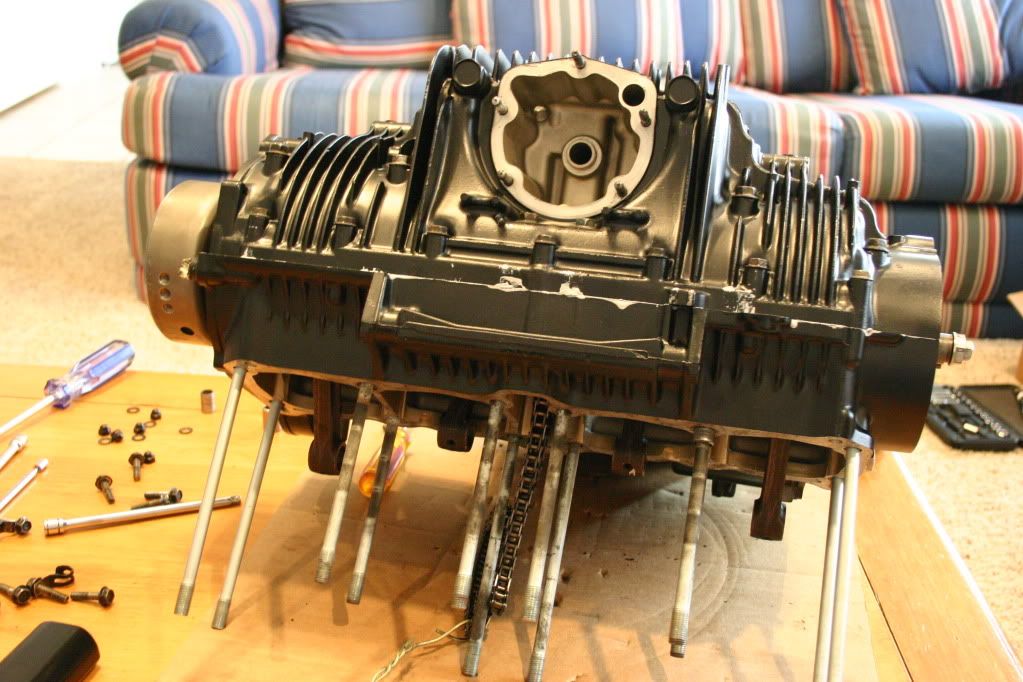
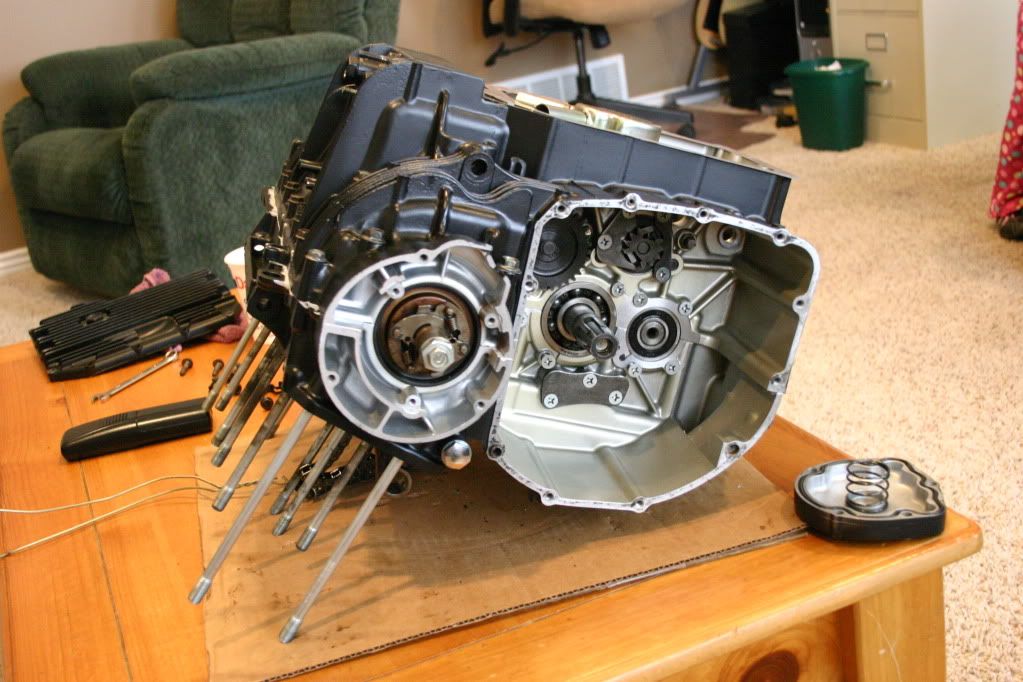
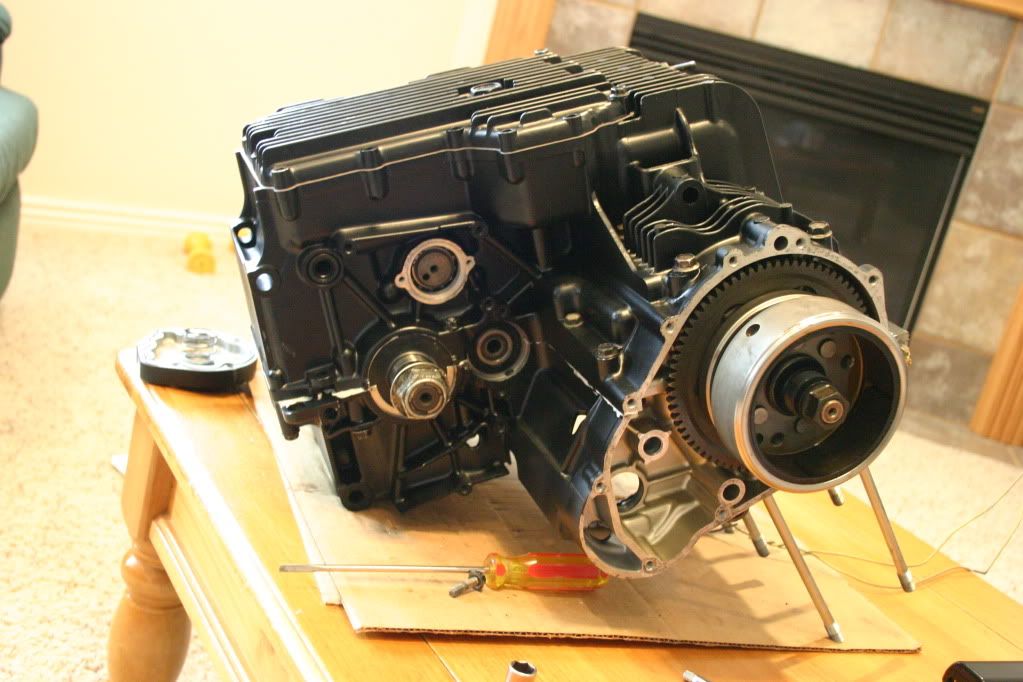
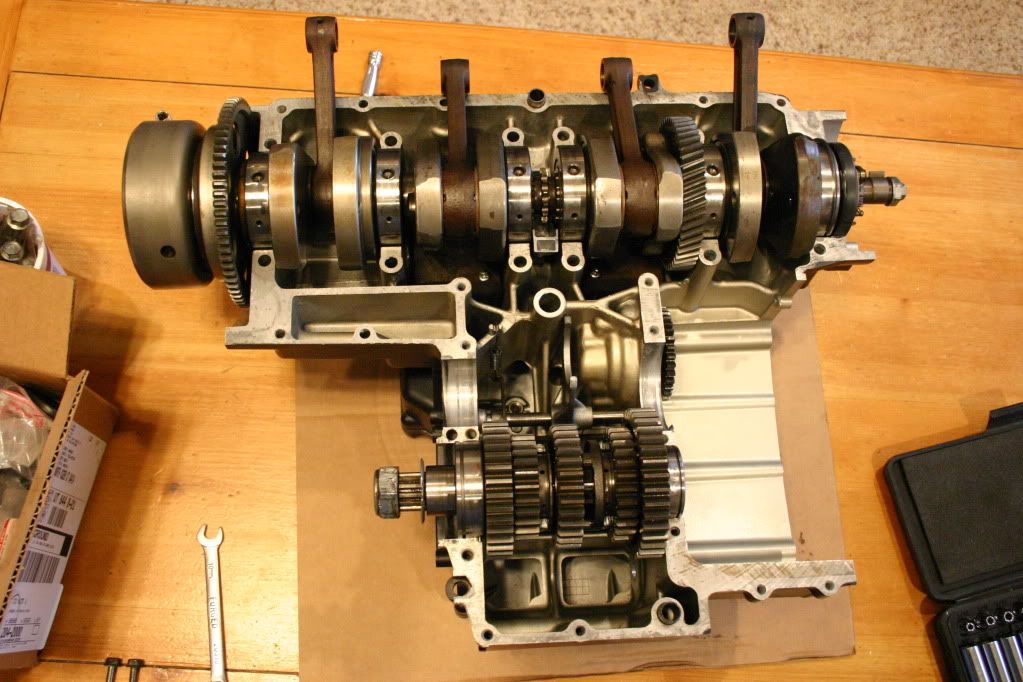
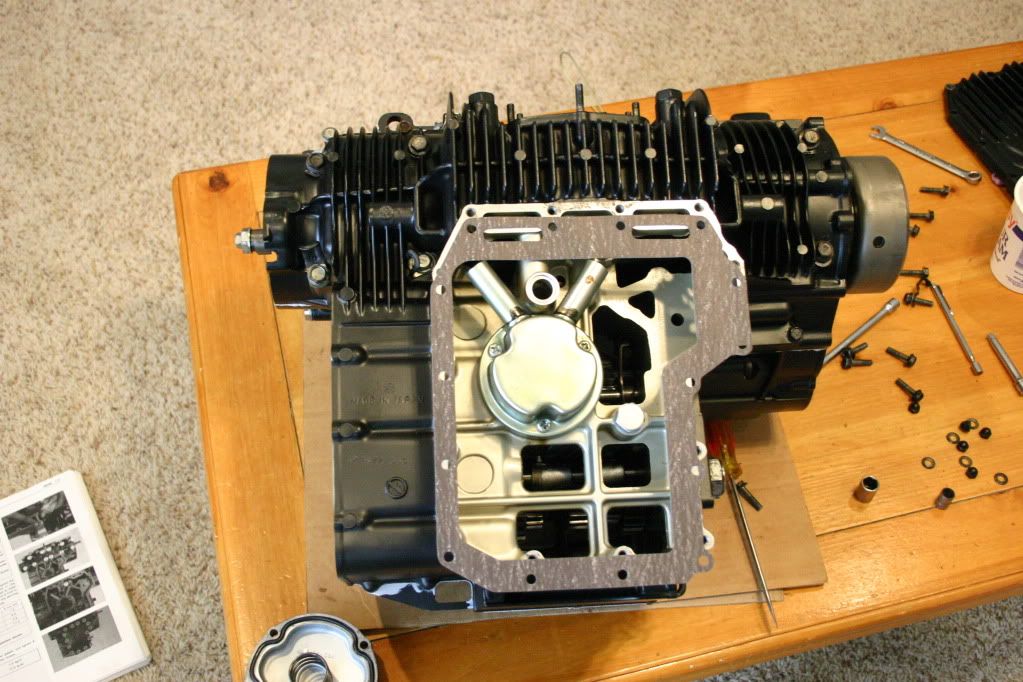
Engine lower case reassembly - this was not very fun:
And that's about where it stands today - a rolling chassis in the garage waiting for the engine to go back together, carbs to be done, bodywork, and seat reupholster.
Comments?
A little background on the bike: I bought it at a garage sale one street over for $200. I took a few photos when I got it home, but they were film and I don't have them available to upload. Suffice to say, it looked like a $200 bike. Fairing was gone, wires hanging out, really bad paint job, spray paint on the motor, screwdrivered ignition switch and gas cap, the whole 9 yards. Cases and fork lowers were thankfully unscathed, but heavily oxidized. A real rough job for sure. But looking deeper revealed steel braided lines F& R, Dyna ignition coils, Muzzy 4-1 pipe (gutted), ATK fork brace, and best of all a Metmachex swingarm.
Here are a few photos after minimal repair to get it roadworthy and replace the fairing:
t%20Rehab/147_1.jpg[/IMG]More photos:
So, the first thing I did was strip it all down, then promptly forgot about it, because that winter I bought an 84 750 pop up. I'd wanted a pop up for 20 years, when the opportunity came I jumped on it. Didn't even consult the wife. It was ugly around my house for a week or so.
Anyway, after getting the 750 running good, last Christmas I decided it was time to get after the 82 project. My two main criteria are 1 - Reliable and low maintenance. I never want to have to do this again; it sucks. 2 - Unique and very pretty. Pretty much self explanatory.
The reliable requirement means powdercoat when painted, the low maintenance means NO polishing. I'm just too lazy for that foolishness.
So the first question is: What color?
My original kickstand was tweaked open so the bike leaned wayy over. Additionally, the mounting bolt was stripped as were the threads on the back of the kickstand. My solution: A 1" x 1/2" shoulder bolt with a nylock nut. The boss on the frame had to be drilled out as well to match. Now there is absolutely no slop:
Wheels were next:
New bearings where necessary, old ones that were still smooth and tight were clushed and repacked with high temp bearing grease, new bolts with loc-tite were used to install the rotors:
Then it was time to get after the rear swingarm. This meant new grease in the roller bearings. These are low speed bearings and they only see about 30 degrees of rotation so I used white lithium grease. Should be okay:
I',m probably skipping alot of steps here - sorry.
My next set of photos involves the front master cylinder - it was pretty grungy.
Long story short it got fresh powdercoat, new master kit, and new sight glass.
Before:
After:
Fork brace after pwdercoat:
Backside of electrickery panel:
Iginition switch repaired - this shows the old and new face:
Here we have a rolling chassis:
Control center:
Elelctrics panel:
Rear brake:
Rear swinger:
Front of the swinger:
Front wheel - still need to do some work on the brake lines:
New Reg Rec off a CBR 1000 - this needed some work on the wire terminals, so I soldered on new ring mounts and heat shrunk them to be all purty:
It was too big to fit where the stock one went, so I mounted it on the back side:
Here is the front side: I made a grounding bar out of stainless. The leftmost nylon locking nut mounts a grounding wire that mounts to the frame to the left. The right wire under the socket head cap screw is the Reg/rec ground. I plan to run another grounding wire from the rightmost nylock nut to the battery negative. One other cap screw will ground the wiring harness. This leaves a few mounts for anything else I may need to ground:
The rear seat lock didn't match my ignition key so I drilled out the rollpin that secures the drum and tumbler assy, re keyed it to match my ignition key, then drilled and tapped the rollpin hole to take a 3 mm socket head cap screw:
Engine lower case reassembly - this was not very fun:
And that's about where it stands today - a rolling chassis in the garage waiting for the engine to go back together, carbs to be done, bodywork, and seat reupholster.
Comments?


Comment