Ad Widget

Collapse

Announcement

Collapse
No announcement yet.
X

newb seat mod, should be entertaining (pic intensive)

Collapse
  • Filter
  • Time
  • Show
Clear All
new posts

  • newb seat mod, should be entertaining (pic intensive)

    First thread WOOOHOOO

    Ok so heres the deal. Let's just say I don't have much natural cushioning on my rear end, so while the seat foam on my '01 600 kat is adequate for most...after about 45 minutes, my bum starts to get soar. I did one trip that was about 130 miles, each way, and i was walking like i had a load in my diaper for the rest of the day. not very comfortable, and really hard to pick up girls when you look like that.

    At the same time, I am really tall (6' 4"), so for me, the post kat sits waaaaay too low, and sometimes i feel like im sitting way too upright and look like I'm riding a scooter.

    So I figured out a way to try and tackle this two problems with one project. I was going to build up the seat height with some more, softer foam. that would give me a little more ride height, and I could flatten out the seat a little so I could sit further back, and it would be a little more forgiving on my bony bum.

    I used this thread and [ame="http://www.youtube.com/watch?v=1eZGTe32ulQ"]This video[/ame] as guides.

    The project is not completely done yet. This is just a trial run. I did not have a heat gun. so the seat didnt come out as tight as it could.
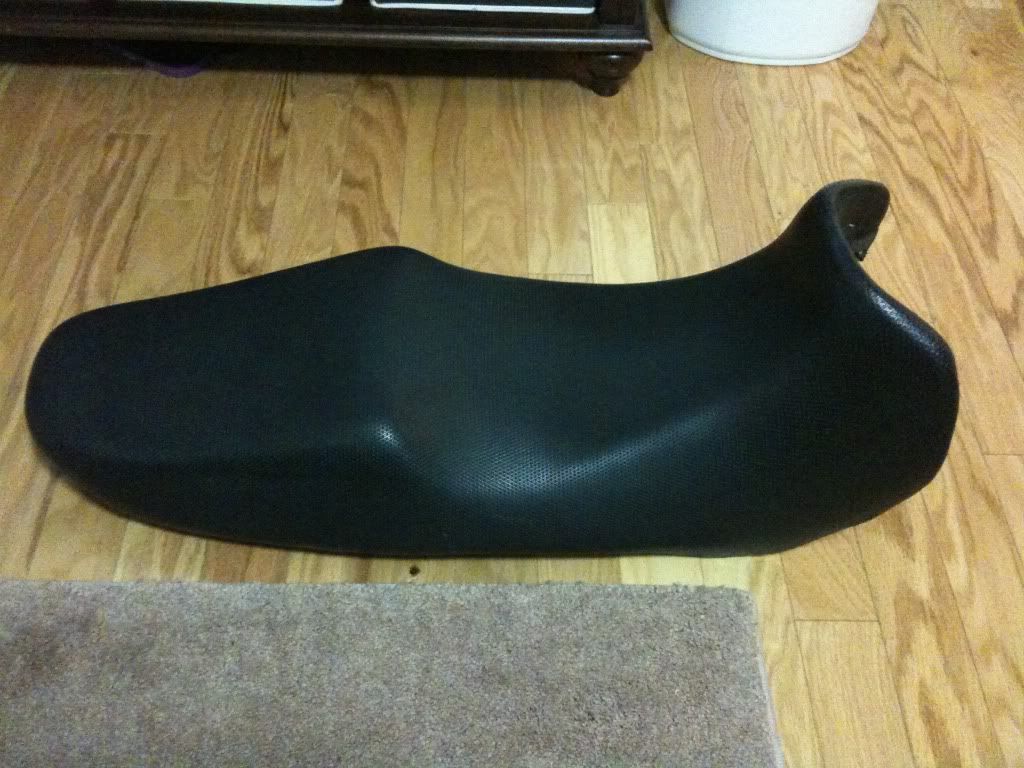

    The culprit


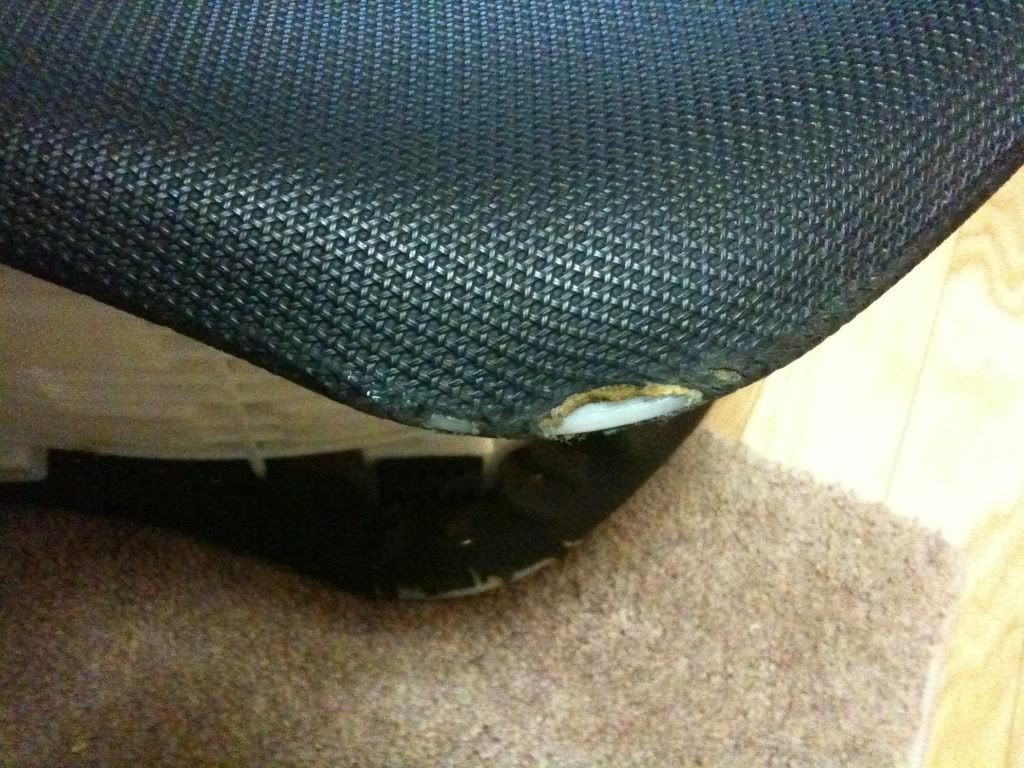
    The cracks in the seat vinyl....I'm sure I'm not the only person who has seen this happen.


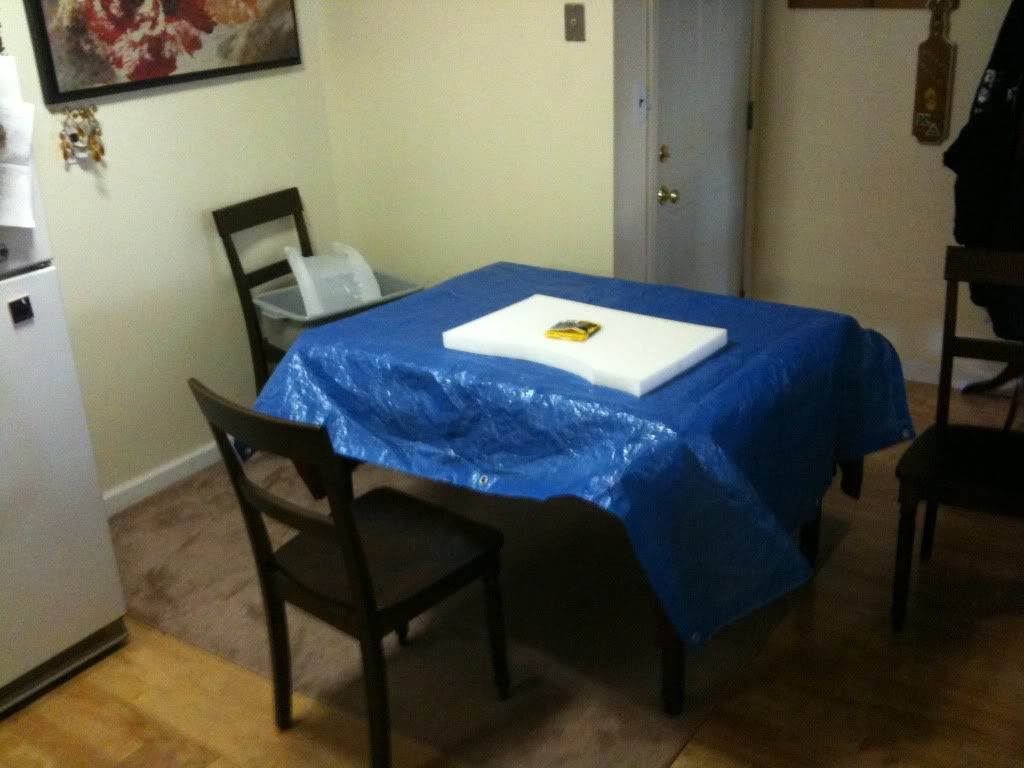
    The workshop......i.e. we took over my buddies kitchen while his girlfriend was at work....ssssshhhh don't tell.


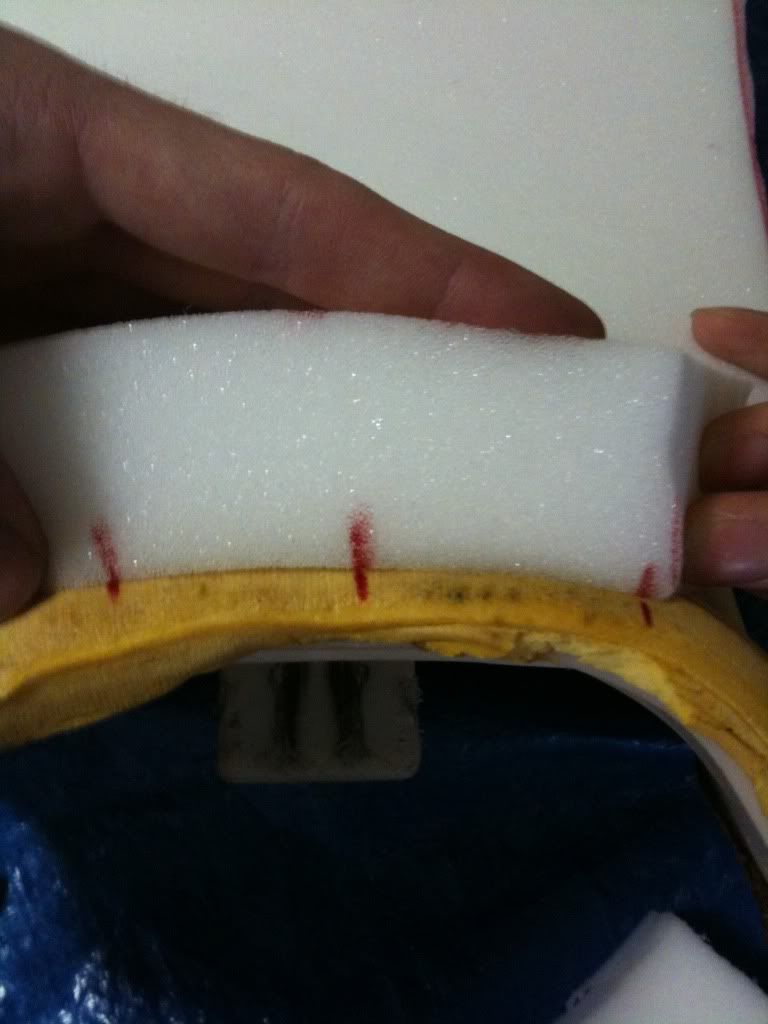
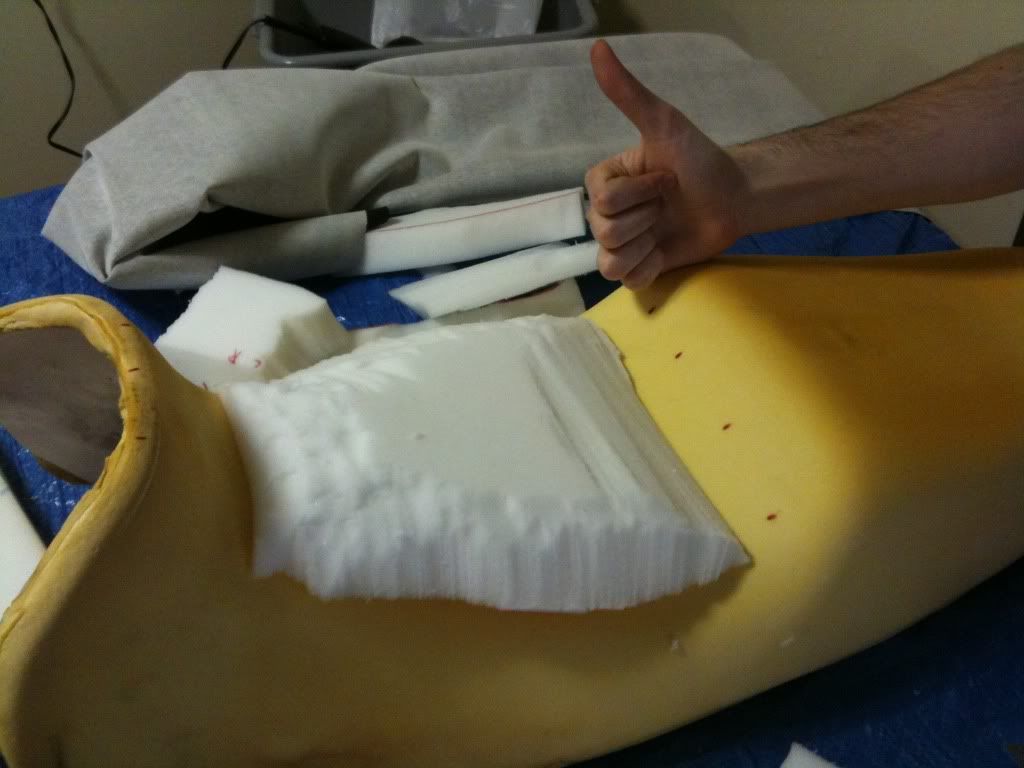
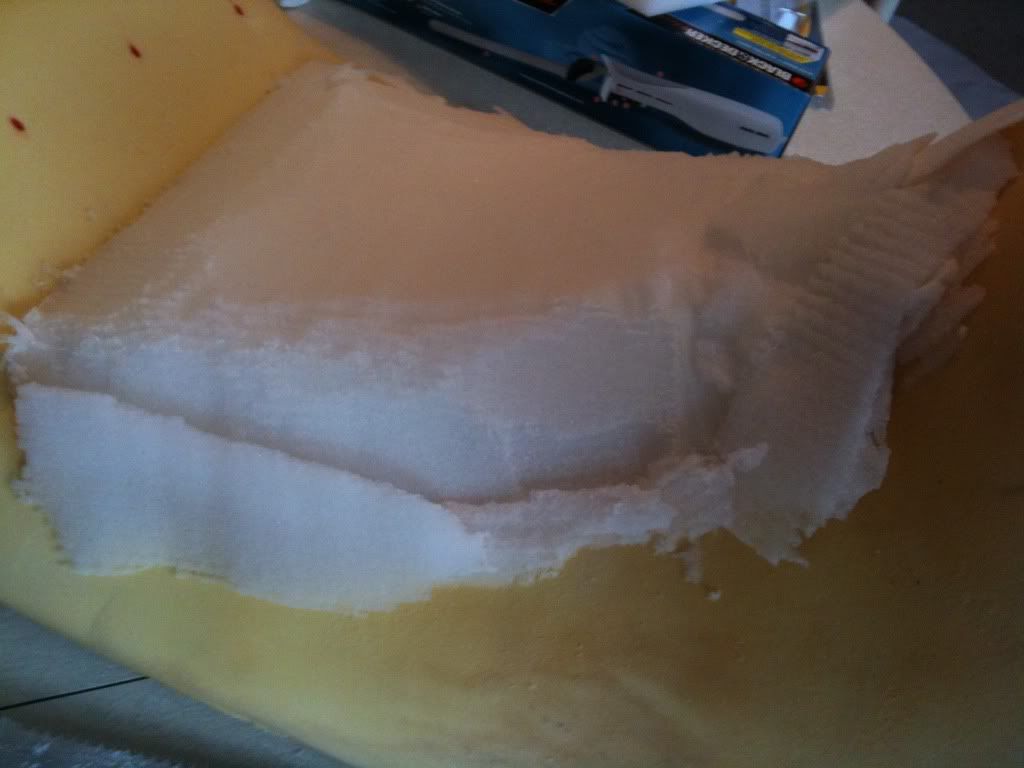
    marking the seat and the foam to keep it centered while shaping.


    The seat pad all trimmed up. The trick here was keeping the scissors parallel to the foam and just trimming a little at a time. You want the foam to be as smooth as possible, because every little ridge that you leave from the scissor WILL show up under the vinyl. This is something that will be experimented with in the follow up posts so keep following.


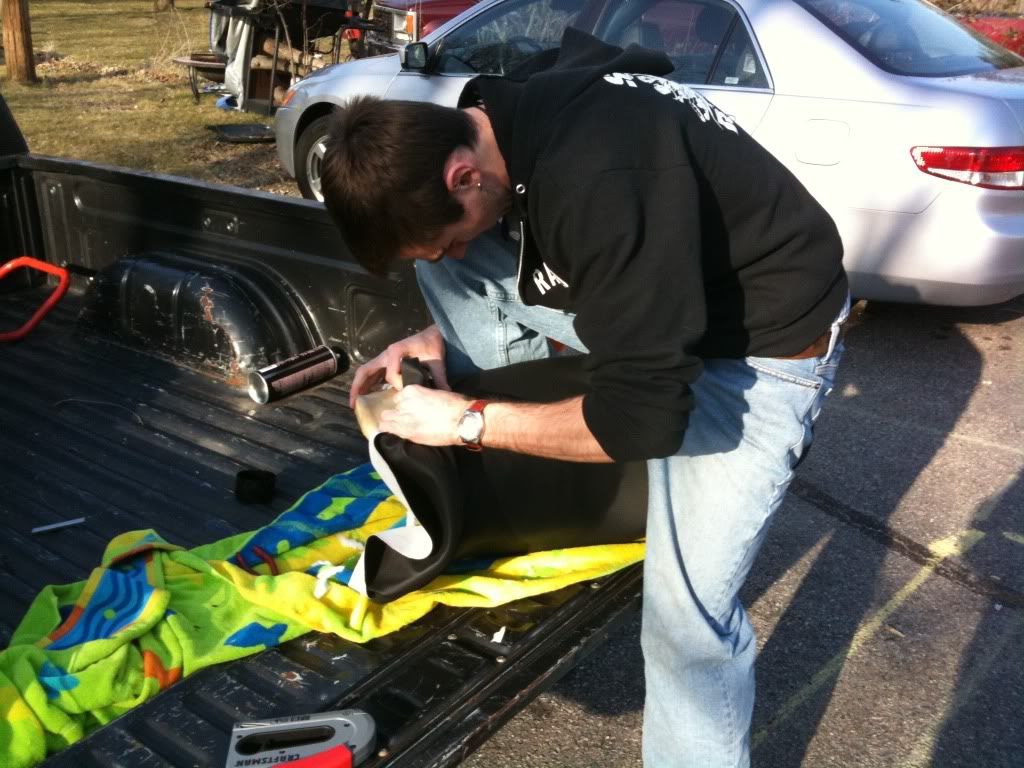
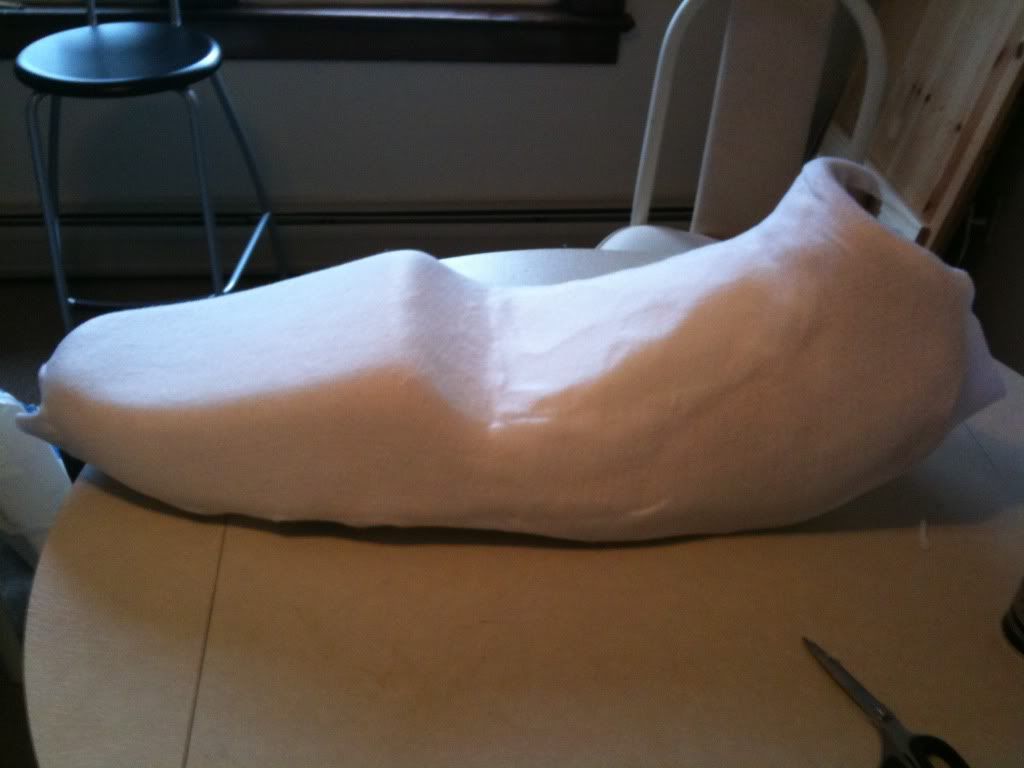
    Now I forgot to get a picture of the start, but if you watch the video, the guys gives you a good idea as to where you should place your first staples. It should be somewhere right around the back of the rider's seat. This is just a good point to start stretching from. I started mine just at the ridge between the rider and passanger, and that ended up causing some problems when I started to wrap the front. So I removed staples and started again with my first staples just in front of the ridge (just incase you were wondering, I mean putting the staples on the under side, don't put any staples where you can see them).

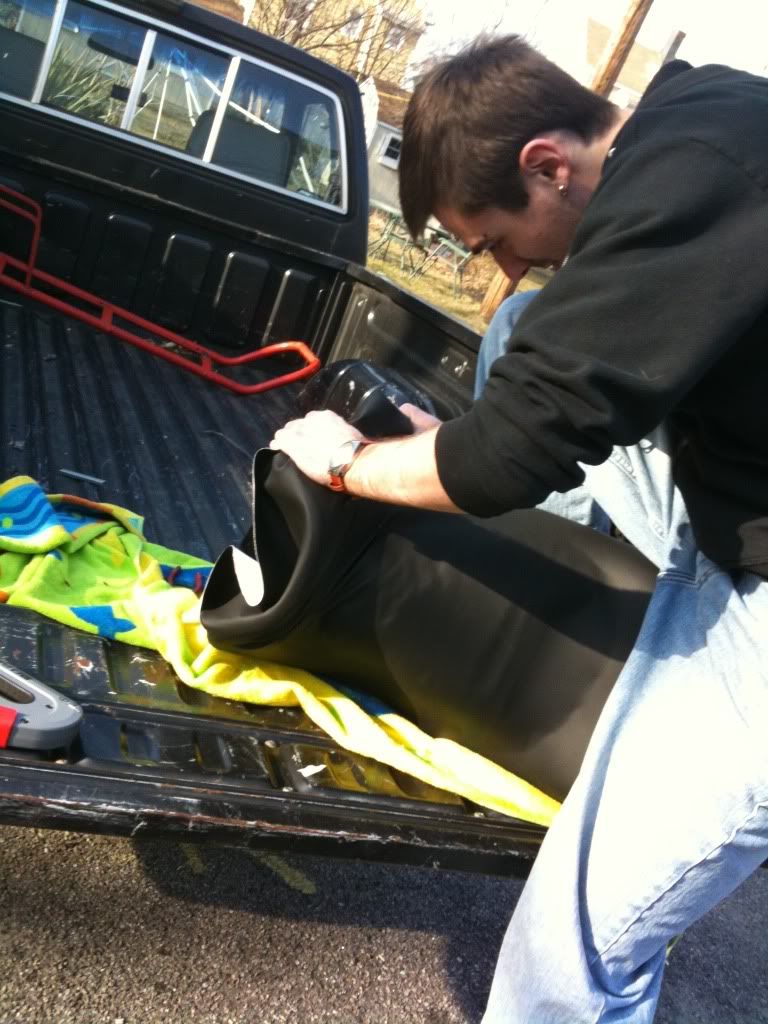
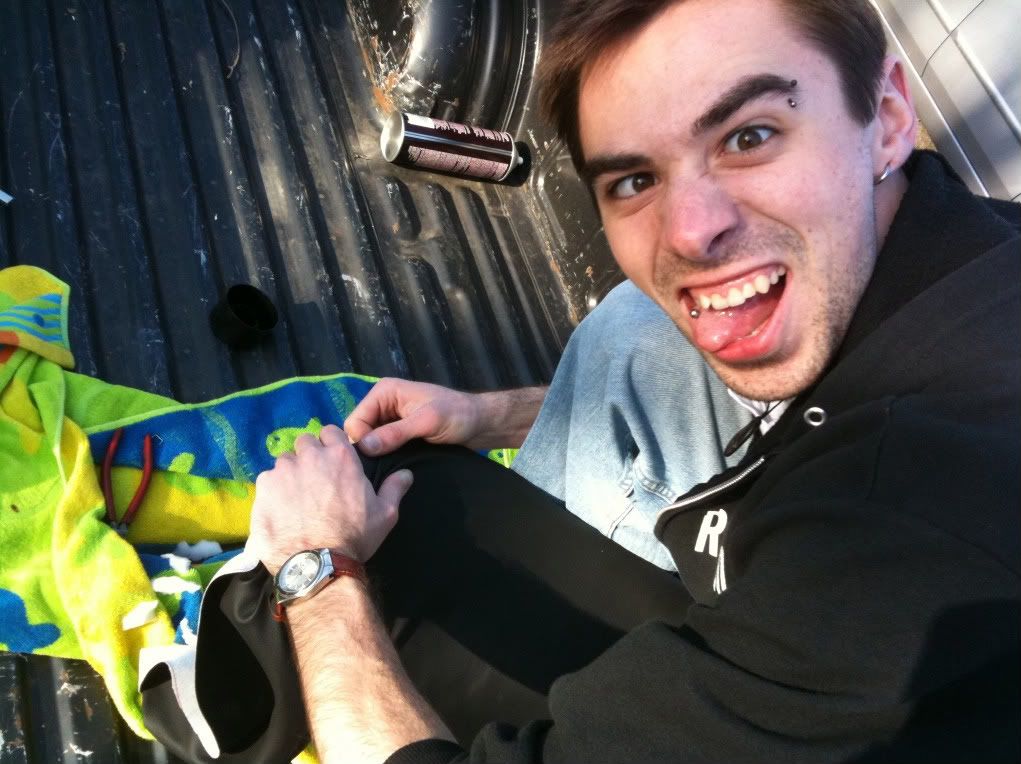
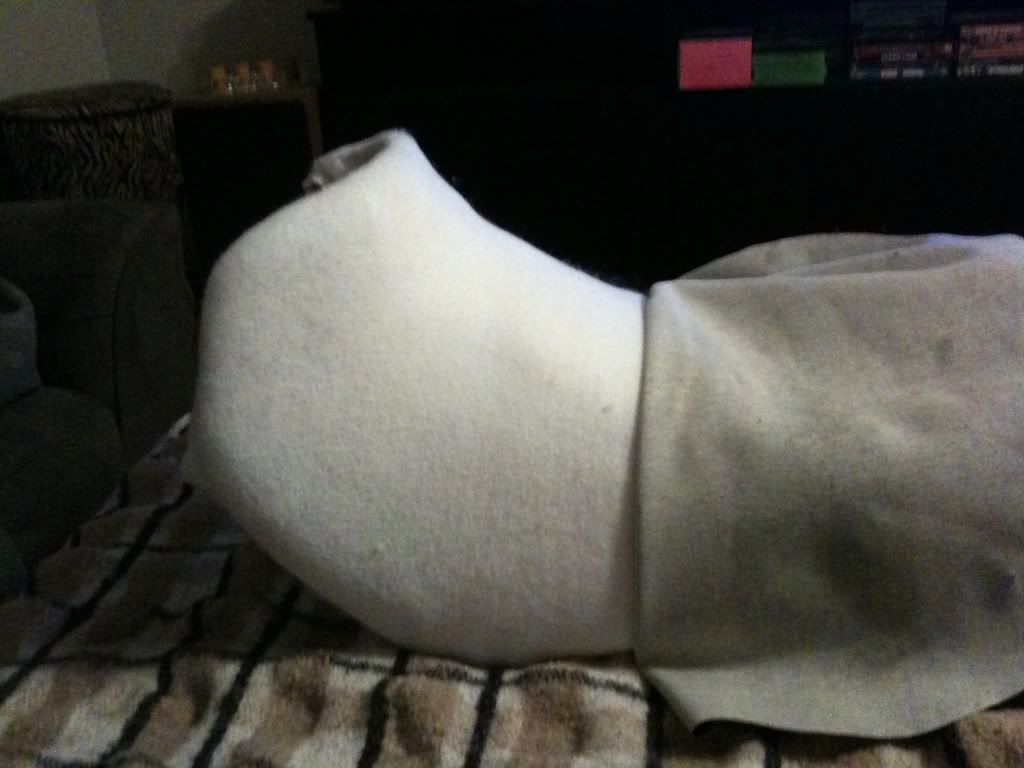
    Some interesting pics of me wrestling with the vinyl.


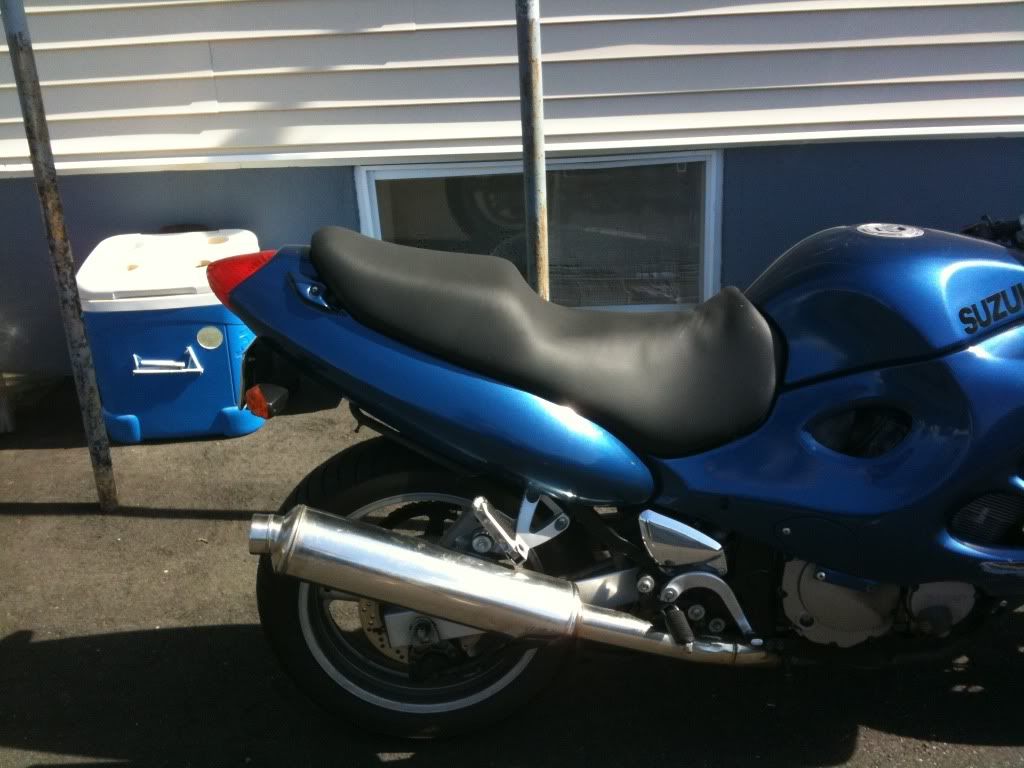
    The "Finished" product. You can definitely see where I added foam. I don't think it looks horrible, but it could be smoother. I'll be playing around with this on rainy days until I get it right.


    Let me know what you guys think, or if you have any tips to make my life easier.
    Build Thread

    '01 Katana 600
    '97 Intruder 1400

  • #2
    __________________

    "People rike me. Because I force them to. With viorence!"
    -Travis of the Cosmos

    __________________
    __________________

    Comment


    • #3
      lookin a little rough but the concept is there. think u should check for the modded seat thread. it covers cutting the shape for the inserted foam first so that its not noticeable. great start though, i should b doin this this spring too. i dont have $400 bucks layin around, idk maybe thats just me.....

      Comment


      • #4
        A side angle grinder will actually work for smothing foam so that you can make gracual curves and blending after the rough cut out.

        Krey
        93 750 Kat


        Modified Swingarm, 5.5 GSXR Rear with 180/55 and 520 Chain, 750 to 600 Tail conversion, more to come. Long Term Project build thread http://katriders.com/vb/showthread.php?t=96736

        "I've done this a thousand times before. What could possibly go wron.... Ooops!"

        Comment


        • #5
          I had to build my own seat for my old Maxim.
          It had a "King and Queen" seat.
          I torched the back off and redid all the foam.

          You can use an electric carving knife (goodwill store), to shape it.
          They sell thin foam 1/4", that will smooth the transition.

          Just glue the thick foam on, shape it, glue the thin foam and cover.

          Mick M
          Futurama: I Dated a Robot (#3.15)
          "I am Lucy Liu. Give me your spines."

          Comment


          • #6
            You can use an electric carving knife (goodwill store), to shape it.
            They sell thin foam 1/4", that will smooth the transition.
            Thats what i had read somewhere else, but i had forgotten about the carving knife until i had already started cutting. I'll be using that next time.

            the 1/4" foam was my next plan of attack...i think im going to try wrapping the whole seat in a fleece or somekind of fabric first that will take up less space than 1/4". that way i can get the smooth shape without inflating the entire seat, as i just wanted to get some extra height in the riders seat, nowhere else.

            Originally posted by Kreylyn View Post
            A side angle grinder will actually work for smothing foam so that you can make gracual curves and blending after the rough cut out.

            Krey
            if i had access to a side angle grinder, thats what i would have used. I read that in one of the other threads.
            Last edited by BPryz; 03-11-2010, 03:00 PM. Reason: Automerged Doublepost
            Build Thread

            '01 Katana 600
            '97 Intruder 1400

            Comment


            • #7
              Some really excellent info on this how to site: Diymotorcycleseat.
              Solve two of the worlds problems: Feed the homeless to the hungry.

              Comment


              • #8
                Definitely use a carving knife. You would be better off cutting out the stock foam and putting in a gel insert. If you heat your vinyl with a hair dryer and stretch it 90% of your wrinkles will disappear.
                Must read for carb tuners......http://www.factorypro.com/tech/tech_...m_engines.html

                Comment


                • #9
                  if you want to raise the seat.... you add foam UNDER the OEM foam

                  if you want to change the profile you glue thin foam to the seat foam, forming it to the contours. then using an electric carving knife shape it how you want. any seams will be noticable so you should overlap the foam with fleese or cotton cloth to help hide any seams between the different foam layers.
                  98 GSX750F
                  95 Honda VT600 vlx
                  08 Tsu SX200

                  HardlyDangerous Motosports

                  Comment


                  • #10
                    Originally posted by hardlydangerous View Post
                    if you want to raise the seat.... you add foam UNDER the OEM foam

                    if you want to change the profile you glue thin foam to the seat foam, forming it to the contours. then using an electric carving knife shape it how you want. any seams will be noticable so you should overlap the foam with fleese or cotton cloth to help hide any seams between the different foam layers.

                    didnt think about foam under the oem foam, i like that idea...

                    fleece wa actually my next plan of attack....i was gonna start on the today if i had the time, its going to be raining here the next few days so i figure i might was well tear it apart again.
                    Build Thread

                    '01 Katana 600
                    '97 Intruder 1400

                    Comment


                    • #11
                      I would like to add that by raising your seat height, it is changing your riding position. If you're not short this is going to cause more strain on your back. If you want a more comfortable ride with the samw seating position you need to carve out the foam and put a gel in there and a thin foam over that. I added 1 1/2" memory foam to a spare seat I have and it throws off all the ergonomics.
                      Must read for carb tuners......http://www.factorypro.com/tech/tech_...m_engines.html

                      Comment


                      • #12
                        Alright, I'm not tryin' to be a jack a$$, but I am pretty straight forward by nature and I think that might motivate you to take your time on this project since the seat is one of the first things the girls are going to wanna check out. It doesn't look very good, but it will on the next run. I actually did the opposite to the rear part of my seat because it sat too high and I noticed that if I wanted to raise the driver end of the seat it would be best too start by cutting the seat into two halves, (driver, passenger), then cutting out some of the existing foam from the bottom half of the driver portion in the same shape as the contour because you can use the top end to sit on top of the added foam to help hide any lines that were made during the cutting of the new foam or gel. Use some 3M spray adhesive in between the two pieces of foam to avoid any unwanted movement and your sisters hair drier to help shape the new vynil. Of course you still may want to use fleece to keep everything lookin' smoothe. Again, take your time, your butt and the your ladies will thank you for it..
                        Good Luck Youngen!
                        Sliminator

                        Comment


                        • #13
                          FINALLY, got finished with the second go around on this project. I have been riding instead of sitting on my computer. Here are pics of the "final" product.


                          so I did end up getting an electric carving knife to aid me in shaping the foam. But instead of starting over (cuz that meant going back to the upholstery shop and getting more foam) I decided that I would try and salvage what I had done already. I used little pieces I shaved off to help build in any parts that were cut too short.


                          After that I wrapped it with some fleece to try and smooth the rough edges.


                          First time didn't look so great, so I hit it with a second layer of fleece. that came out much better.


                          After wrapping it, I decided that it looked damn good, and it rides much better that originally. But in will more than likely in the future start all over again and do it correctly from step one. This was a learning experience and I feel like I've got a good hold on it now and can do a "professional" job.

                          The "final" product
                          Last edited by BPryz; 03-18-2010, 11:14 AM. Reason: accidental double post
                          Build Thread

                          '01 Katana 600
                          '97 Intruder 1400

                          Comment


                          • #14
                            I am a foam guy and work with designers every day in the upholstery industry. your second attempt is impressively intuitive. A few things for future reference.

                            you cut and skived the foam to shape and contour very well but next time glue the foam the cut and skived side down so the base of the foam becomes the top - you get smooth edges automatically.

                            cover any glue seems and other noticeables with polyester fibre instead of the fleece. this takes out all the wrinkles. if you still see some hit it with a steamer. in fact you may want to try that on your seat now. a steamer can be an upholsters best friend.

                            yes your ergos will change but only you can tell us if it is bothersome. let us know.
                            R.I.P. Marc

                            Comment


                            • #15
                              looks good, nice job.

                              Comment

                              Working...
                              X