
 Tweet
Tweet
Originally posted by zackybilly1
View Post
-
What a bitchin garage and a bitchin collection of vehicles!! -
Great work. I am watching this thread as you go and have read Rob Witons site as well as Waltari Blog numerous times.
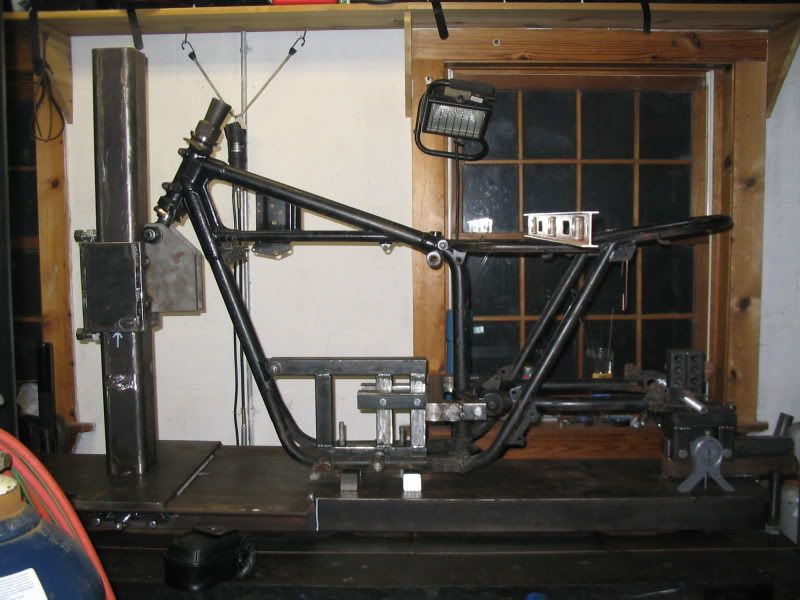
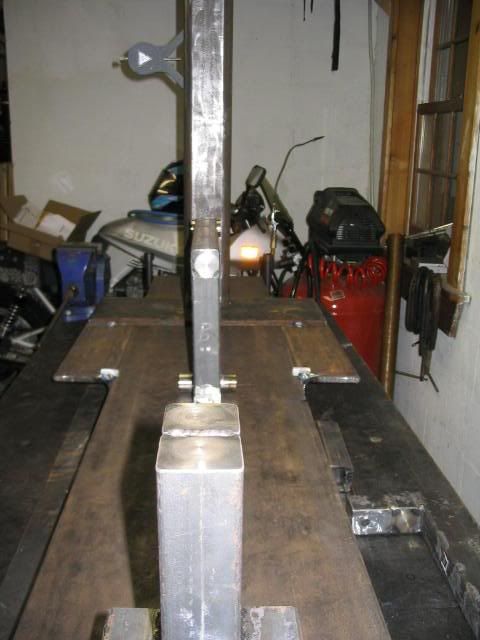
I do a lot of reading and research but always have. Anyways, I have progressed on my build but slow. Plastic welding, test fitting a 93 front end etc. I am just slow. Right now, I have the frame on a perfectly level table to cut some braces and then off to the welder.Comment
-
Braced Frame
Ukilme...are you welding on the frame to make attachment points for the newer parts or bracing the frame for ridgidity? I've got a frame that I suspect needs tweaking and therefore, I'm going to brace it afterwards. I had seen a link either here or GSResource which went to site (JurassicSuzuki or something like that) that show a picture of a frame with "photoshop" bracing points over-laid. I don't plan on using all I saw but a few I will. If you're bracing for stiffness....do you have any info?
I slung together a crude frame jig that I needed for another project and I plan on rigging it up for the Kat frame that I know is straight and then, see how the questionable one bolts up.
600toStart....my old basement shop had alot more character and this one seemed too empty in the beginning. Amazing how quick it starts filling up. In the old basement shop, I had a dedicated work area surrounded by work stuff. In this shop, I pick a spot on the floor, drag up tables, shelves, toolbox, etc. and start because I can't seem to get established. My last build this summer, I set up camp upstairs over the living quarters and it wasn't any better and definitely warmer even with A/C....and the "stair master" was killing me. Still haven't cleaned that mess up. The Kats are now set-up right in front of an A/C discharge.
Riding the bike down the stairs....now that was bitchin.
ZComment
-
That really is quite a shop and a nice collection of machinery.
I've been collecting parts to build a pre unit triton for some time now, I hope this winter to start putting things together, course I now have the new Kat as well as a new Stude to spread my $ around, so i'm sure something will suffer. But a nice "problem" to have.
Anyway,
Back to the scotchbrite, you used, we talking about the little green house hold pads? Other than those and some large polishing wheels thats all I could find.
ThanksComment
-
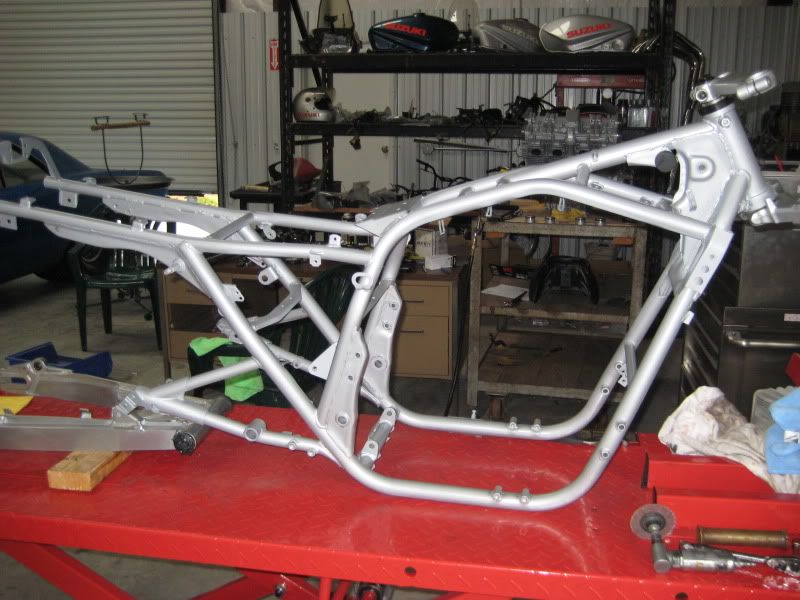
Rob has a picture of the the frame with the re-enforcement.
That is what I am basically doing but just the E and D. I also have to get the main cross member in the front to put back on. I just got that cut tonight. I am going with a 25 mm steel tube with walls around 2.5mm. It should be strong (in my mind) then the original for the front cross member. And the 'D' is going to be tubing as well. I think it looks weird when it is boxed.
I used a small program for cutting the tube from http://www.tonyfoale.com/. It works great overall.
I am not putting any mounts point as of yet. Maybe for a steering damper but we'll see.Last edited by ukilme; 10-01-2009, 06:08 PM.Comment
-
Johnod...the scotchbrite I'm referring to comes in a bundle of +/- 20 pieces 4" x 8". I use the maroon (all purpose). You can also get scotchbrite wheels at AutoZone, etc. They are handy to have around.
Ukilme....thanks for the links....JurasicSuzuki??...what was I thinking.
On the welding, I'm leaning toward A, B, E & F...amen on the box thing. It appears that the frame is mild steel (1018 or 1026) but definitely is not 4130 (chrome-moly). Mig welding should be fine but tigging would look cleaner (in contrast to all the other welds on the frame).
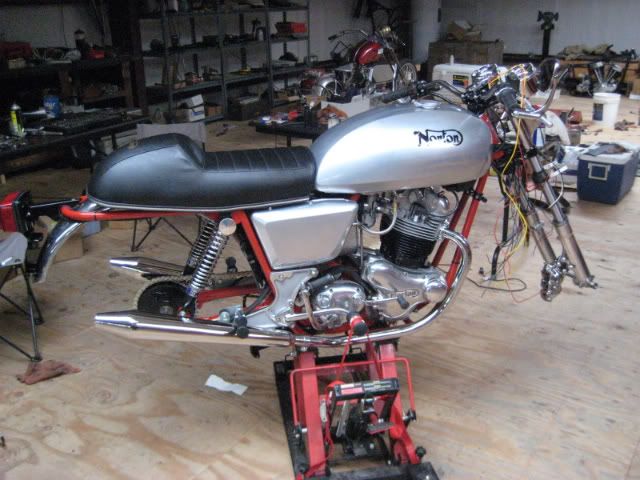
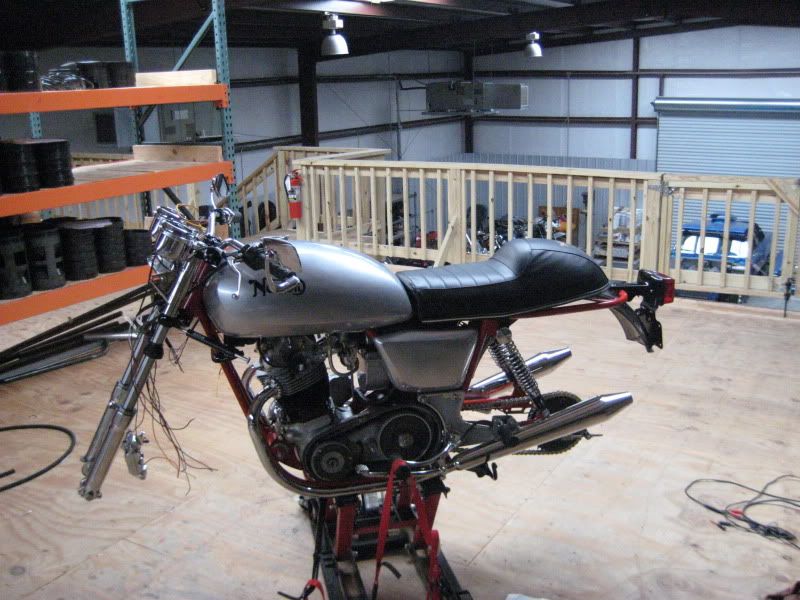
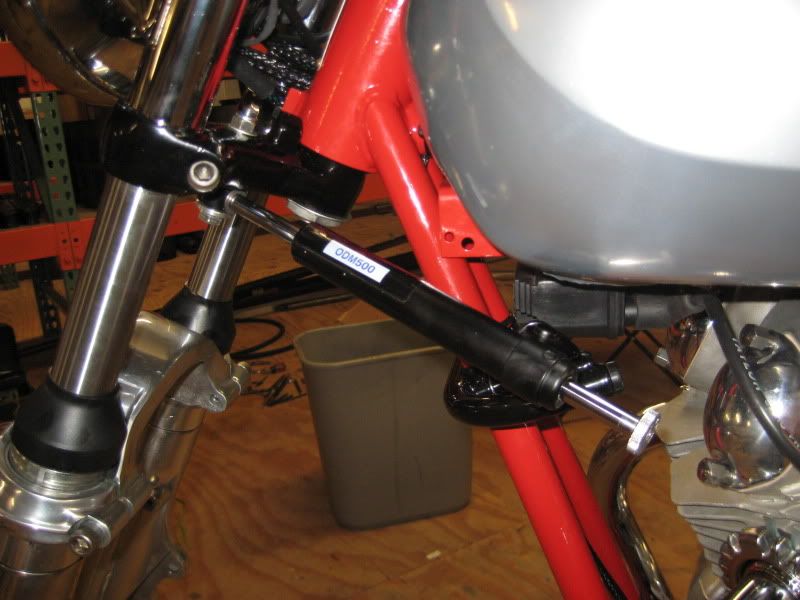
If you're up to building your on mounts, this site has 7-position steering dampening cylinders for $60
That is what I used on my Norton.
ZComment
-
On my next kat, I'm considering doing the same bracing as the Old Pops Yoshimura Katana. On the fence...would allow me to use the longer ZRX shocks I have. If I don't go that way, I'll probably brace exactly like the Yoshimura 1135r


Comment
-
What the.....
Waltari,
Cool stuff for sure but could you share some insight on the shock position? Is moving the shock forward in effort to get more travel out of the swingarm? I understand moving the shock closer to the fulcrum point reduces the force at the axle to compress the shock, but it seems you could accomplish that with springs and damping rate.
Whatever it's for, it looks nice. It's hard to take your eyes off those Ohlins....if I had those, I'd be more worried about someone stealing my shocks than my bike.
Thanks,
ZComment
-
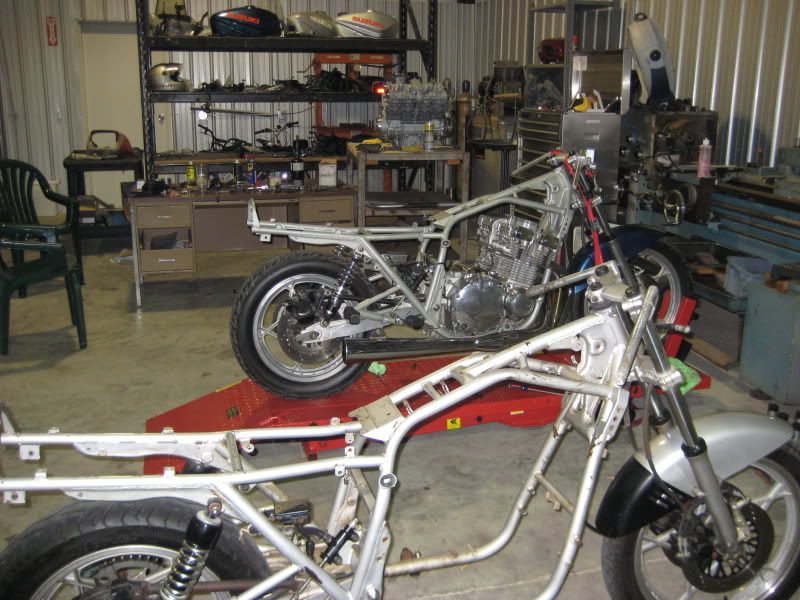
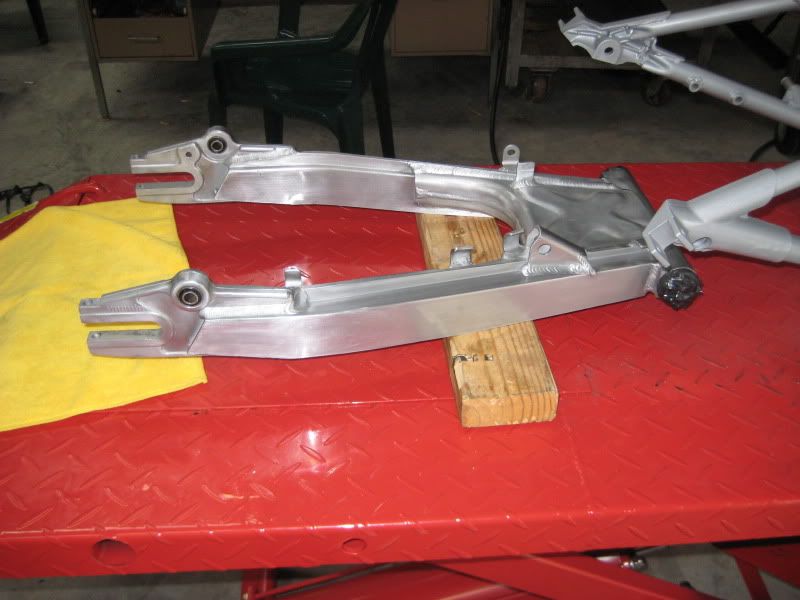
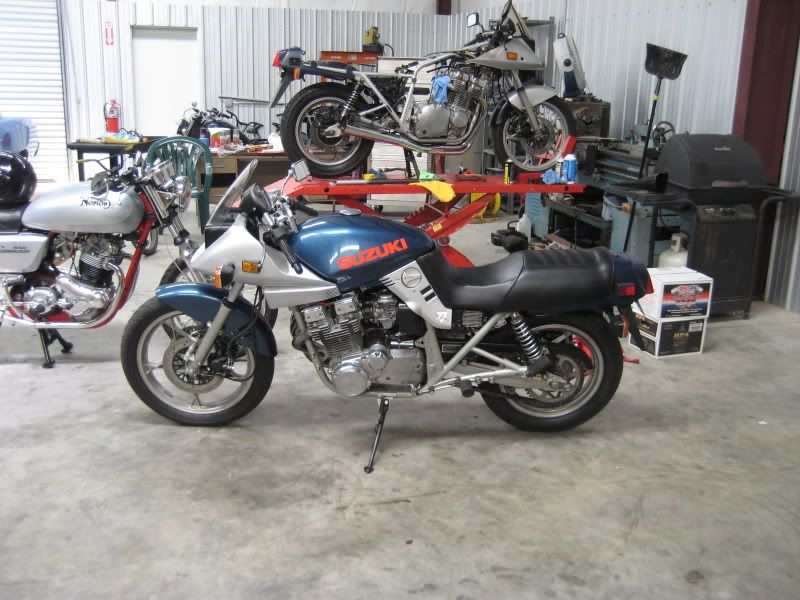
Weekend Production
Made a little headway this weekend. Stripped bike, pulled the engine, blasted, primed and painted the frame on my +/- Kat stocker. Cleaned up the swingarm. Over the hump and starting back together with the front-end.
May have made a good find on Engine No. 2 as it had what sounded like a cam chain rattle at low rpms. On Engine No. 1, I had backed off the tensioner knob and turned the crank backwards. When I turned the crank forward, the spring-loaded knob followed the plunger back in. On Engine No. 2, I performed the same procedure, however, the knob didn't follow the plunger. I broke the jam nut on the "holding" set screw to lock it down to remove. Once the jam nut was free, I noticed the plunger was already locked down. I backed off the set screw and everything appears to be working fine. Wished I'd found this before I pulled this engine out of the frame. I'm feeling un-usually lucky so far on both of these bikes....that's something I'm not use to.
Learned about the different valve covers this weekend, as well....the low serial number bike had a 20-bolt valve cover and the higher number bike has a 24-bolt version. I don't know if this was a rev change during production or a bitsa bike. So I have plenty of 20-bolt gaskets and none for the 24-bolt. Learning as I go.
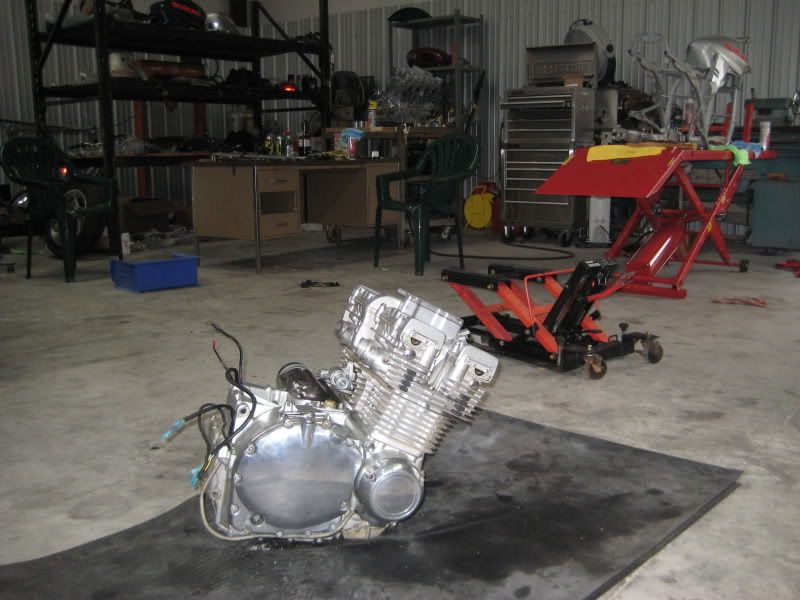
I plan on putting the painted frame over the engine on the floor as I don't think I can stab that heavy lump without beating up the paint job on the frame up. With the motor in the frame, then I can get on with it.
ZComment
-
That's how I do mine...much easier and much less chance of damaging the finish. Pipe insulation helps as well!Originally posted by zackybilly1 View Post


Comment
-
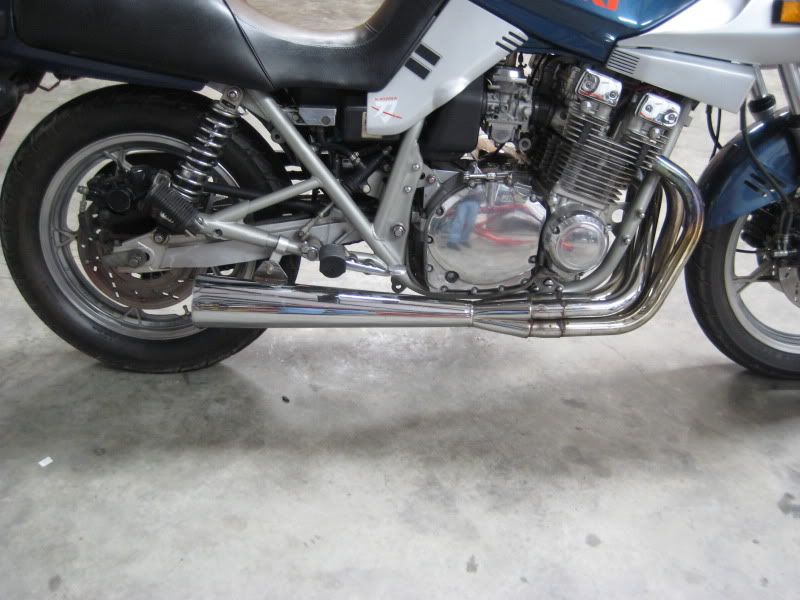
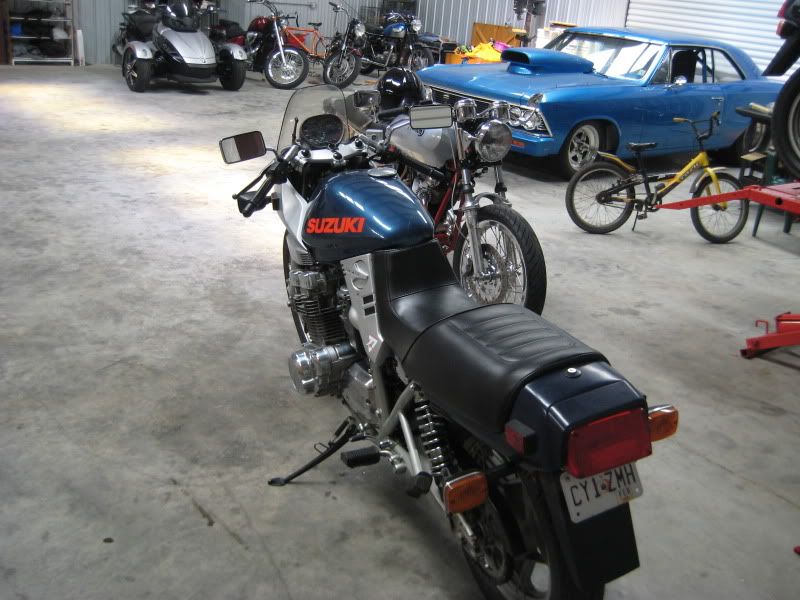
What does it look like?
Waltari,
On bike No. 2, I'm entertaining the idea of a blacked-out Kat. Your bike in the pics...is it back together? I've seen some pics of blacked out ones but most I've seen have smaller three-spoked (GSXR?) wheels and inverts. Just curious how the stock wheels/front-end would look blacked-out. But after a second look at your pics (swing arm & wheels), I guess you used smaller, wider wheels, also.
ZComment
-
Hi
Bikes looking good.
What paint are you using on the frame?
Originally posted by zackybilly1 View PostComment
-
Mine is powder coated with a semi-glass black. Cost me about $325 to do the frame, wheel, swinagrm, and a pile of other various little bits.Originally posted by johnod View PostComment
-
Just remember that with a GS motor, the motor has to go in or out of the RIGHT side of the frame. Ray.Originally posted by Waltari View Post85GS1150E 83GS1100SD 83GS1100ES 82GS1000SZ 96GSXR1500DRAGBIKE 96GSXR1400DRAGBIKE 90GSXR1166DRAGBIKE 05SDG110PITBIKE & 8 QUADS!!! "Life is tough! It's even tougher when you're stupid!" John WayneComment
-
Snooping for more information
I want to be just like Ray when I grow up. I suspect he has forgotten more about these bikes than most people will ever know. Last night I rigged up a wooden "cradle" to support the engine while I stab the frame over it (hopefully tonight).
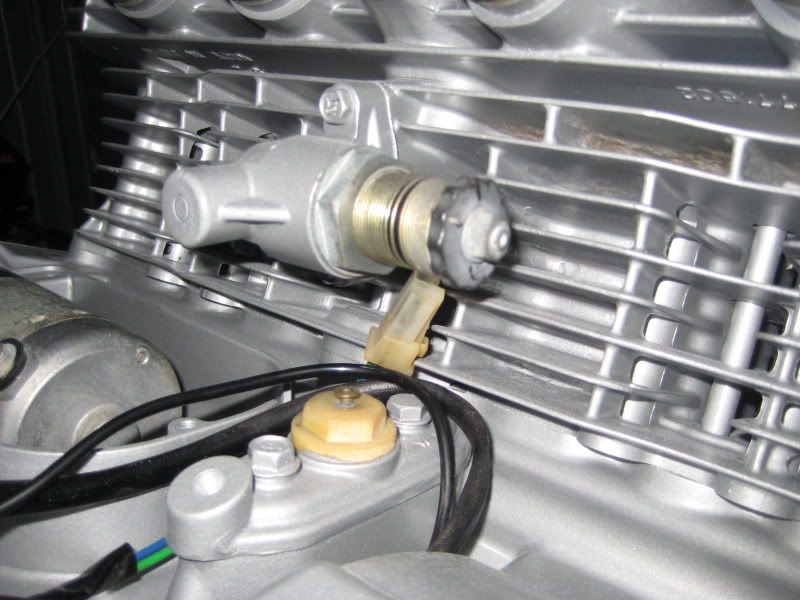
If your listening Ray, what do you think about the cam chain tensioner info below. Do you think the previous owner just neglected to set the plunger free when he installed the unit or is this something that some people do to lock down the plunger after the cam chain is tight? It's hard for me to believe that someone was smart enough to be working on something like this and then, forget to turn it loose. The cam chain tensioner on this one is a little different than the original that came on mine new (metal knob instead of plastic).
Original Cam Chain TensionerMay have made a good find on Engine No. 2 as it had what sounded like a cam chain rattle at low rpms. On Engine No. 1, I had backed off the tensioner knob and turned the crank backwards. When I turned the crank forward, the spring-loaded knob followed the plunger back in. On Engine No. 2, I performed the same procedure, however, the knob didn't follow the plunger. I broke the jam nut on the "holding" set screw to lock it down to remove. Once the jam nut was free, I noticed the plunger was already locked down. I backed off the set screw and everything appears to be working fine. Wished I'd found this before I pulled this engine out of the frame.
From Newly Acquired bike
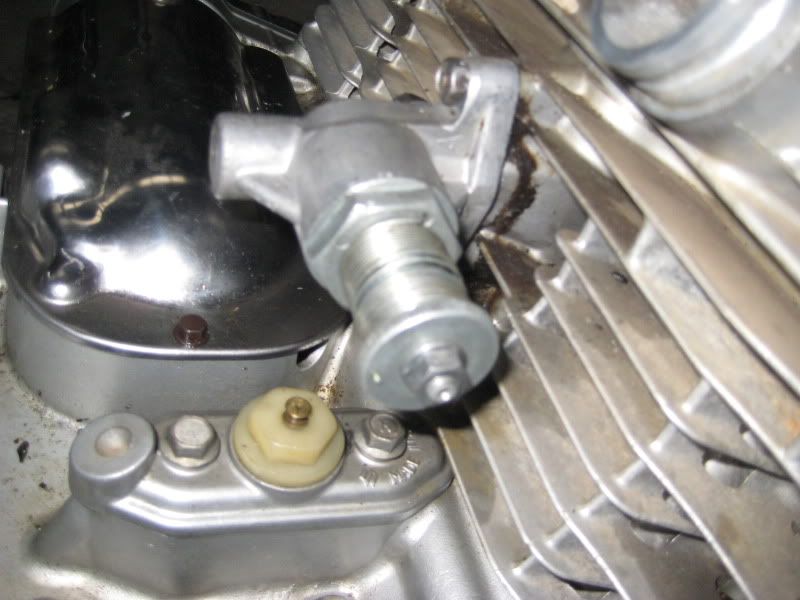
Can anyone tell me what this switch this switch does? On the 1982 wiring schematic, it appears one leg of the alternator goes to the right-hand cluster and then make a U-turn back toward the rectifier (not connected to anything). Was this a headlight switch that switched it from single phase to 3-phase for headlights. Some older bikes used 3-phase when burning the headlamp and single phase when lights were off (to keep from cooking the zener diode).
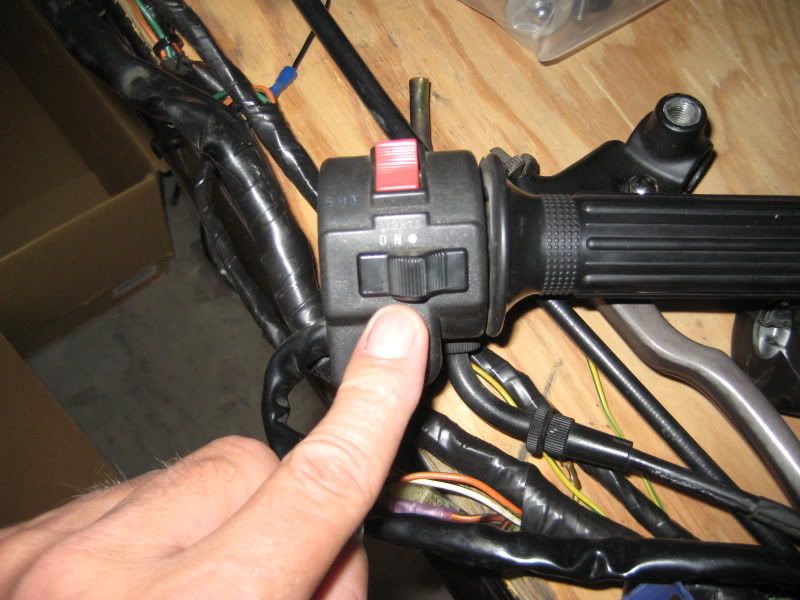
Thanks all for your helpComment


Comment