This is sort of an addition to Black_peter's "Solving fast blinking/no blinking" http://www.katriders.com/forums/view...806&highlight=
Black_peter did an awesome writeup with pics to show you how to use a $2.50 flasher to fix the problem of your turn signals flashing fast after installing LED signals.
After locating the flasher relay on my 2006 Kat, I noticed that the flasher was obviously very different from the one in Black_peter's writeup.
The reason it's different is that the 98+ Kats have what is called a Turn Signal/Side-Stand Relay that is located in front of the battery and looks like this.
To remove the flasher relay from the bike all you have to do is pull it out of the cradle.
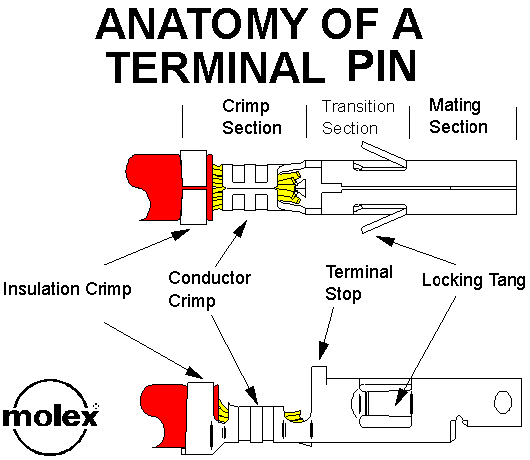
Flip the box over and you will see that it has 7 little gold teeth sticking out from the bottom.

The first thing you need to do is remove the bottom plate to expose the inside of the relay. (in this photo you will see that i cut open the side of the dox to expose the circuit board. i did that to see which teeth went to the flasher. you will not need to do this because i'm going to show you the teeth you need to cut out.)


OK, What you are looking at here is a diagram or schematic of what the inside of the Turn Signal/Side-Stand Relay looks like.
Teeth F and G are the one you need to cut or remove from the circuit board.


After you have remove the teeth from the board, solder them to the ends of a couple of 4 inch peices of 18awg wire. Attatch connectors to the opposite end of the wires for the flasher.
This it what that should look like.

The next thing I did was put a hole the the relay box to run the wires through. I just used my soldering iron to do this.

Once the hole was made I ran the wires that I covered with heat shrink tubing into the hole and then out of the bottom of the box.
I then pushed the teeth back into the bottom cover plate making sure that the were in the small slits that they origanally were in (I used a little super glue to make sure they wouldn't fall out of the plate when i plugged it in). I then place the cover back on and snapped it into place.

The next step was to hook the opposite ends of the wire to the variable load flasher.

Now its time to test it. Plug it back into the bike and see if it works.
After I checked mine I coverd the flasher with a balloon to protect it from any water or moisture.
 .
.
If you have any questions please ask.
it's alot easier to do it than it is to explain it so if somthing dosen't make sense just ask and i will try to explain it better
Black_peter did an awesome writeup with pics to show you how to use a $2.50 flasher to fix the problem of your turn signals flashing fast after installing LED signals.
After locating the flasher relay on my 2006 Kat, I noticed that the flasher was obviously very different from the one in Black_peter's writeup.
The reason it's different is that the 98+ Kats have what is called a Turn Signal/Side-Stand Relay that is located in front of the battery and looks like this.

To remove the flasher relay from the bike all you have to do is pull it out of the cradle.
Flip the box over and you will see that it has 7 little gold teeth sticking out from the bottom.

The first thing you need to do is remove the bottom plate to expose the inside of the relay. (in this photo you will see that i cut open the side of the dox to expose the circuit board. i did that to see which teeth went to the flasher. you will not need to do this because i'm going to show you the teeth you need to cut out.)


OK, What you are looking at here is a diagram or schematic of what the inside of the Turn Signal/Side-Stand Relay looks like.
Teeth F and G are the one you need to cut or remove from the circuit board.


After you have remove the teeth from the board, solder them to the ends of a couple of 4 inch peices of 18awg wire. Attatch connectors to the opposite end of the wires for the flasher.
This it what that should look like.

The next thing I did was put a hole the the relay box to run the wires through. I just used my soldering iron to do this.

Once the hole was made I ran the wires that I covered with heat shrink tubing into the hole and then out of the bottom of the box.
I then pushed the teeth back into the bottom cover plate making sure that the were in the small slits that they origanally were in (I used a little super glue to make sure they wouldn't fall out of the plate when i plugged it in). I then place the cover back on and snapped it into place.

The next step was to hook the opposite ends of the wire to the variable load flasher.

Now its time to test it. Plug it back into the bike and see if it works.
After I checked mine I coverd the flasher with a balloon to protect it from any water or moisture.
 .
.If you have any questions please ask.
it's alot easier to do it than it is to explain it so if somthing dosen't make sense just ask and i will try to explain it better


Comment